Catch up with us and learn how to create a beautiful and romantic pomander candlestick centerpiece with the tutorial below!
Hello Wedding Lovelies!!! It has been quite a few months since I’ve blogged….I’ve been so busy with the holidays and then I just did the Wedding Expo here in Reno. Now that I have a few moments I wanted to say hello! The holidays were full of family, fun and shopping, getting ready for the expo.
It was my first expo and I wanted to knock it out of the park. I came up with the theme “Vintage, simplistic, romance.” When I thought of those three words, I thought of clean, pearls, vintage paper, romantic colors (plumb and blush) Antique. Romantic lighting. And this is what I came up with…….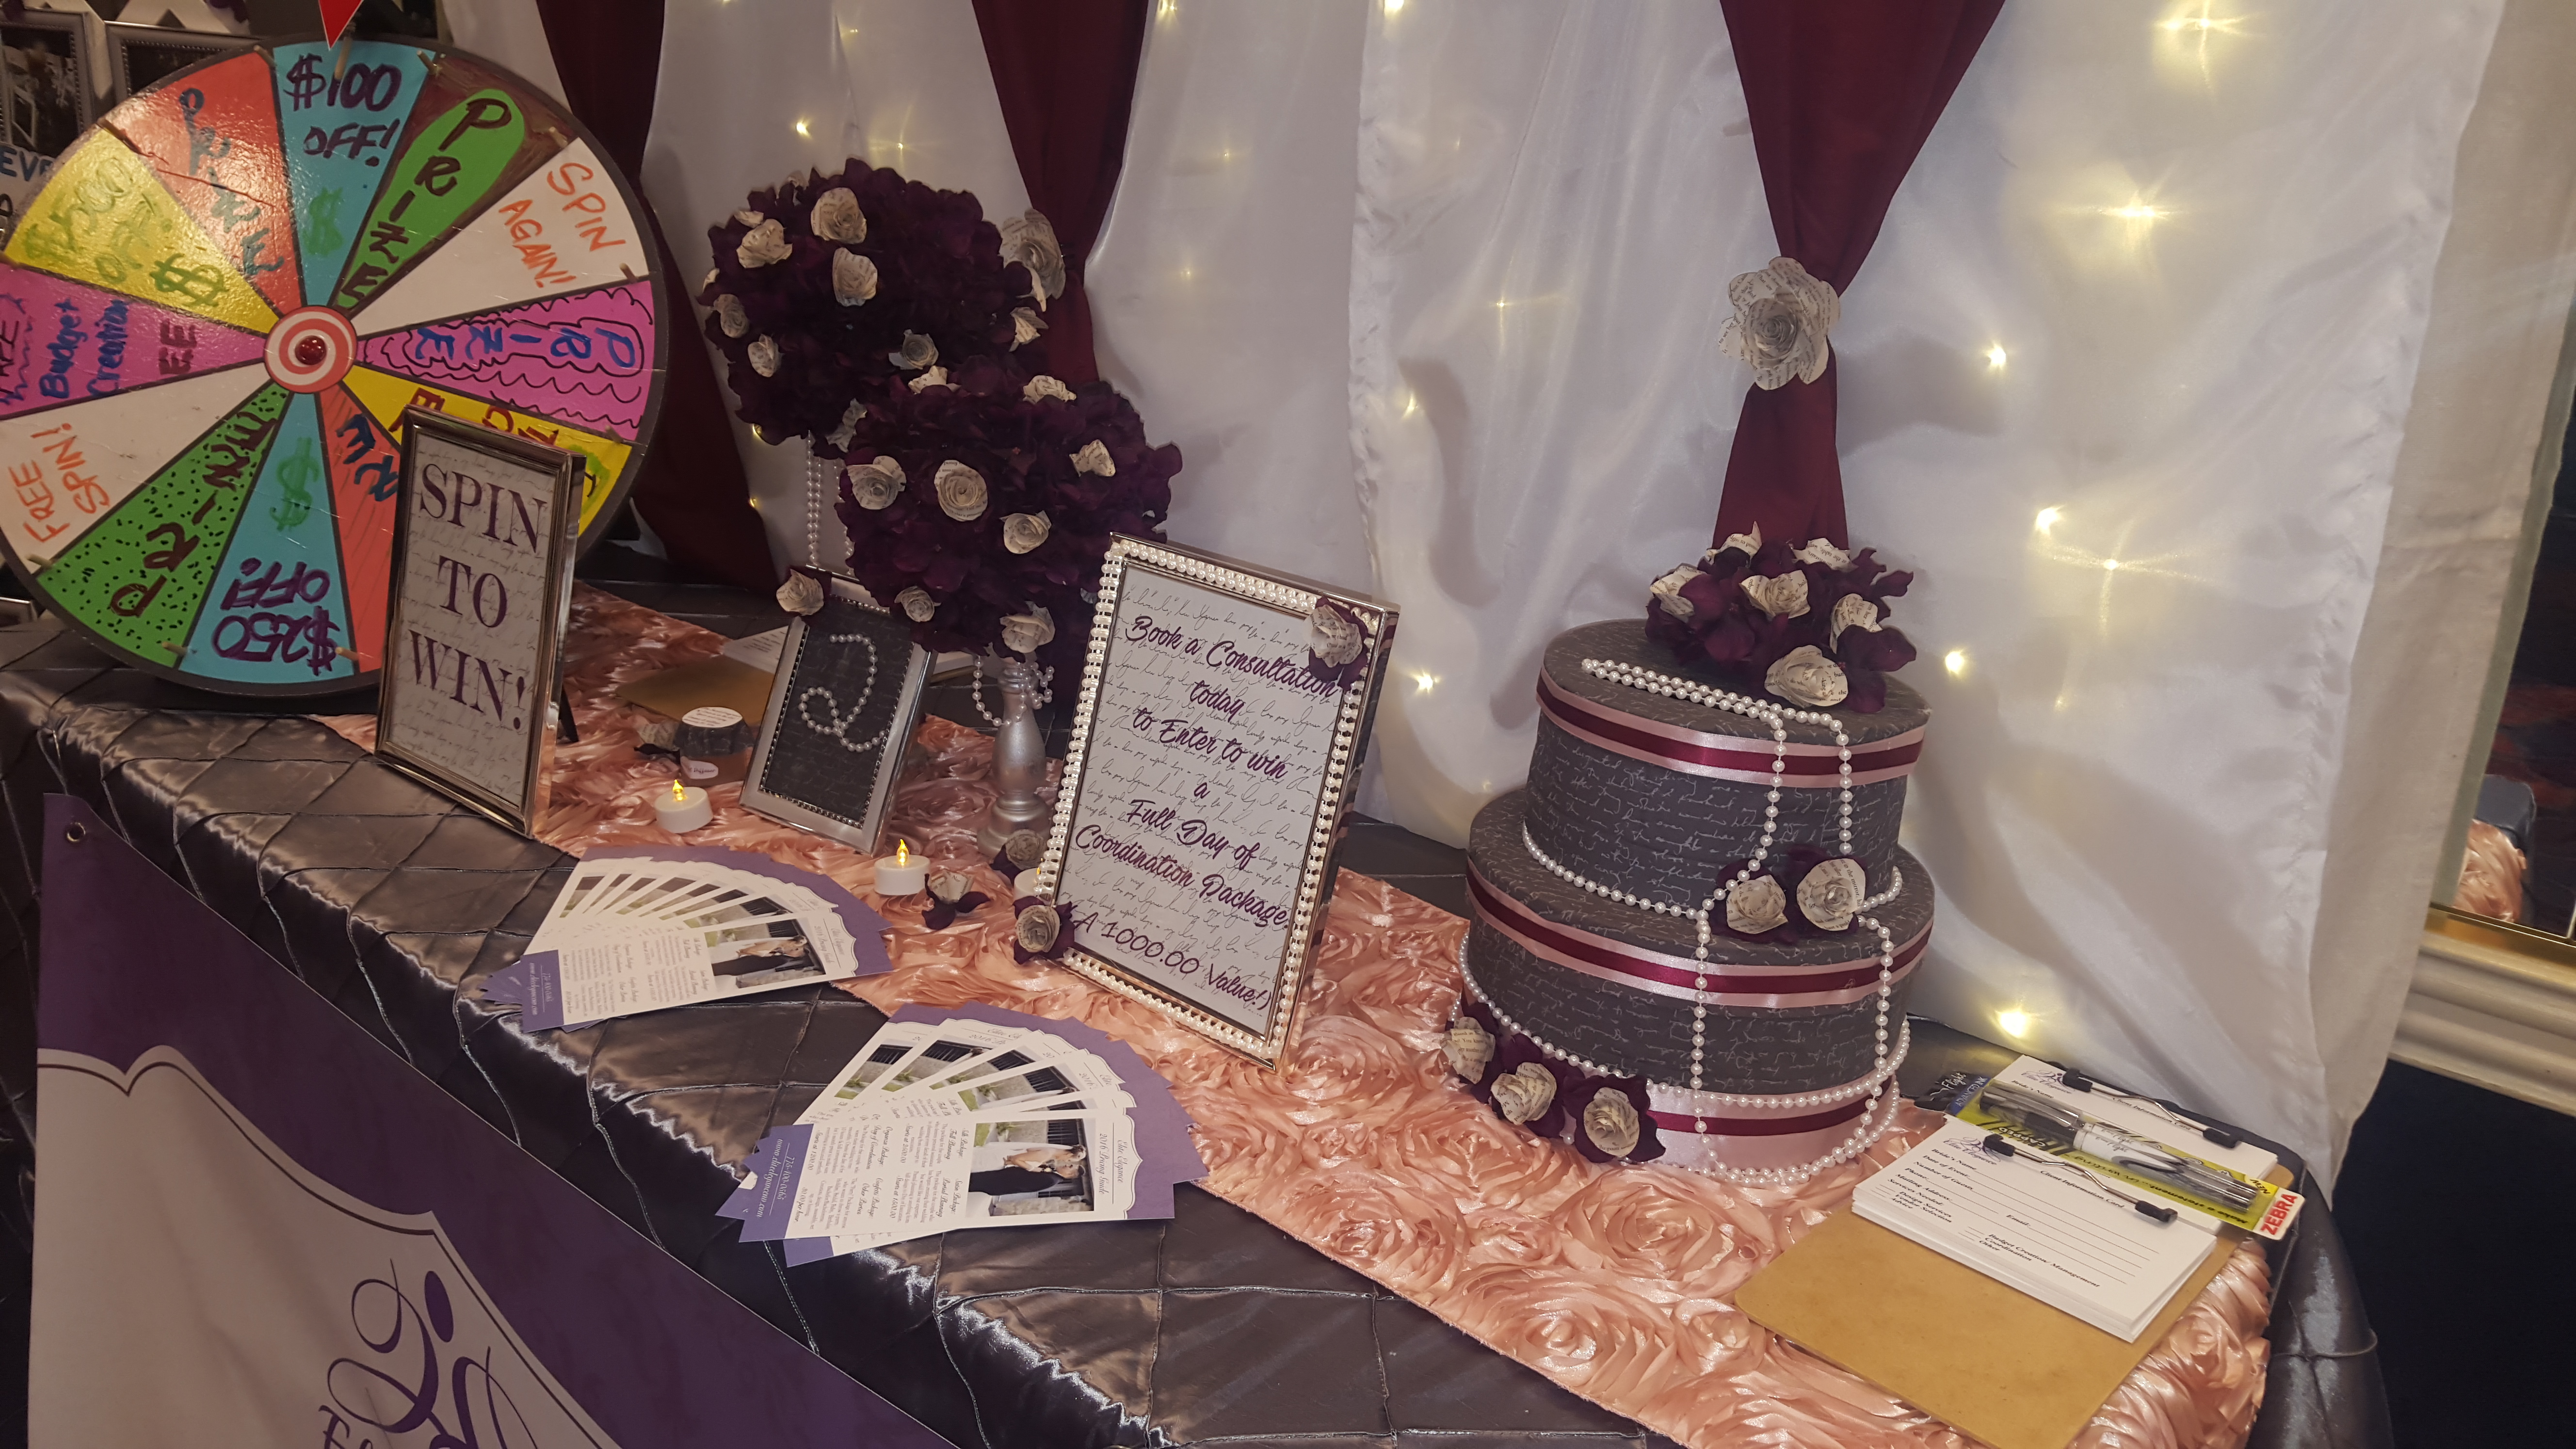
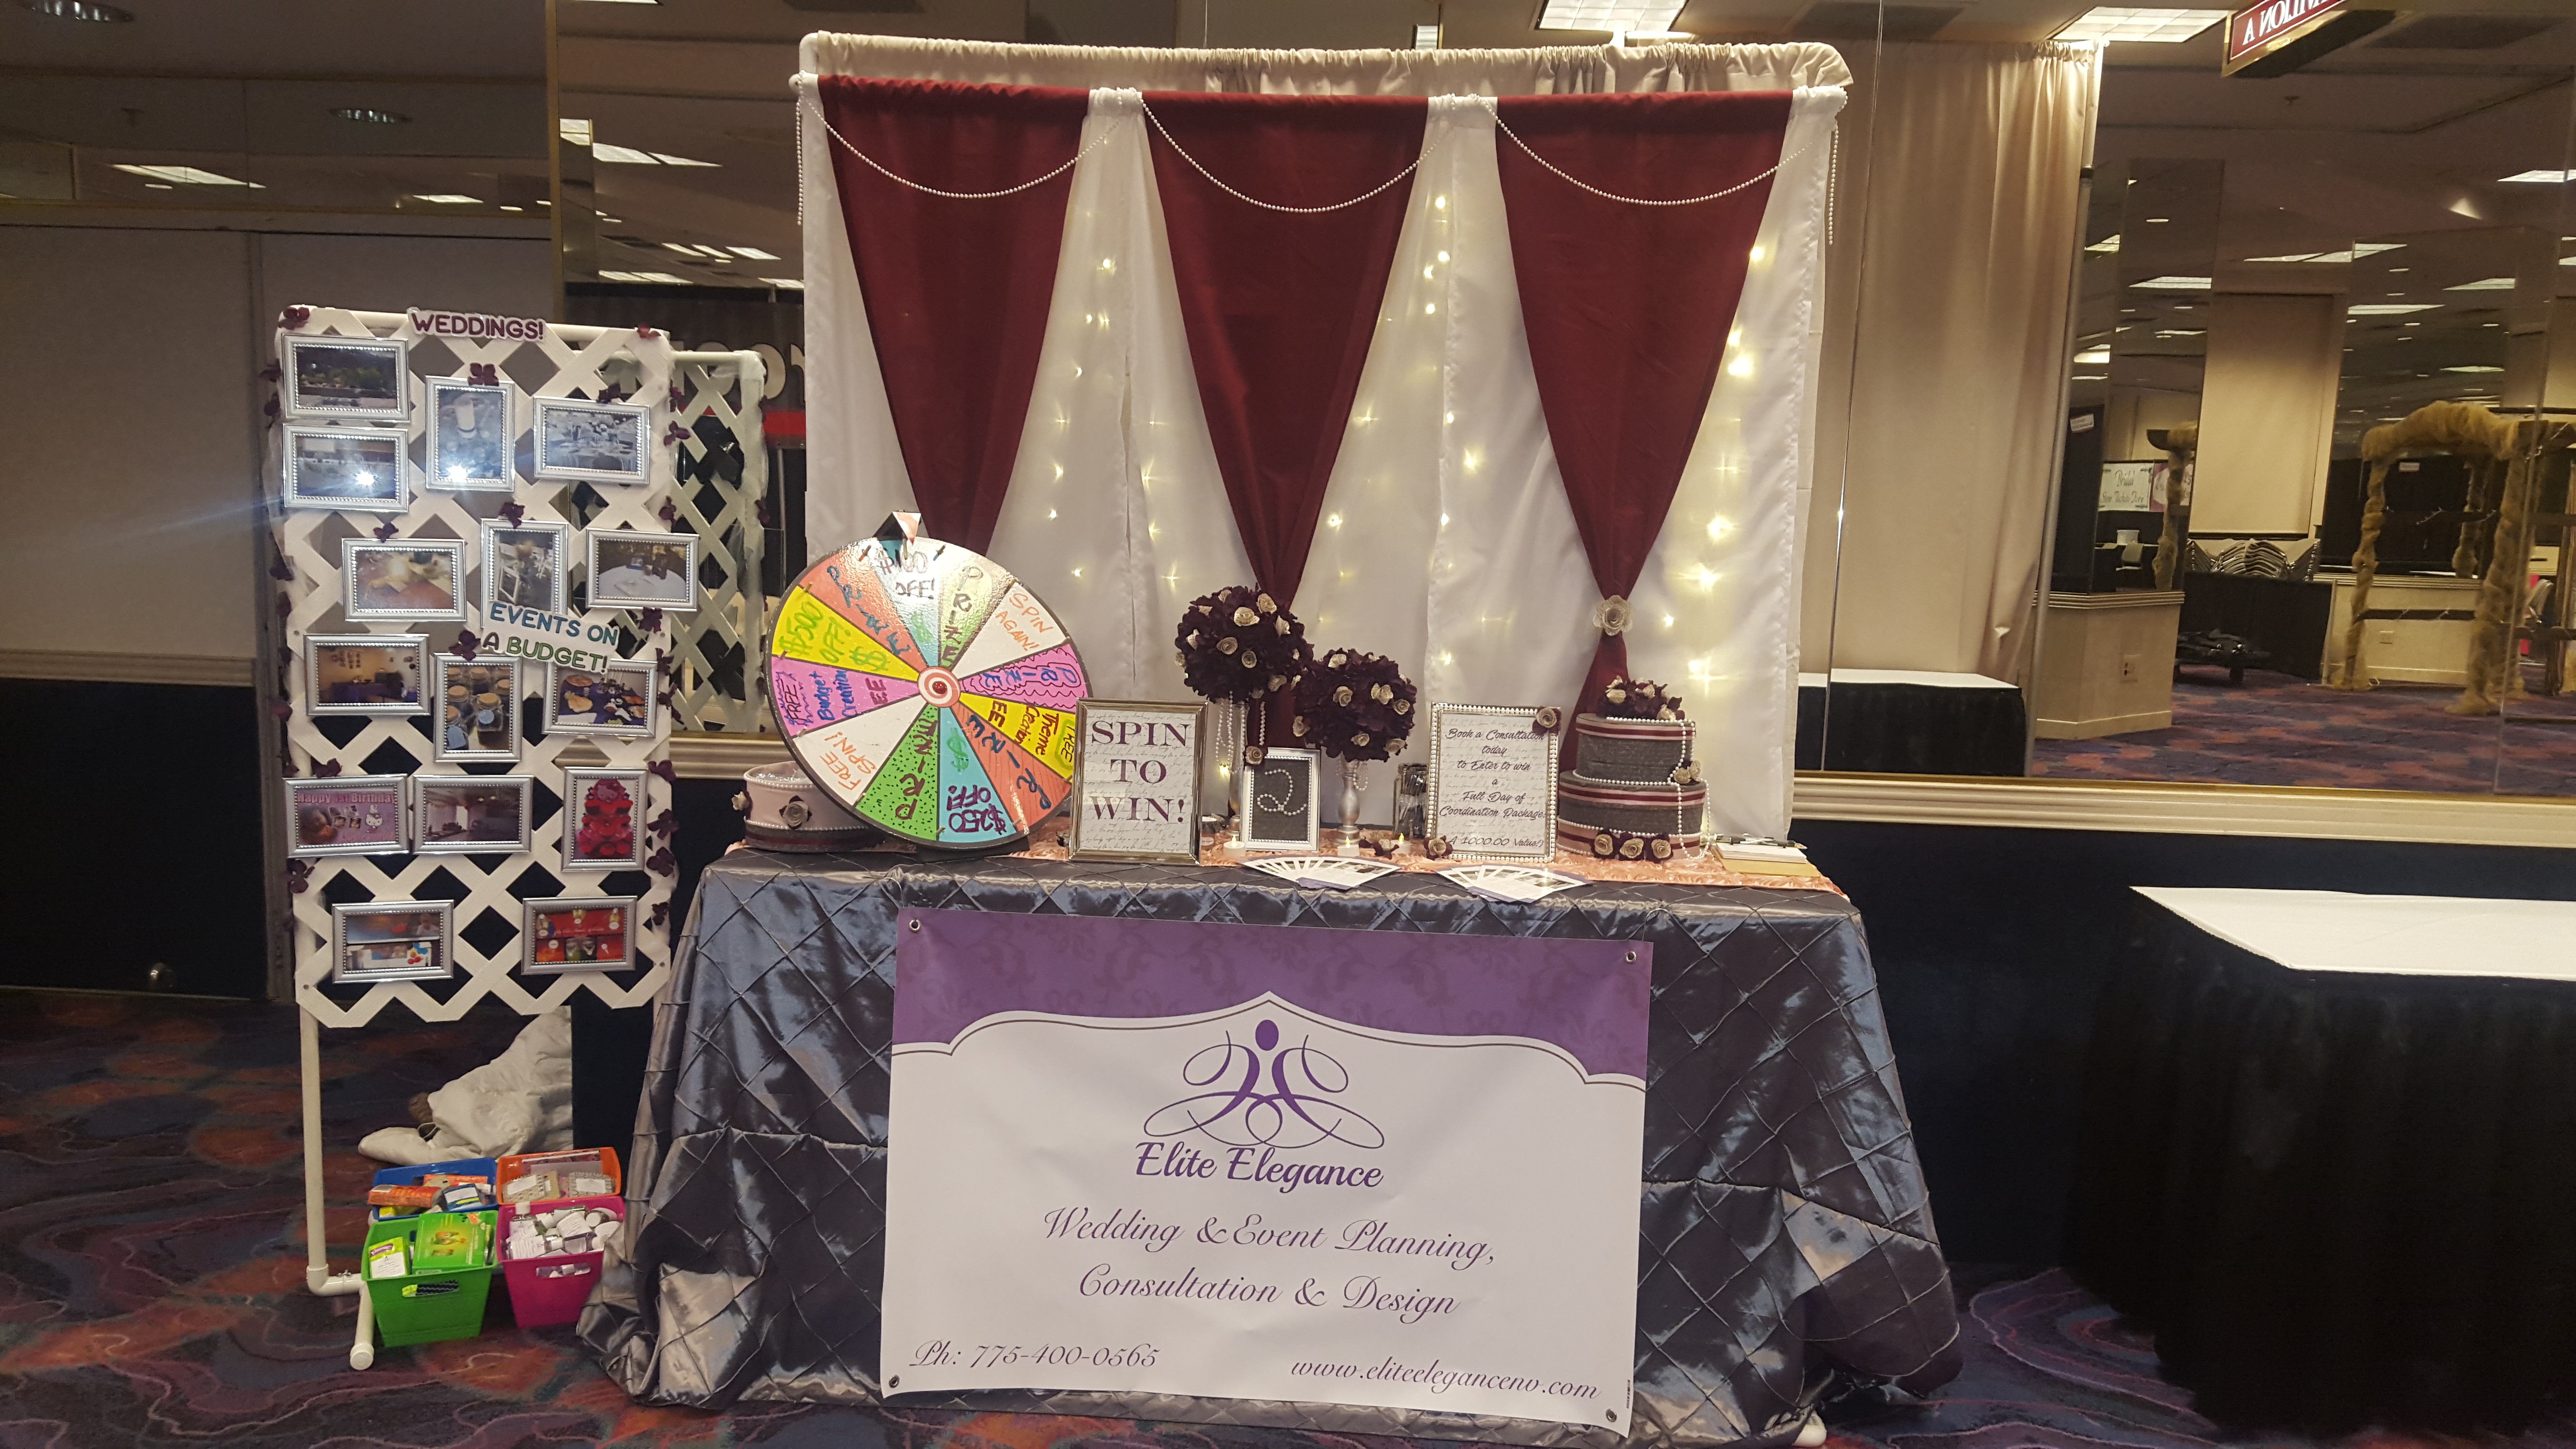
To be honest…I was quite pleased. It is my favorite part of wedding and event planning to create something so beautiful and personal to each couples liking. DIYing is also a passion of mine. I always say, pretty not pricey. If I can make something for half the cost of buying it…or if I envision something similar to what I’ve seen I’m all about making things. So, for today’s tutorial…I wanted to show you how I made the centerpiece for my table.
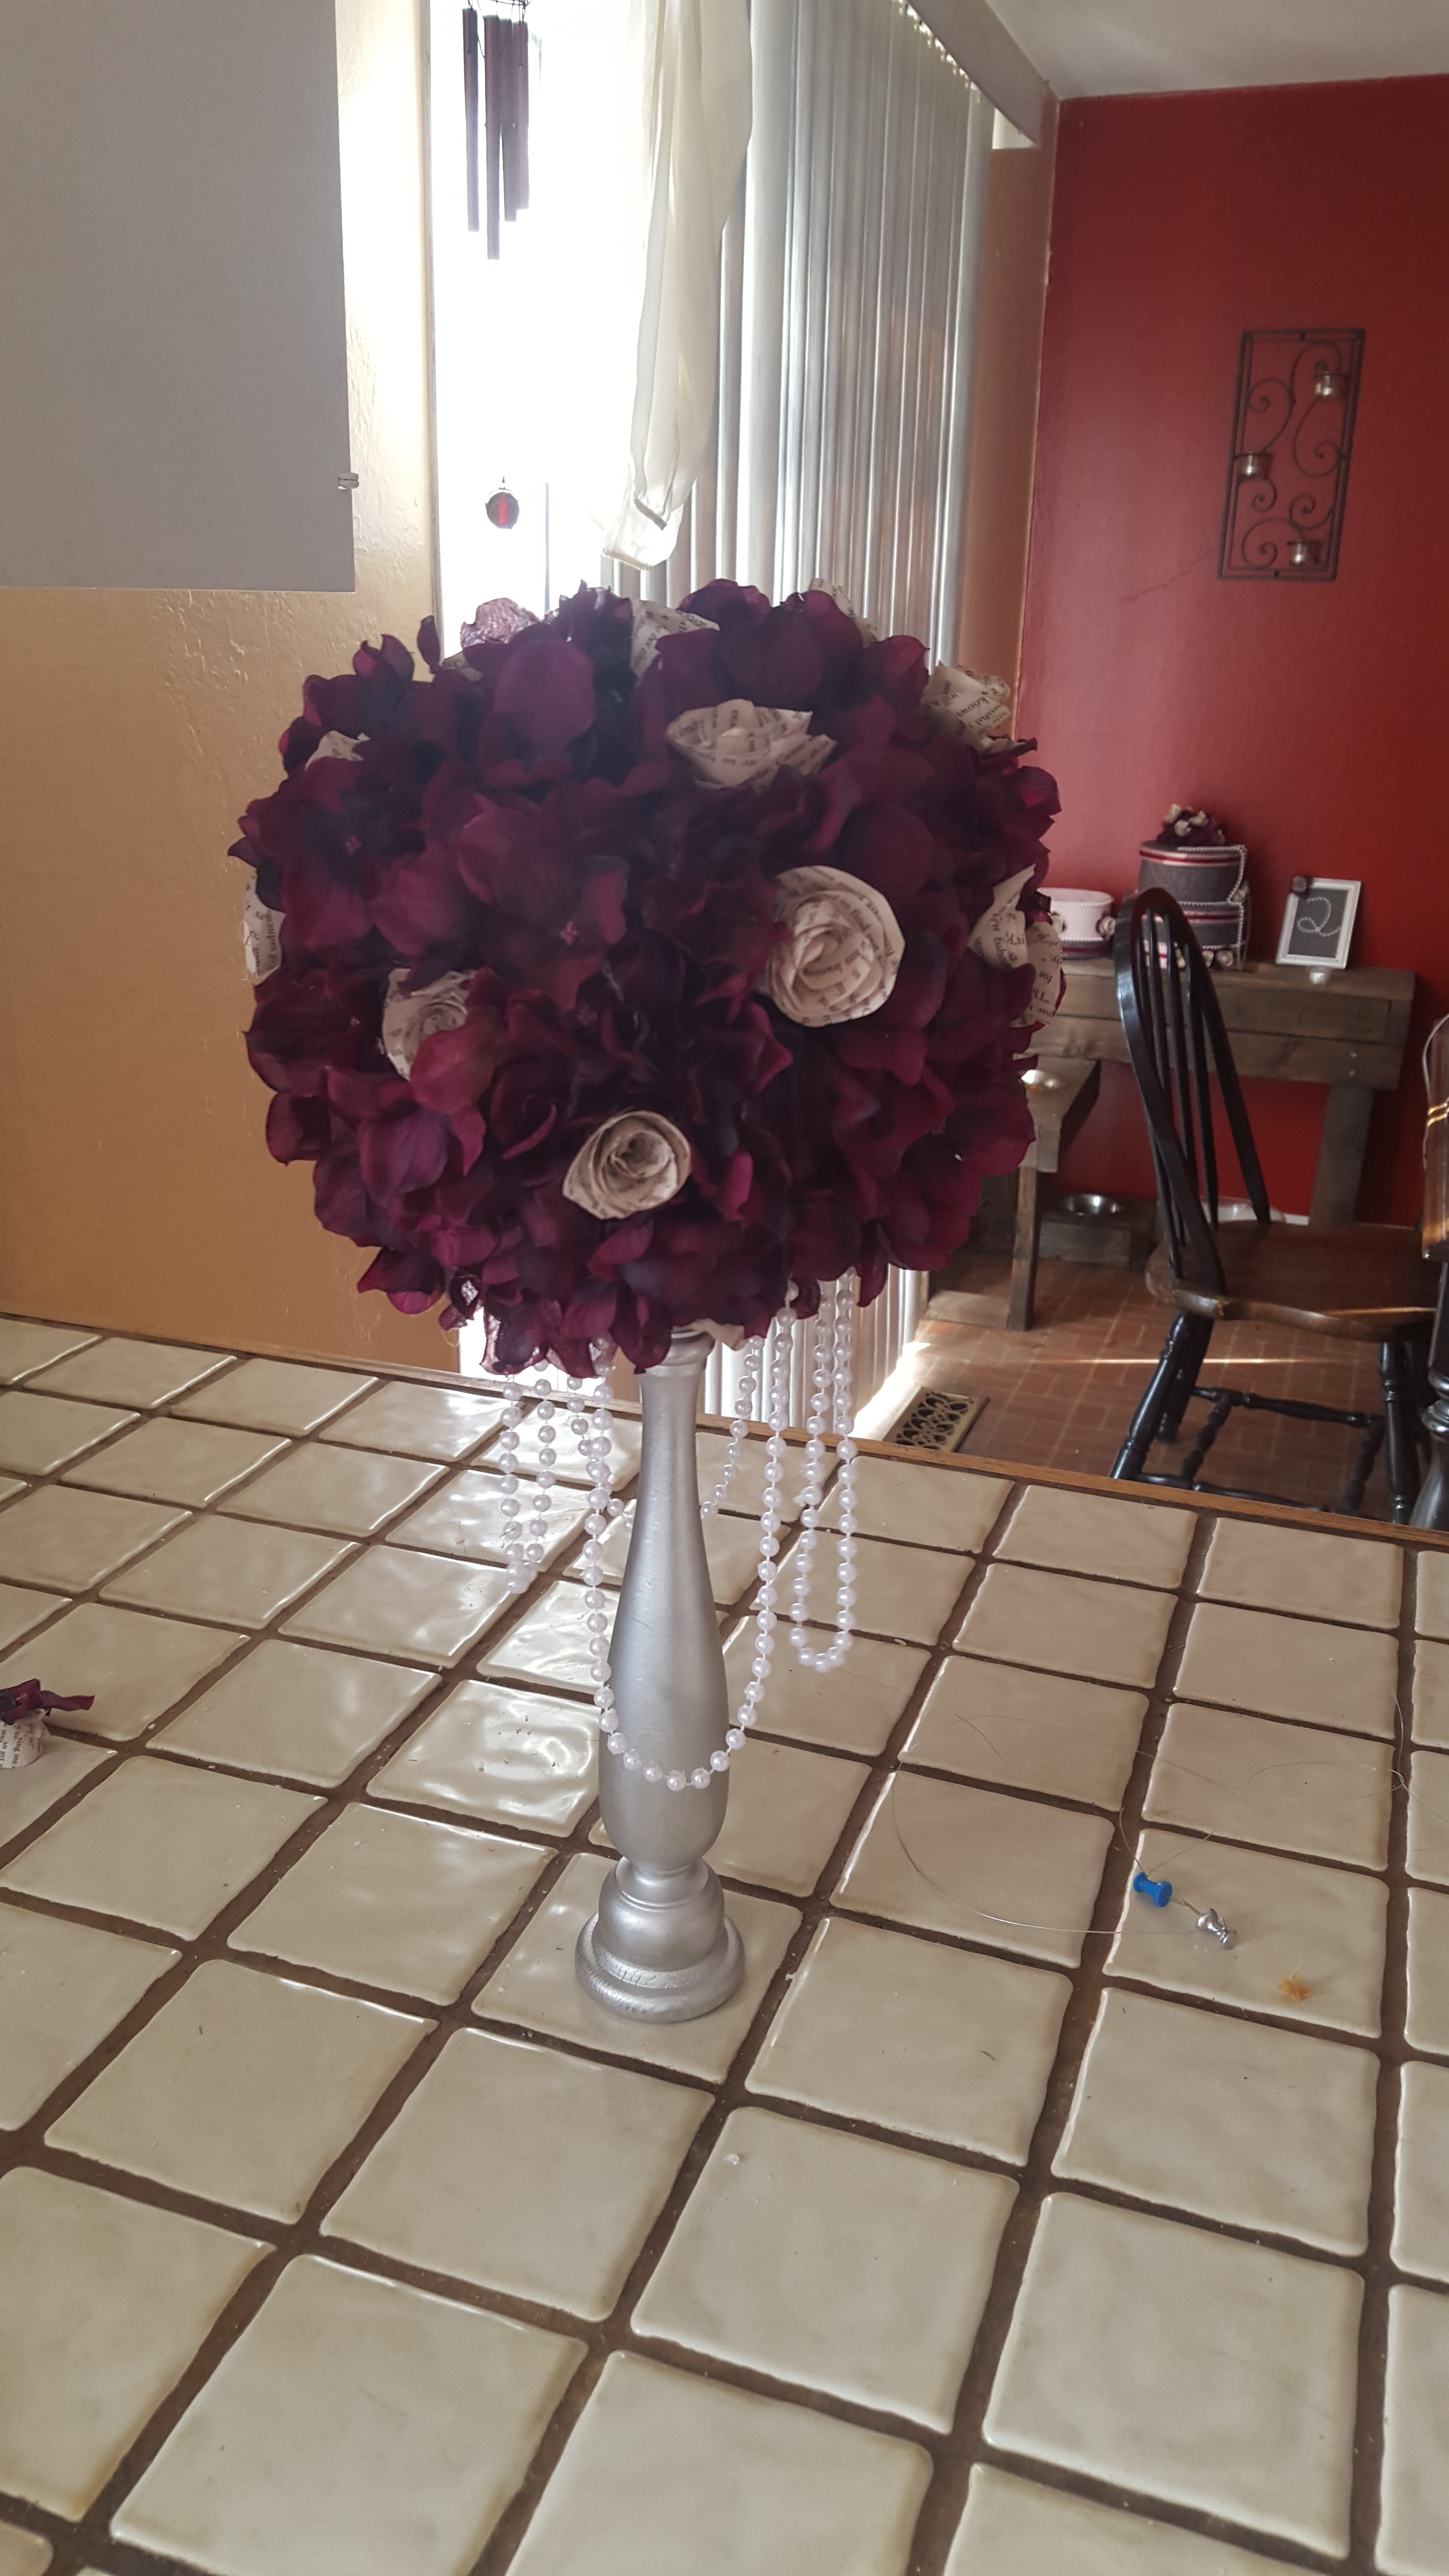
I made two of these, staggered heights. I love these pieces. I also love the prices of these pieces! I made 2 of these for about 8.00 total!
Here is what I used…
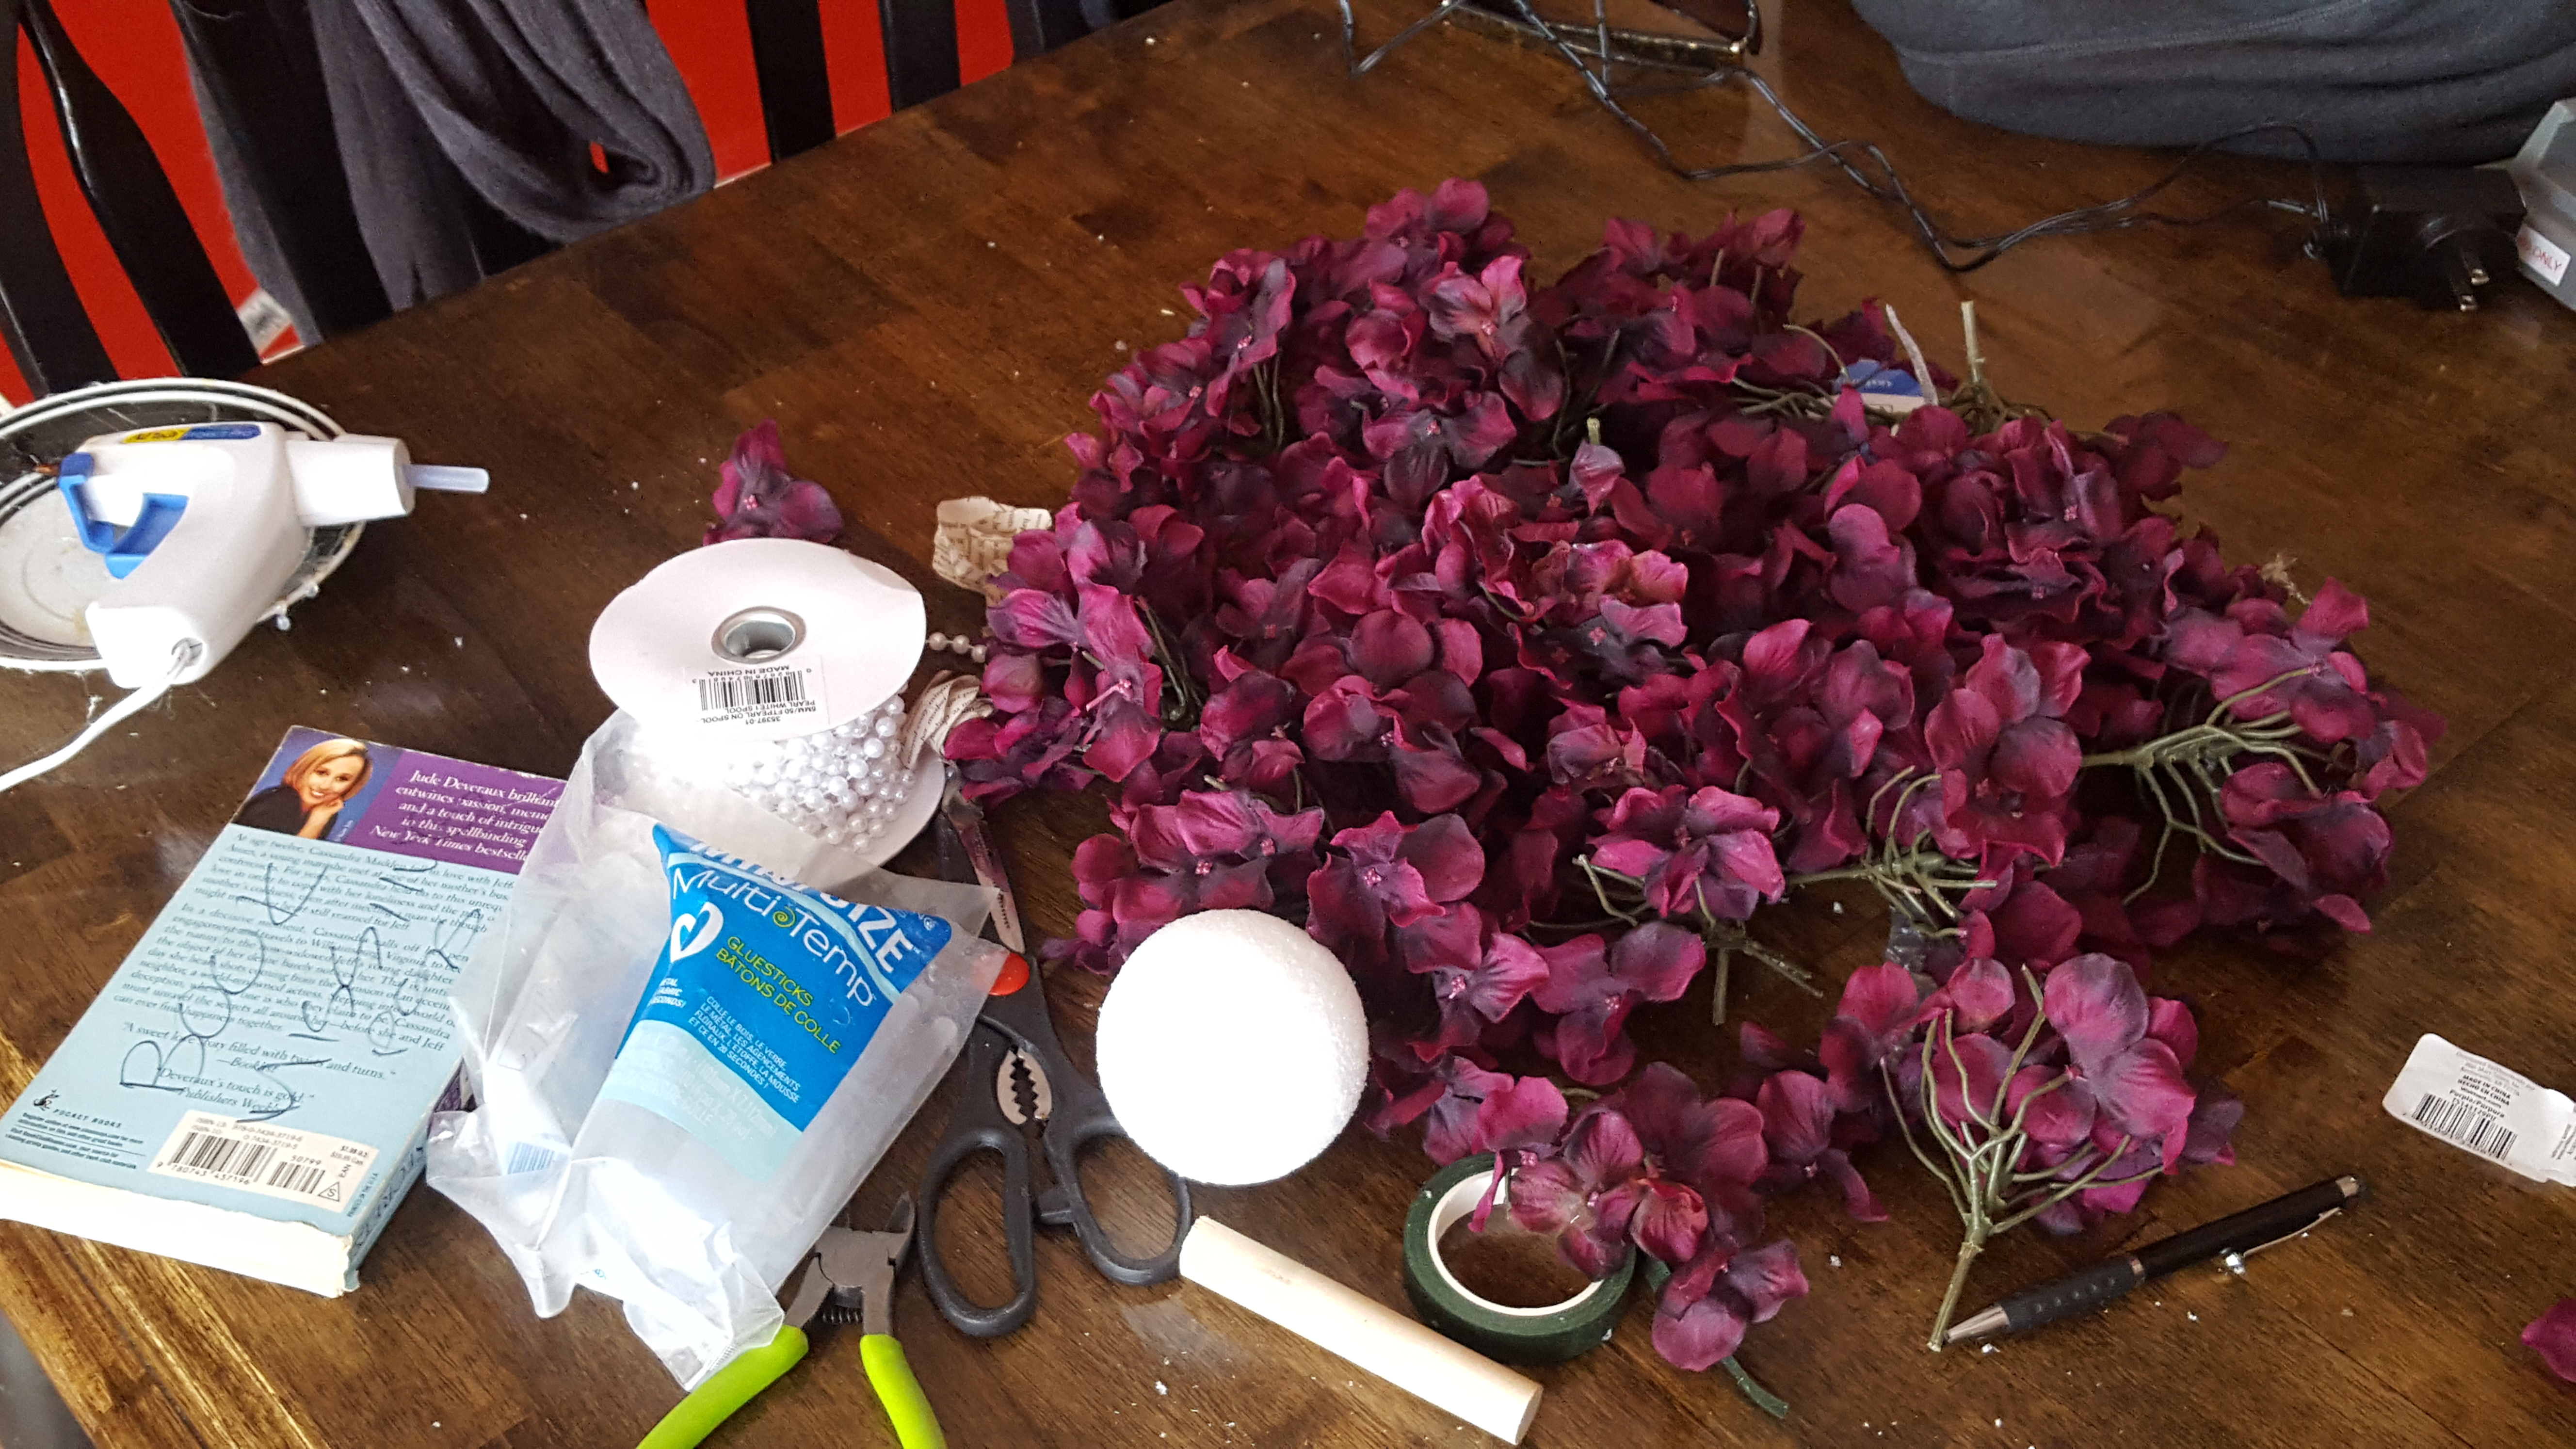
1 4 inch styrofoam ball
floral wire
floral tape
1-2 bunches of fake flowers (I used plum hydrangeas).
String pearls (I found mine on amazon)
Ornament hooks (I found those at the dollar store)
Wire cutters
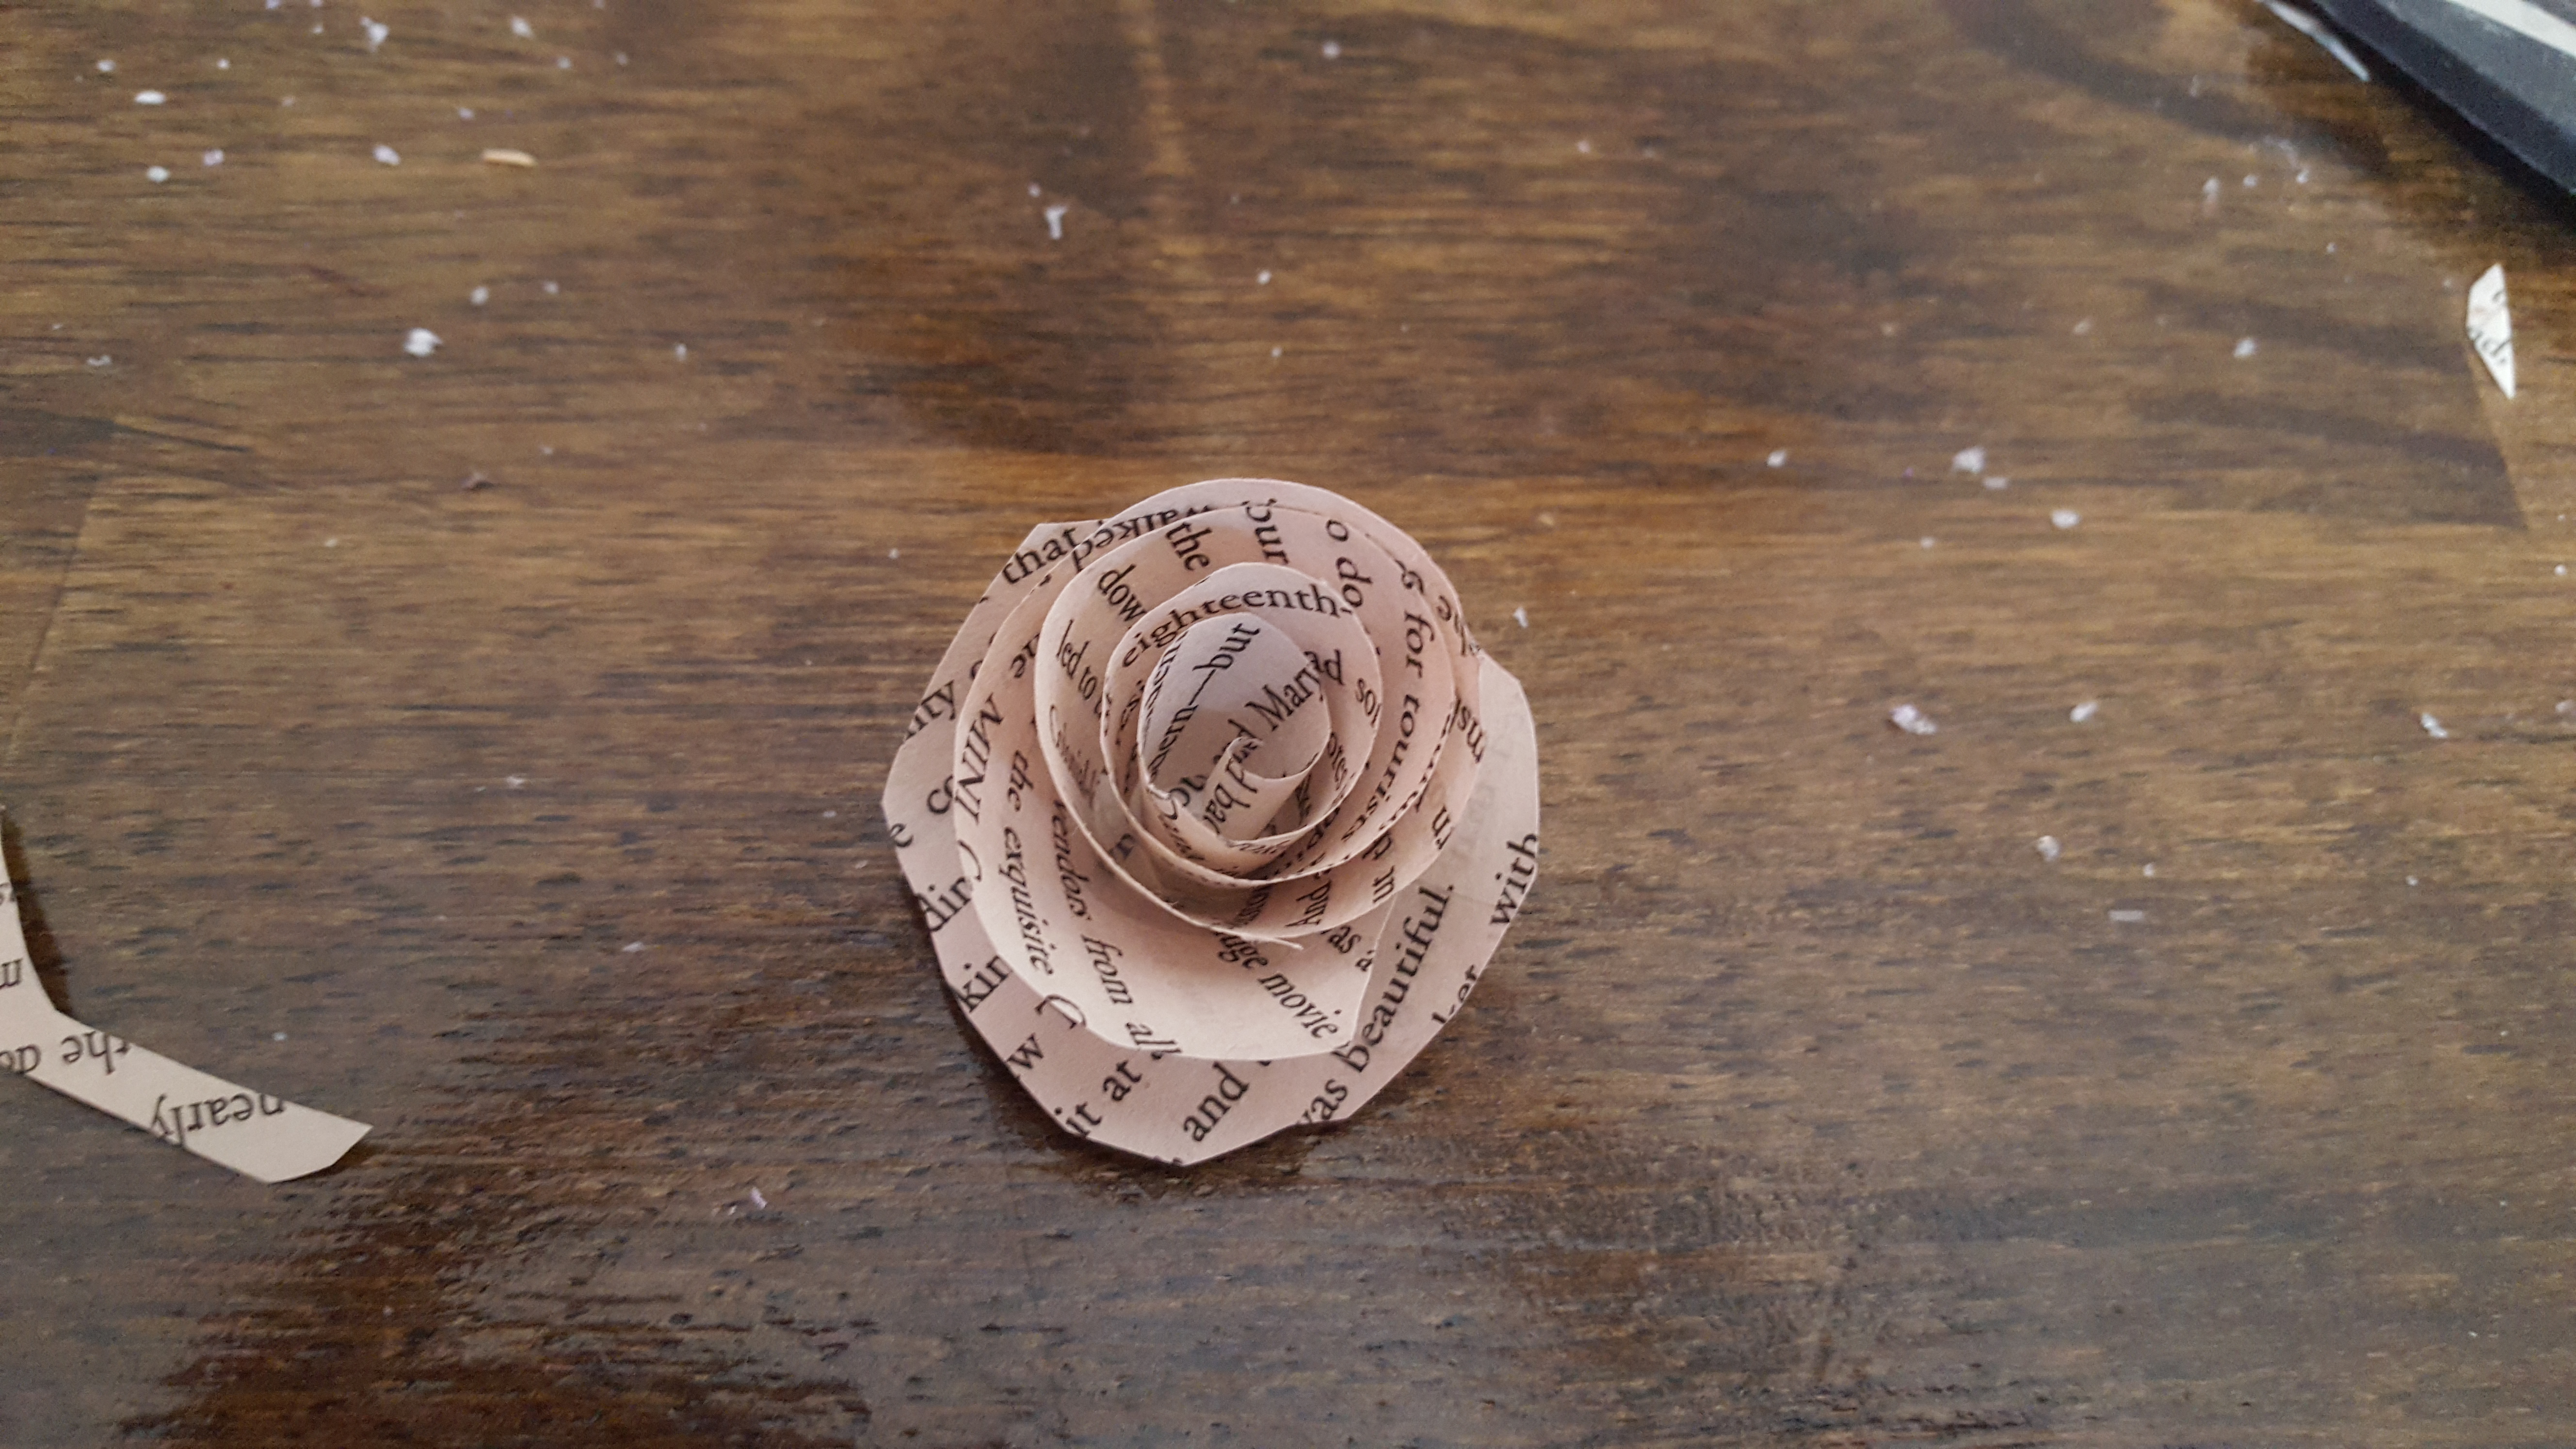
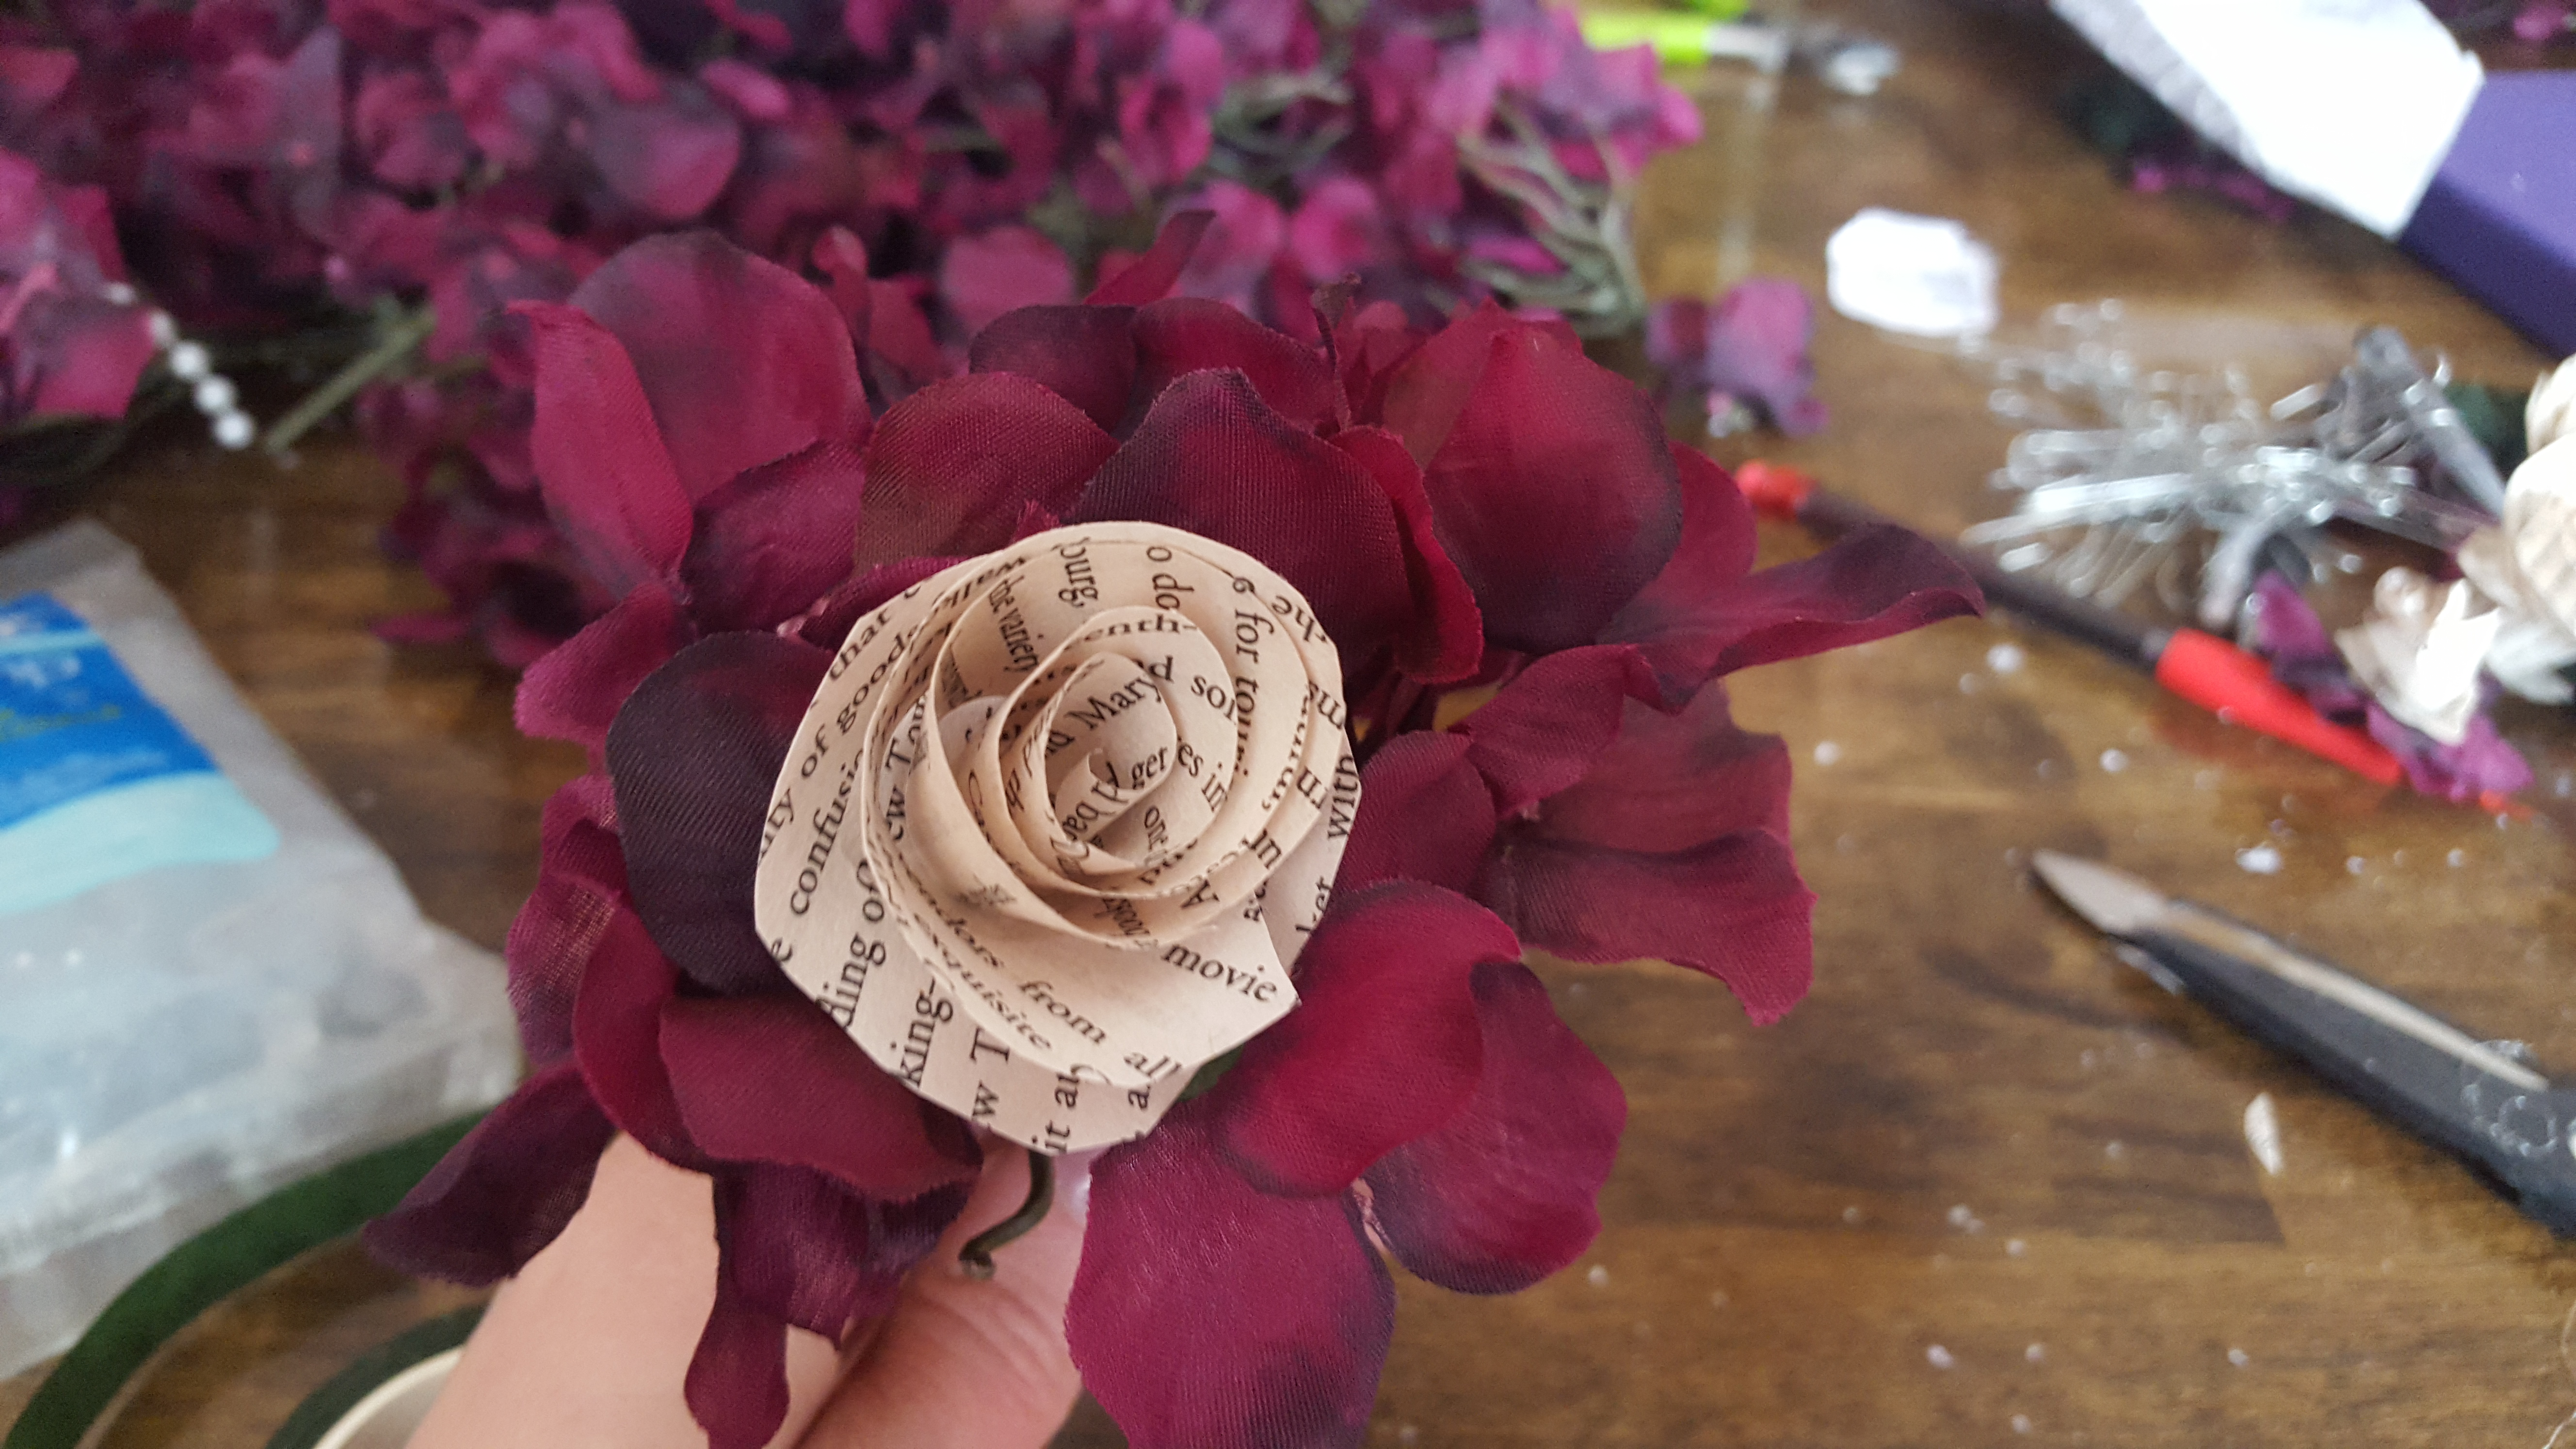
An old book (preferably one with a vintage look-where the pages have yellowed a bit)
scissors
A glue Gun
Not pictured- wooden candlestick holders (they sell these at Michaels, but I found 3 on etsy for about 12.00 total.)
Silver or chrome spray paint
a dowel (cut to height, about 2 to 3 inches in length)
So the first thing we did, is grabbed the styrofoam ball and marked the bottom.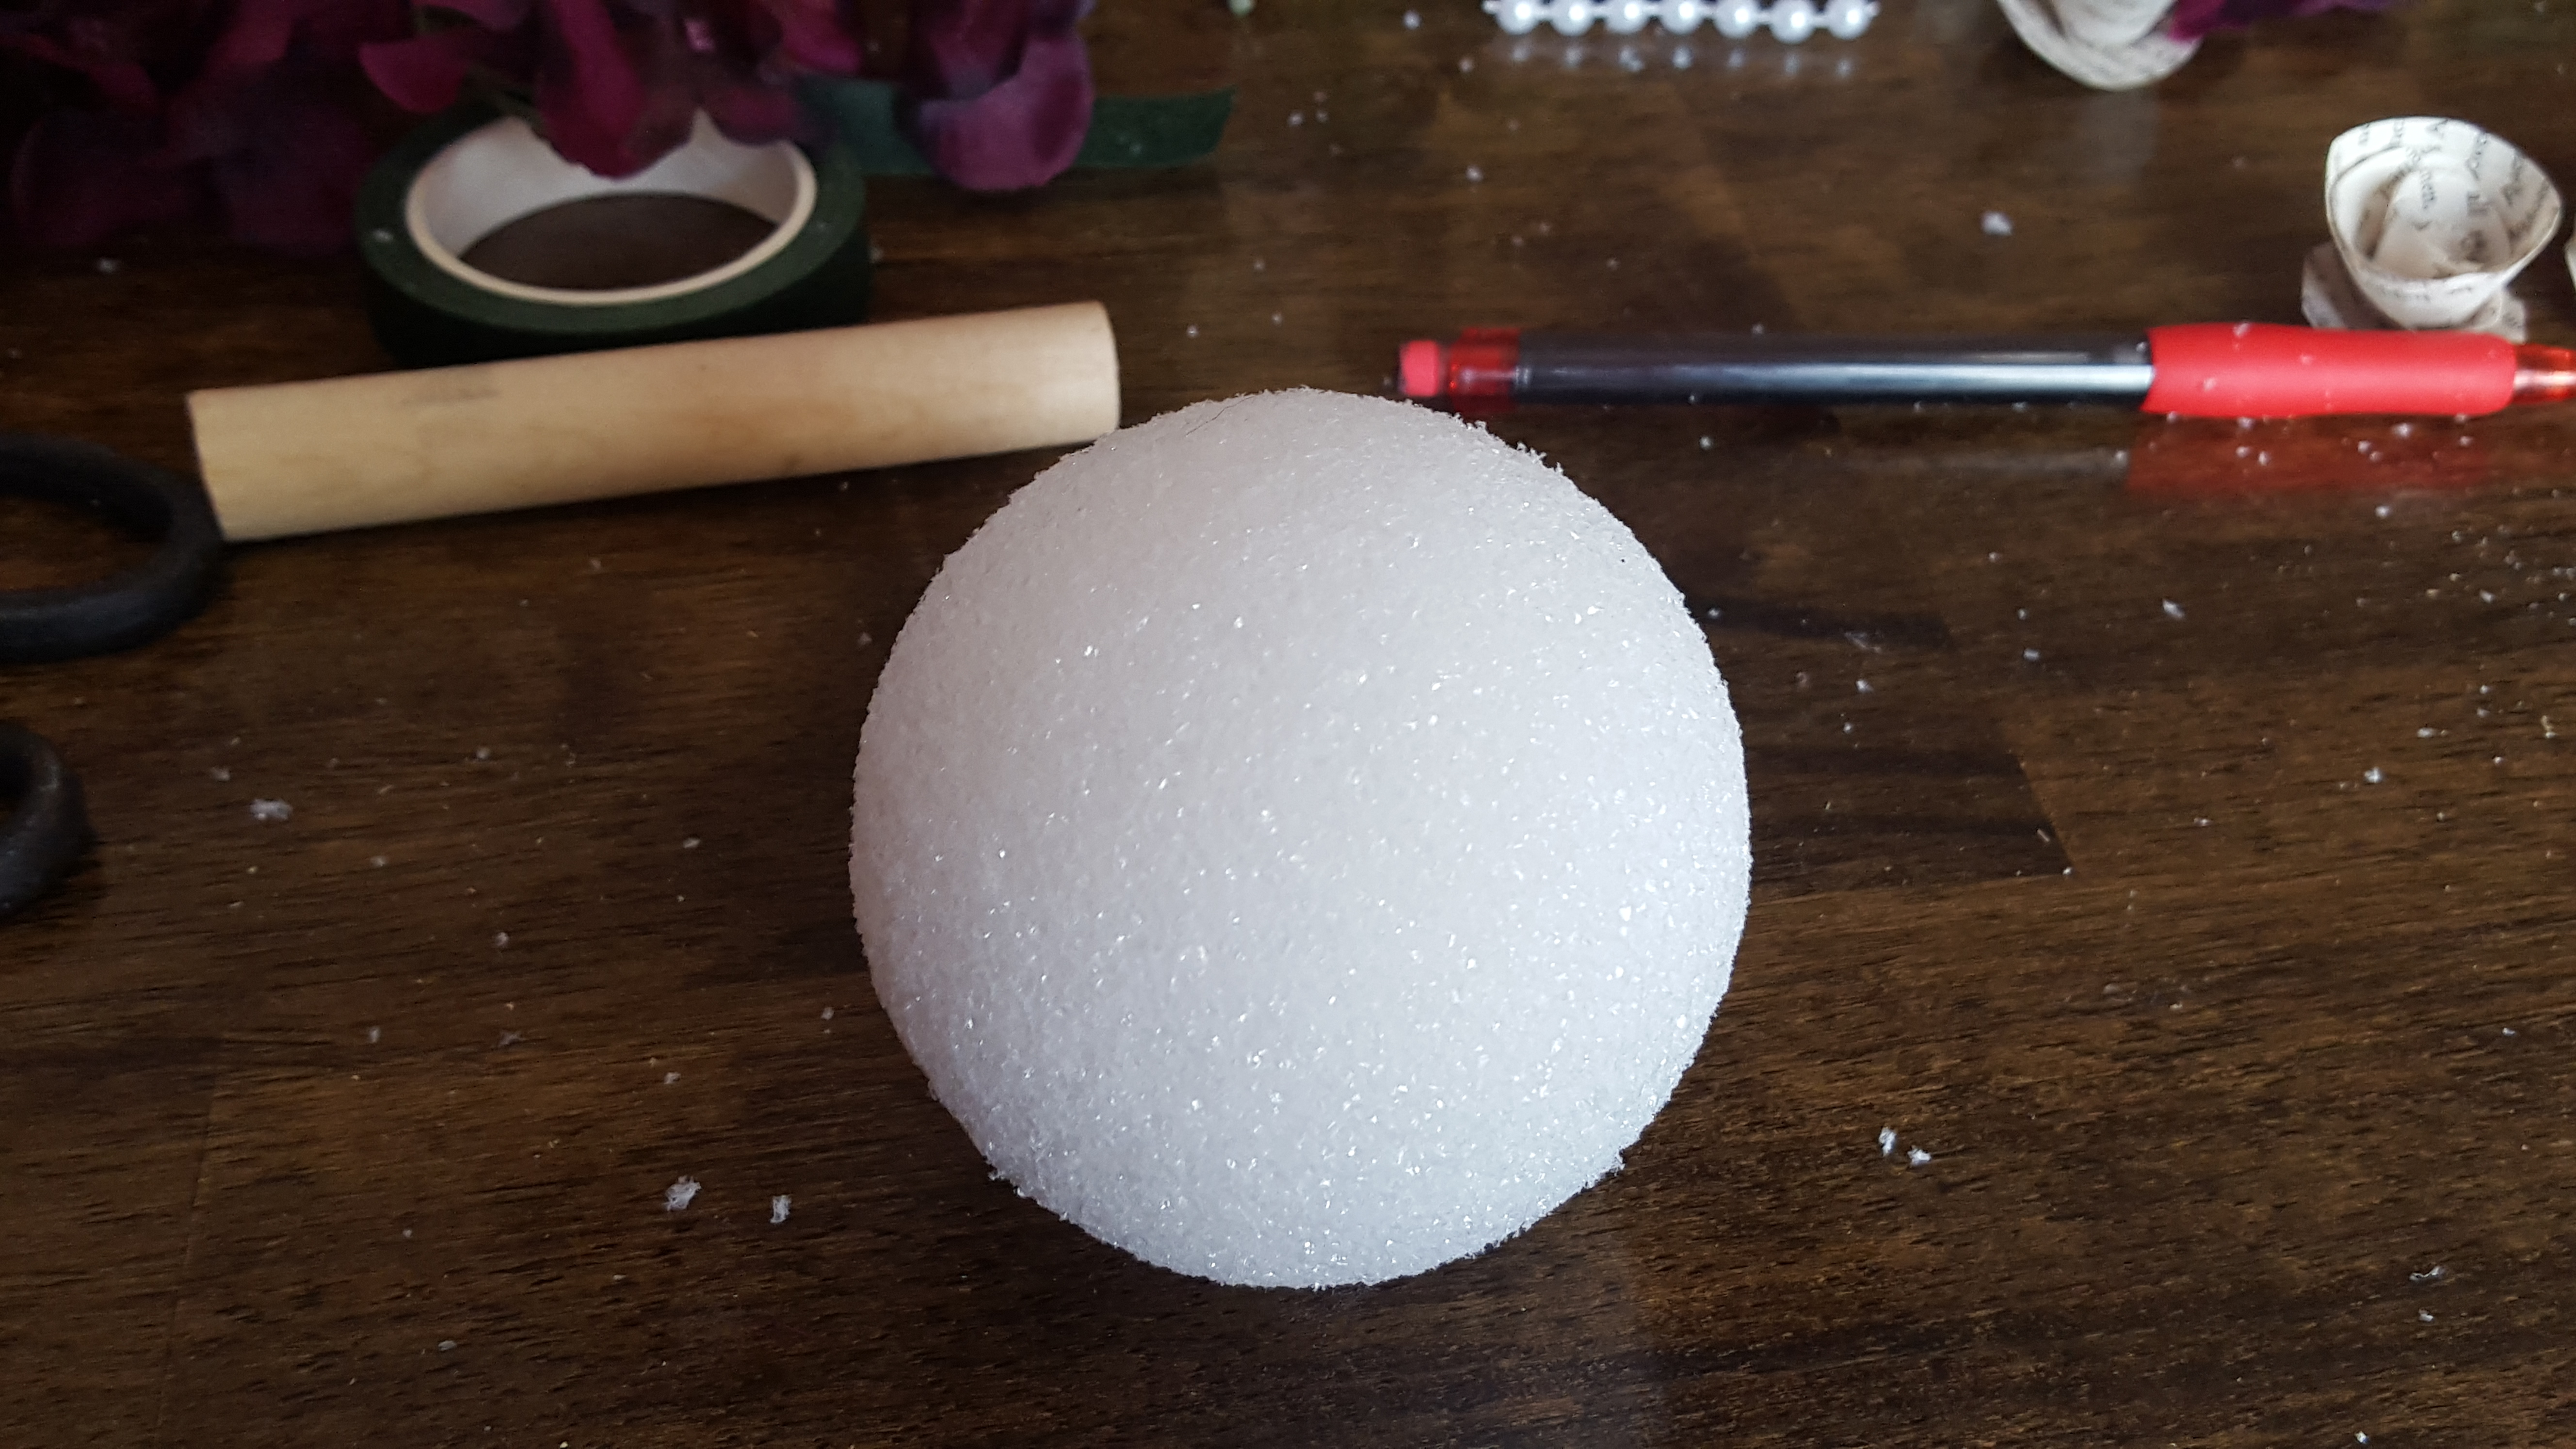
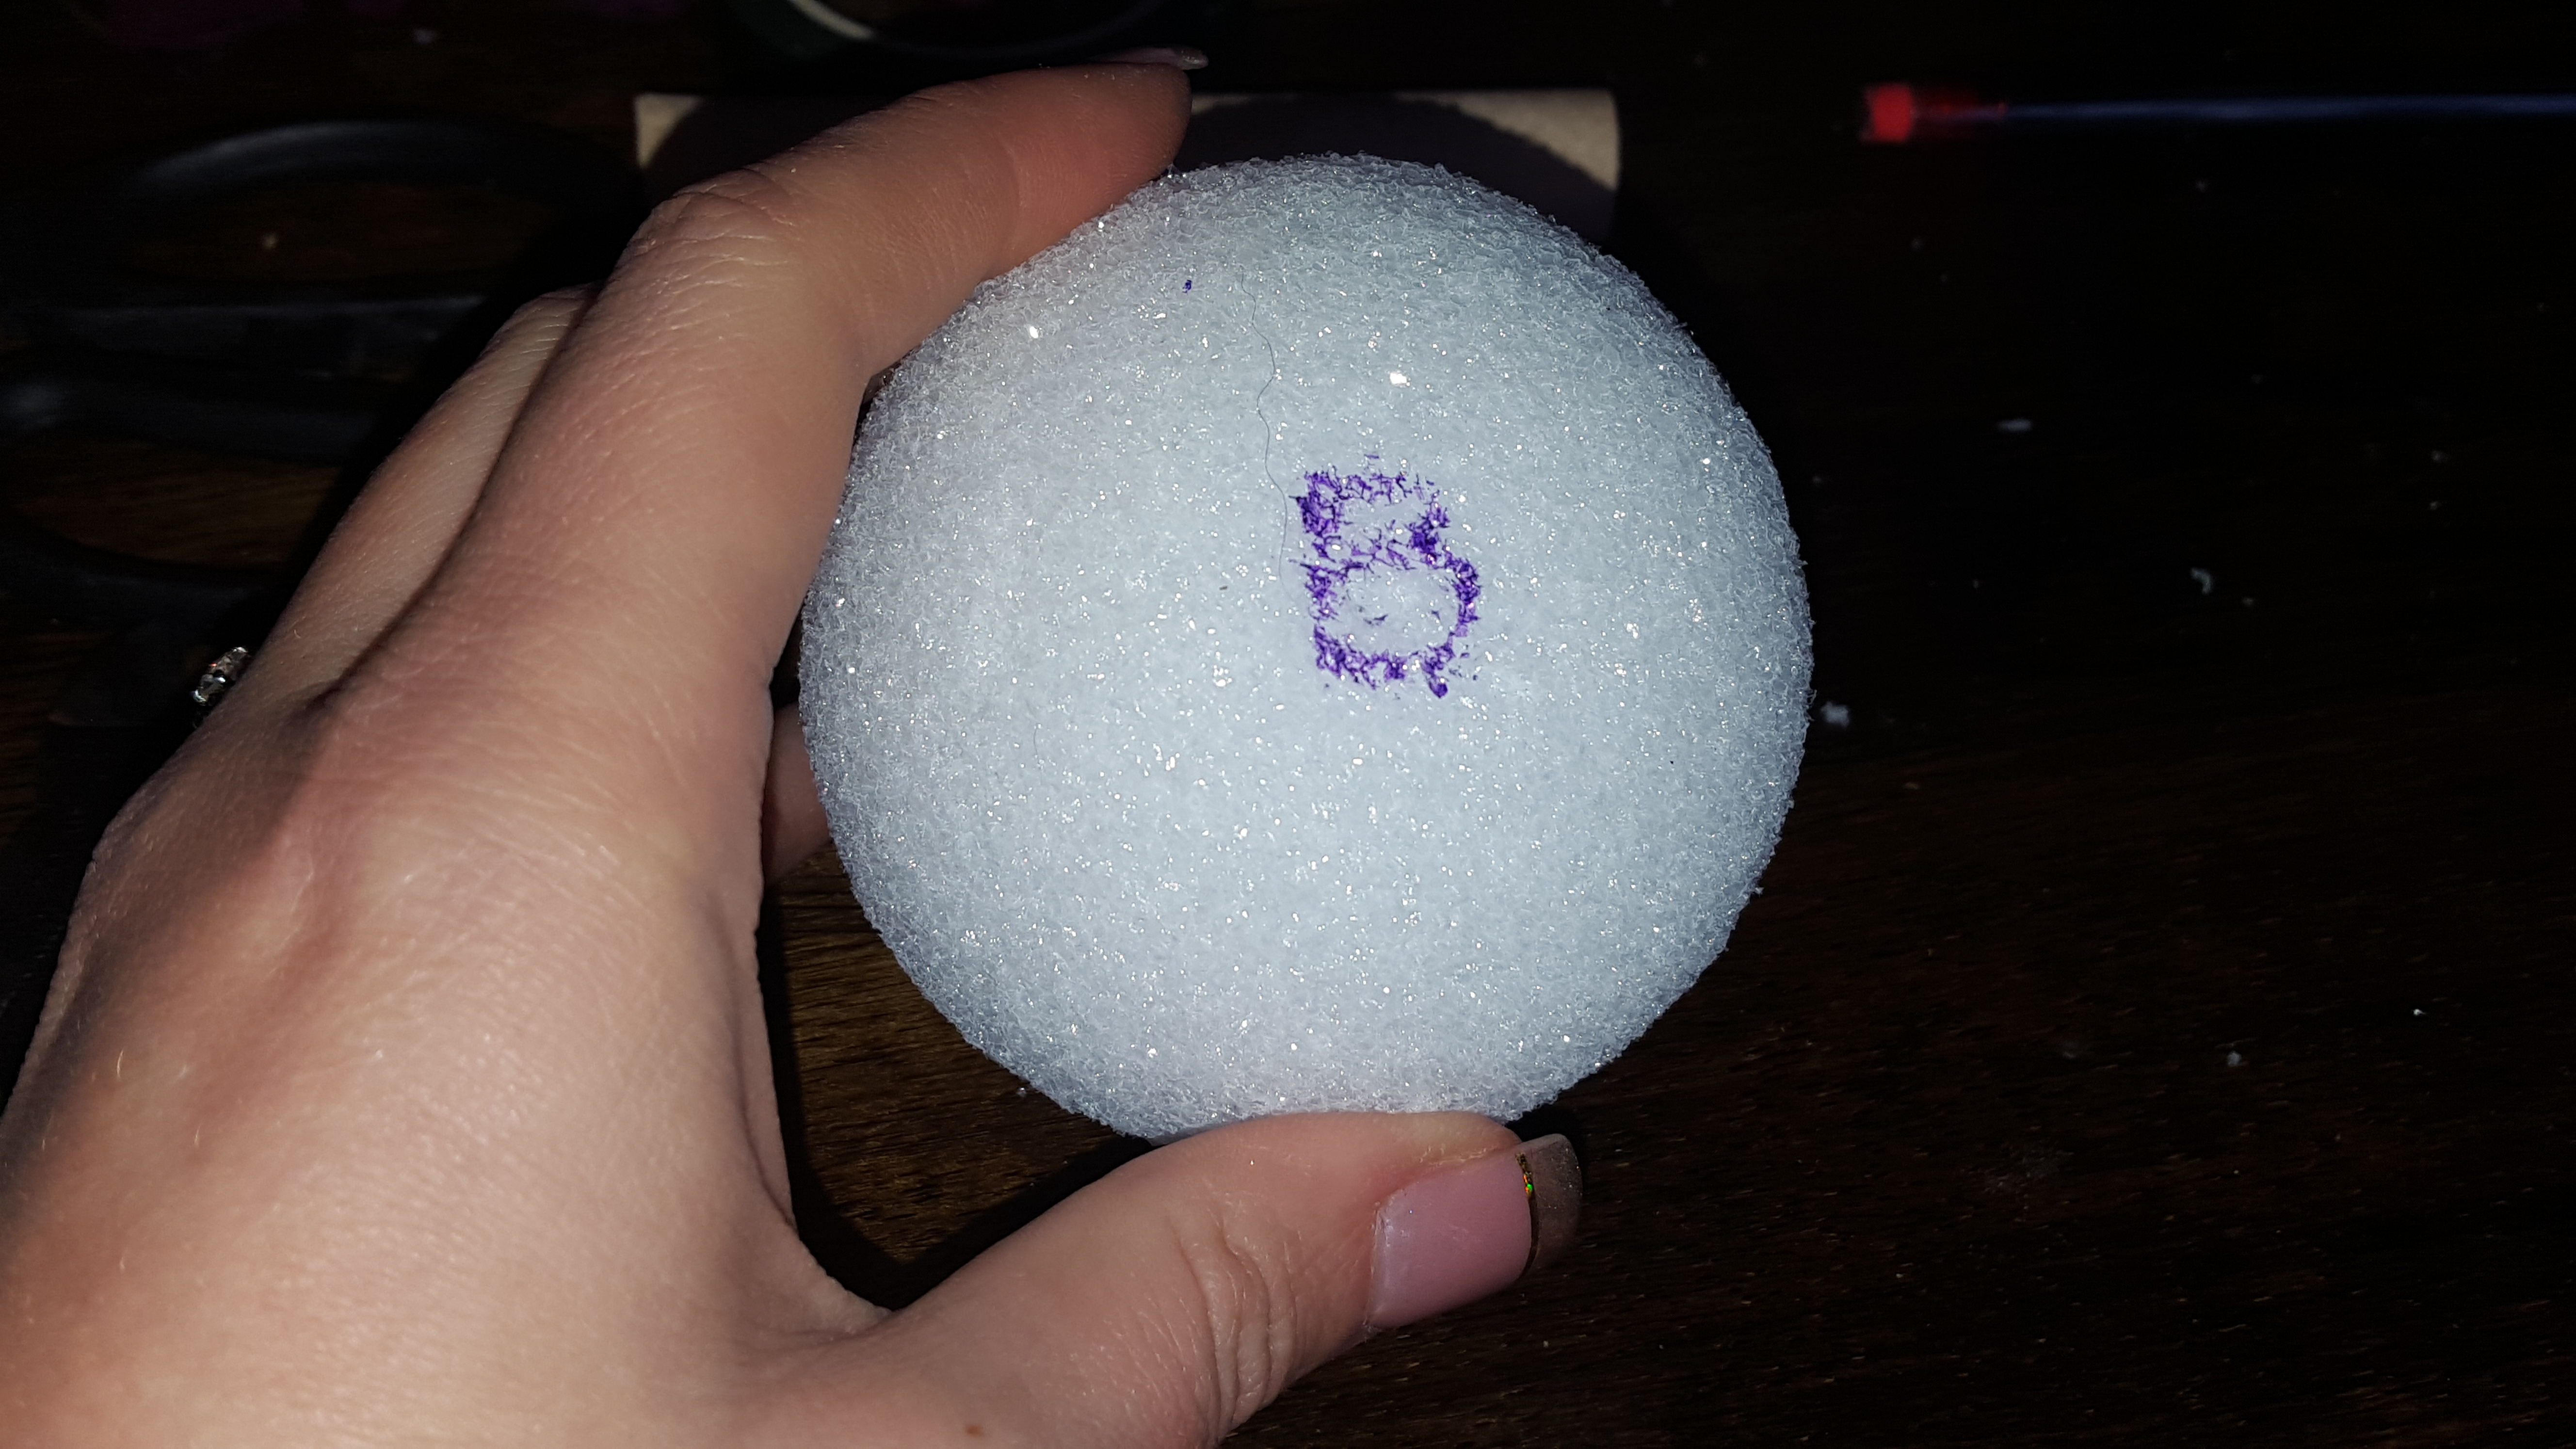
Then I stuck the dowel in as far in as where the ball felt sturdy at the marking on the bottom.

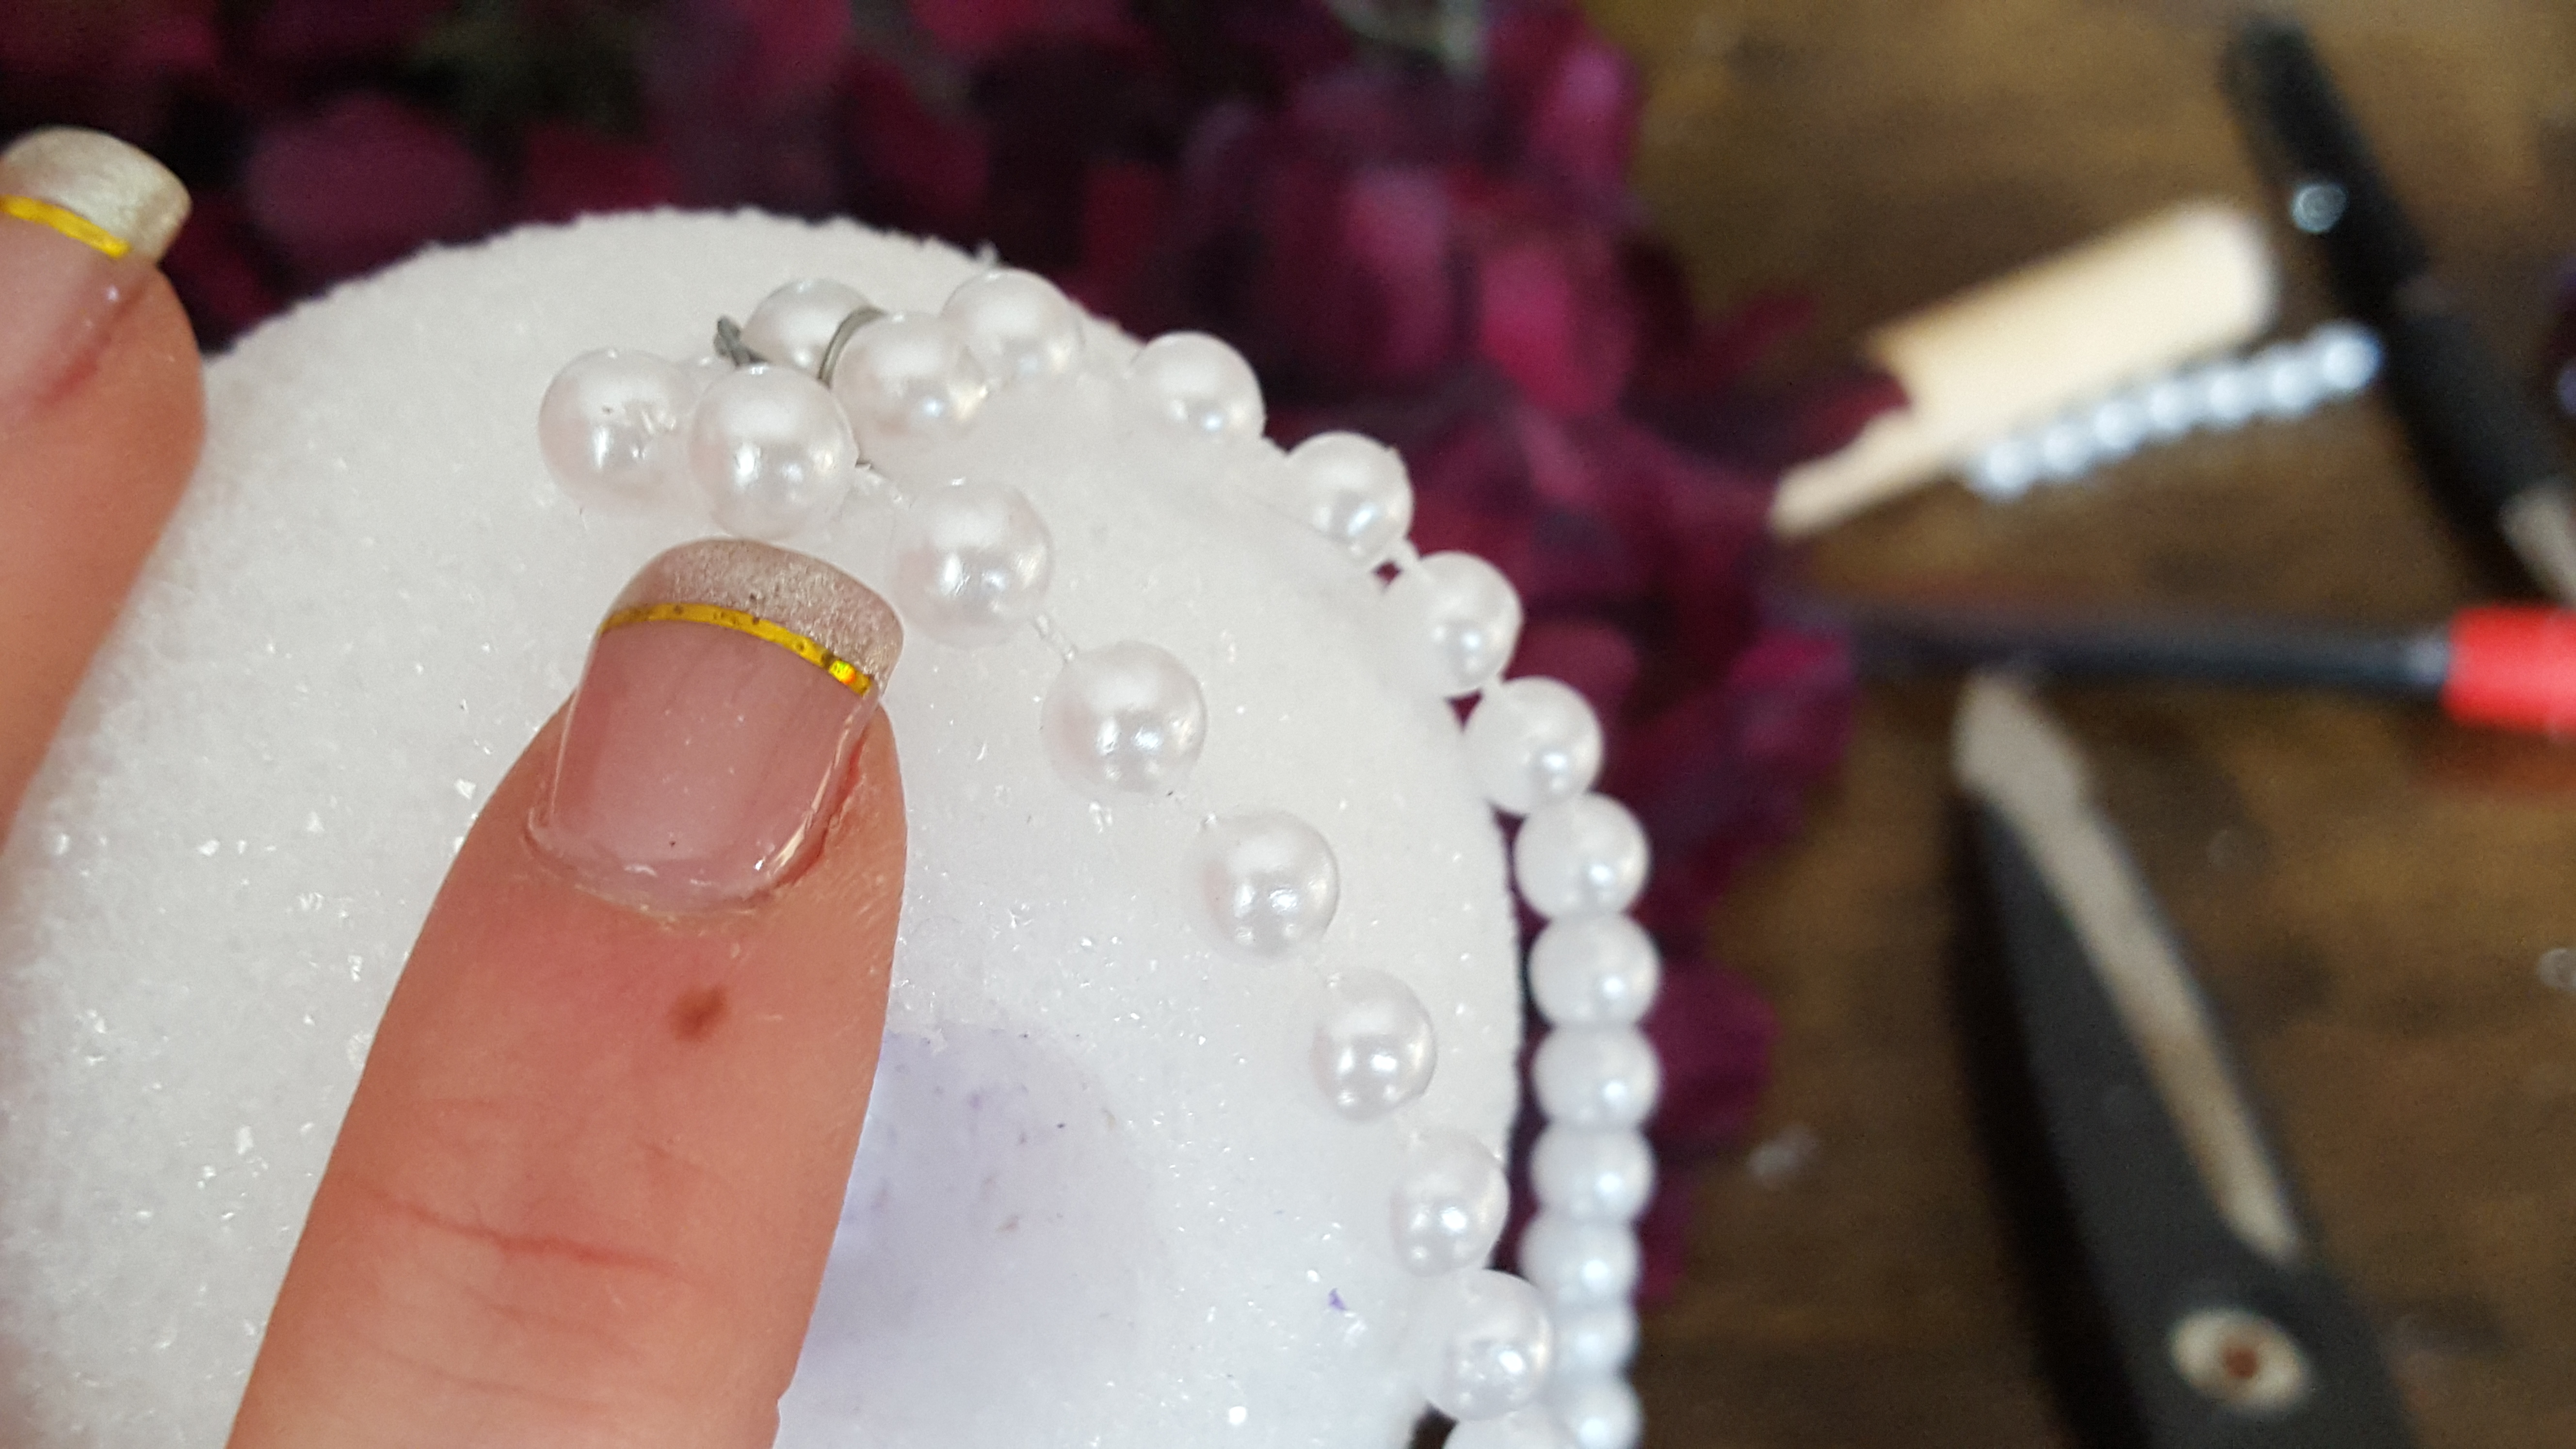
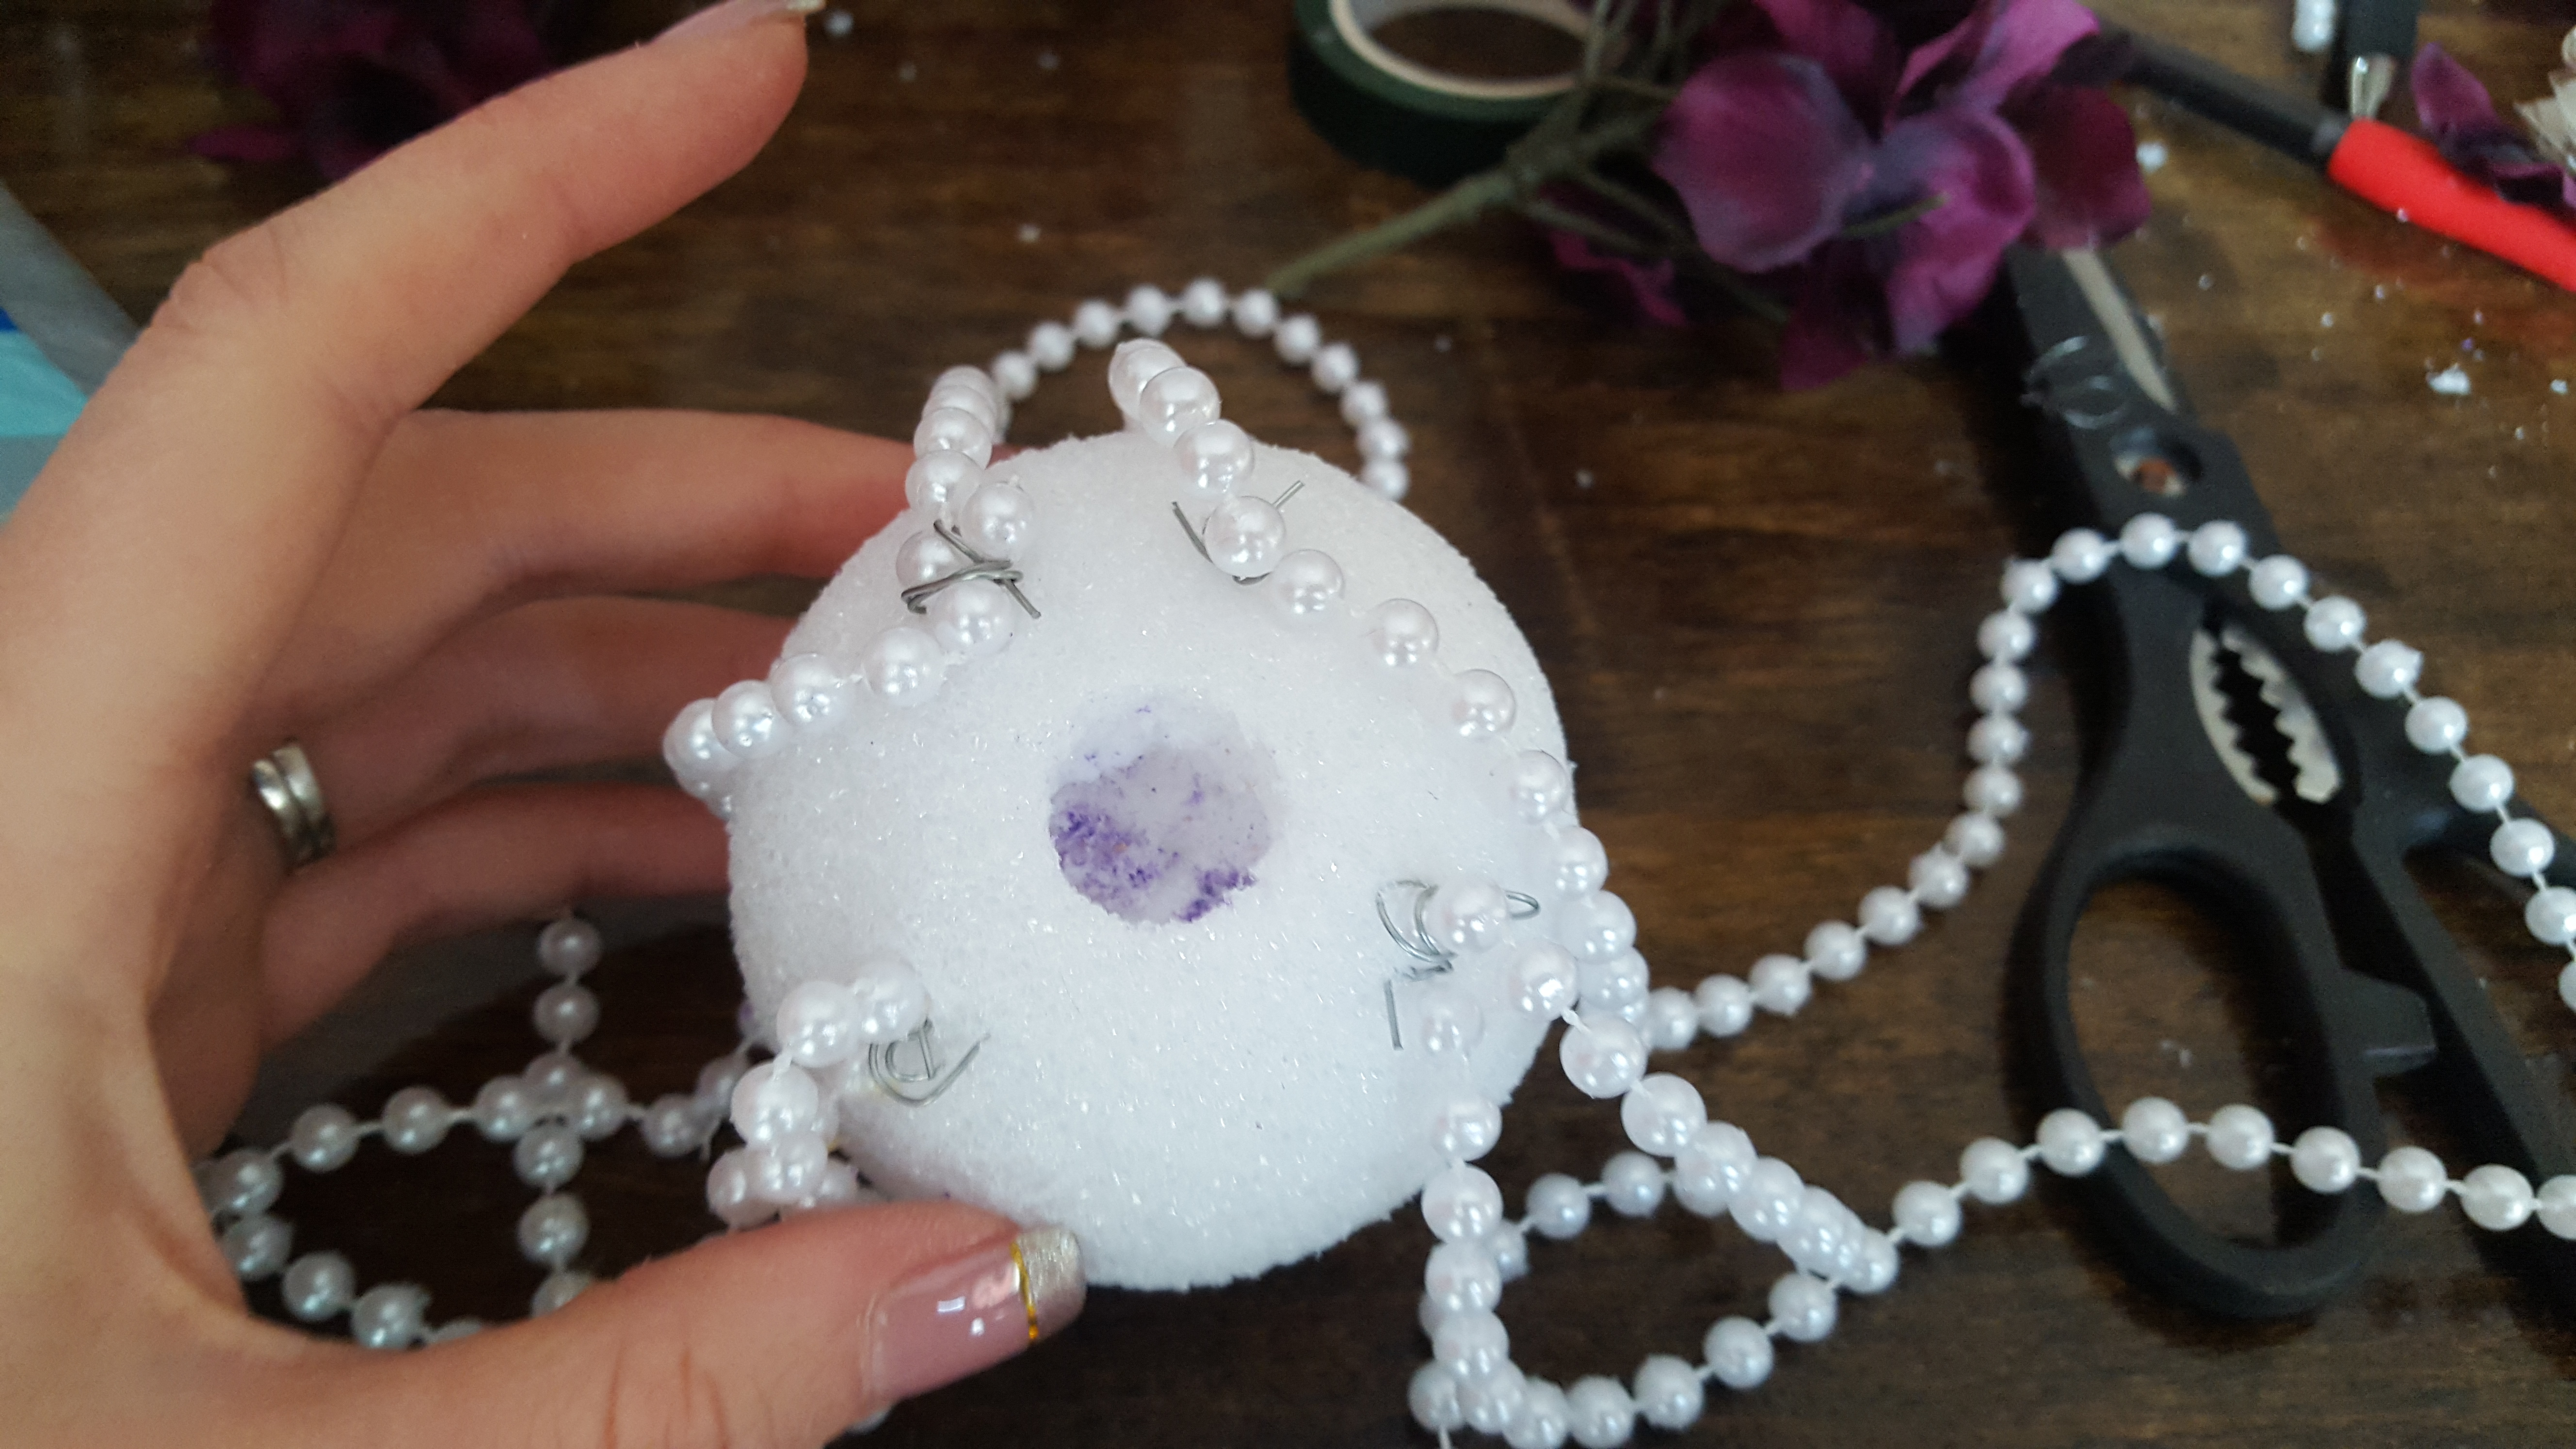
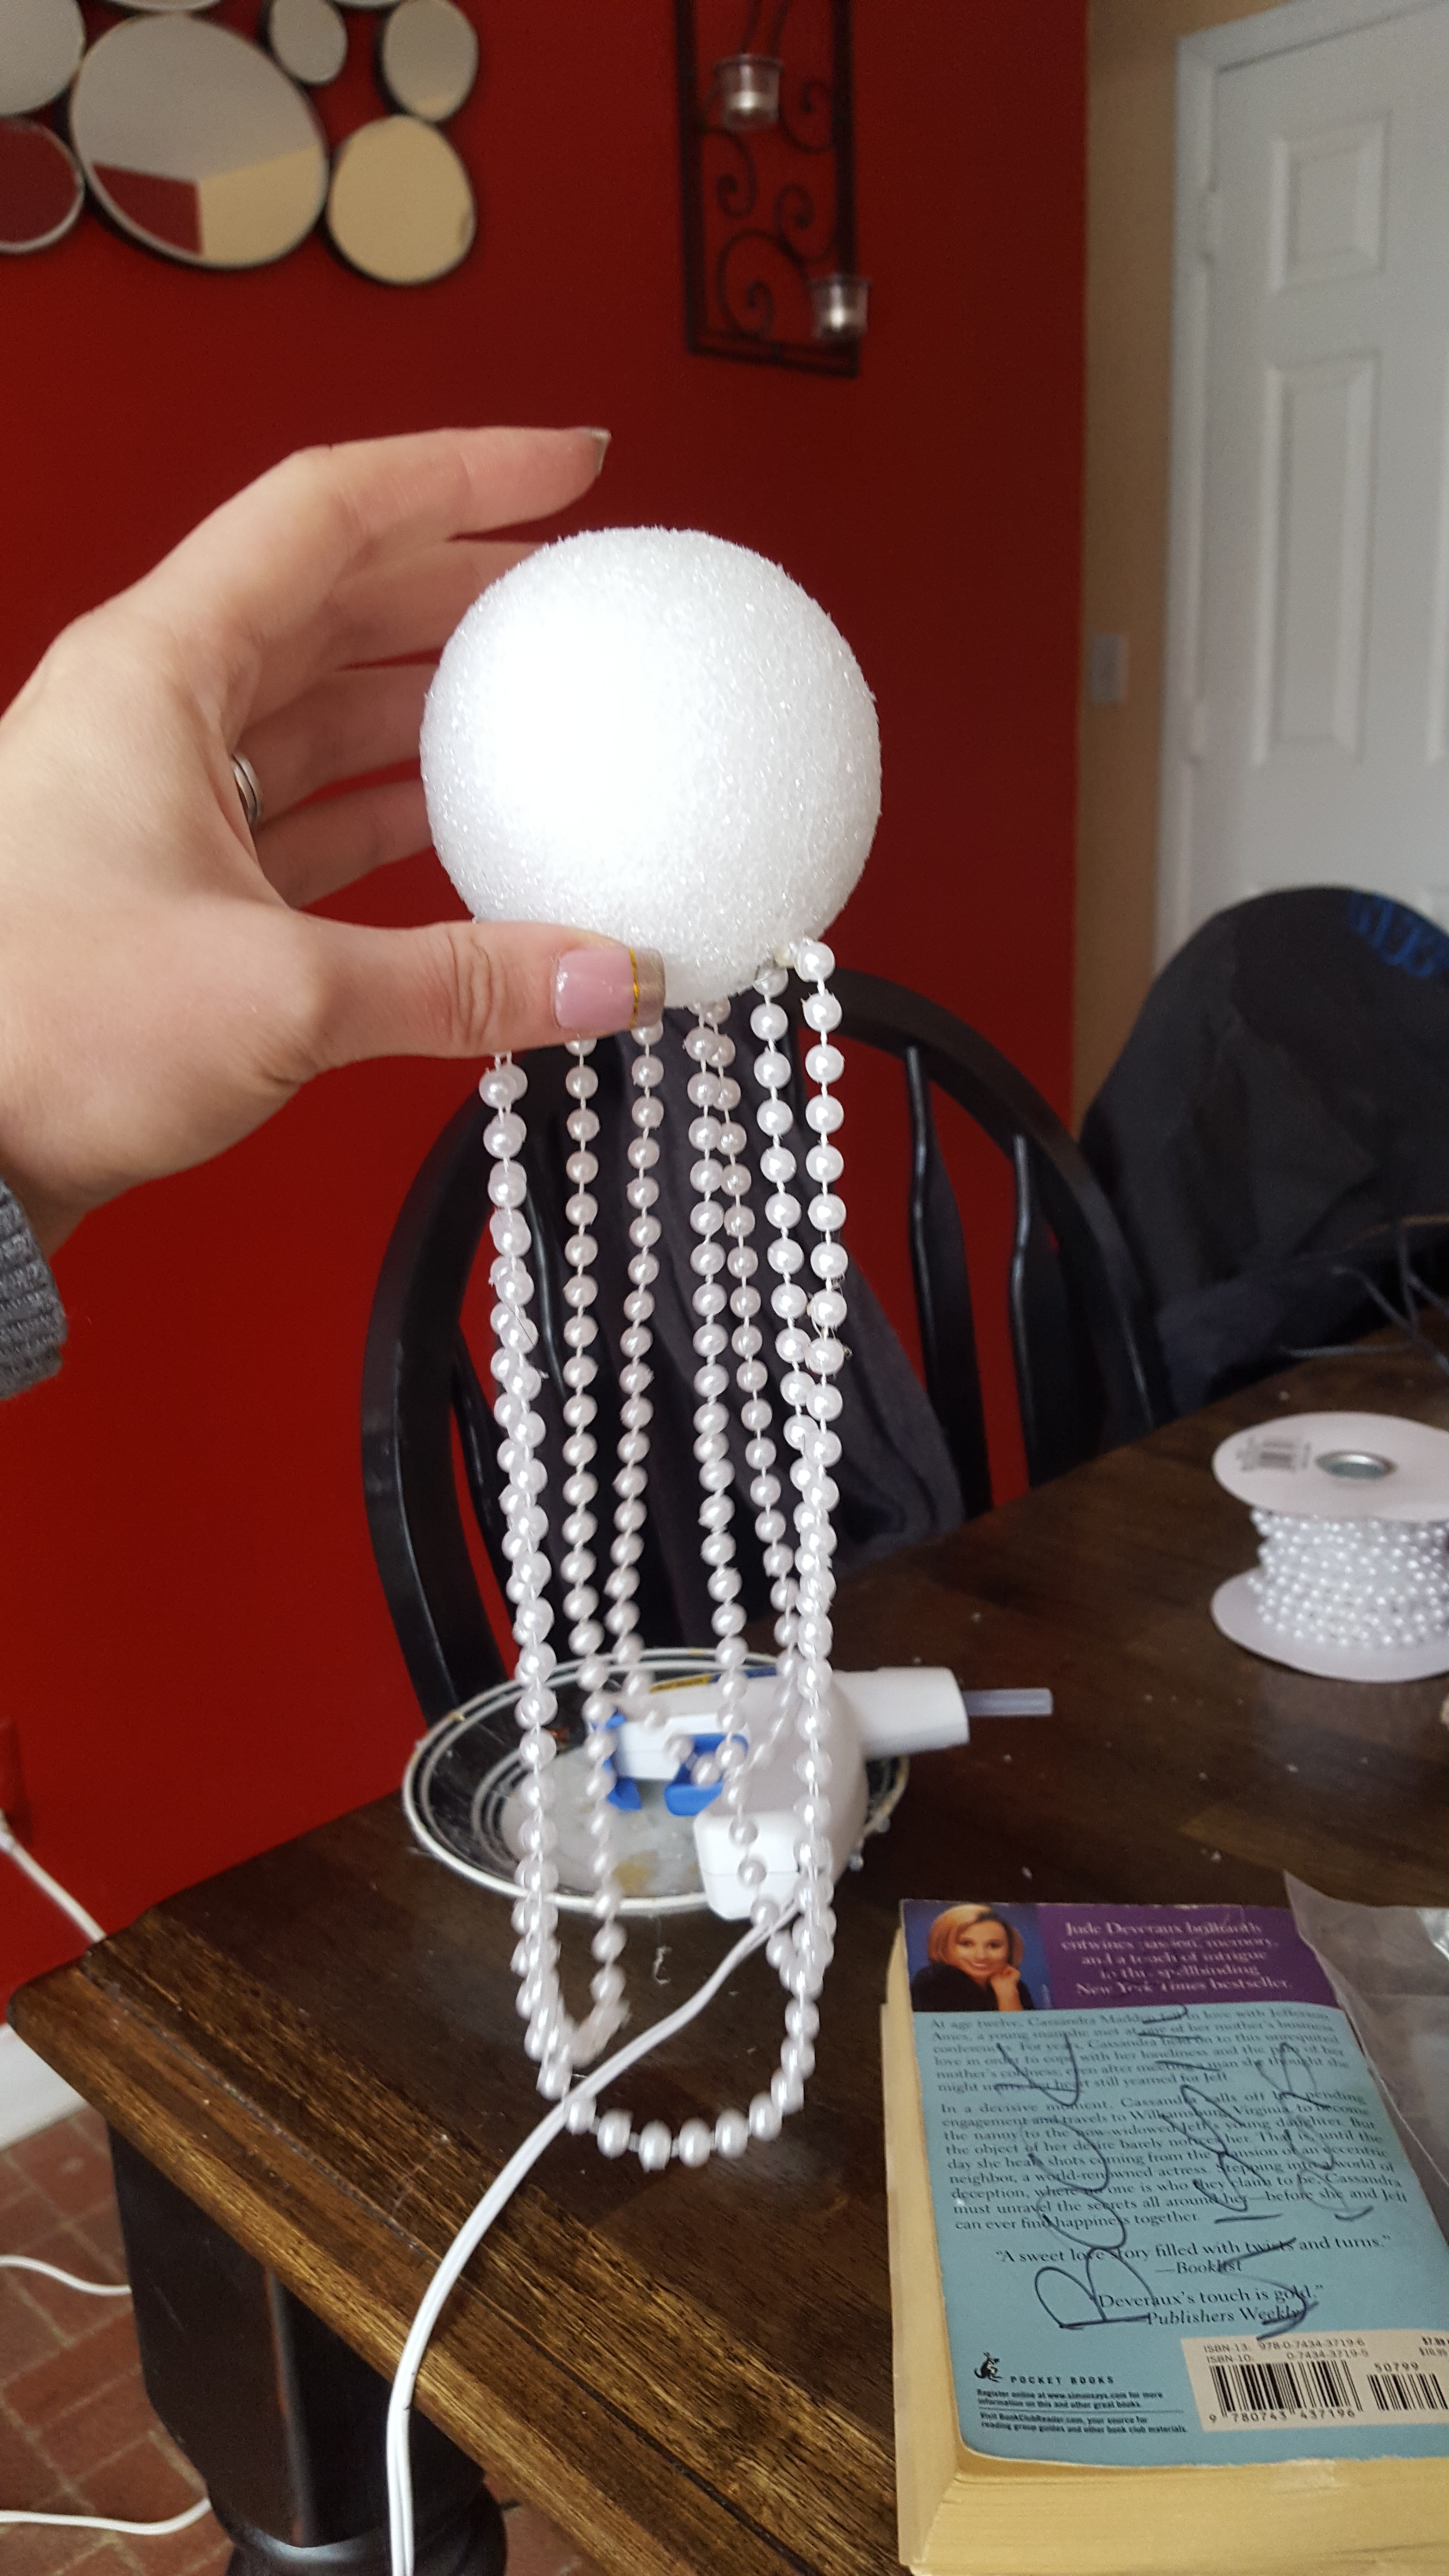
I pulled the dowel out and turned the bottom of the ball to face me. I took the strands of pearls and measured 4 loops in my hand. The length is entirely up to you. I measured the length up against the candlestick holder so the droop would be about half.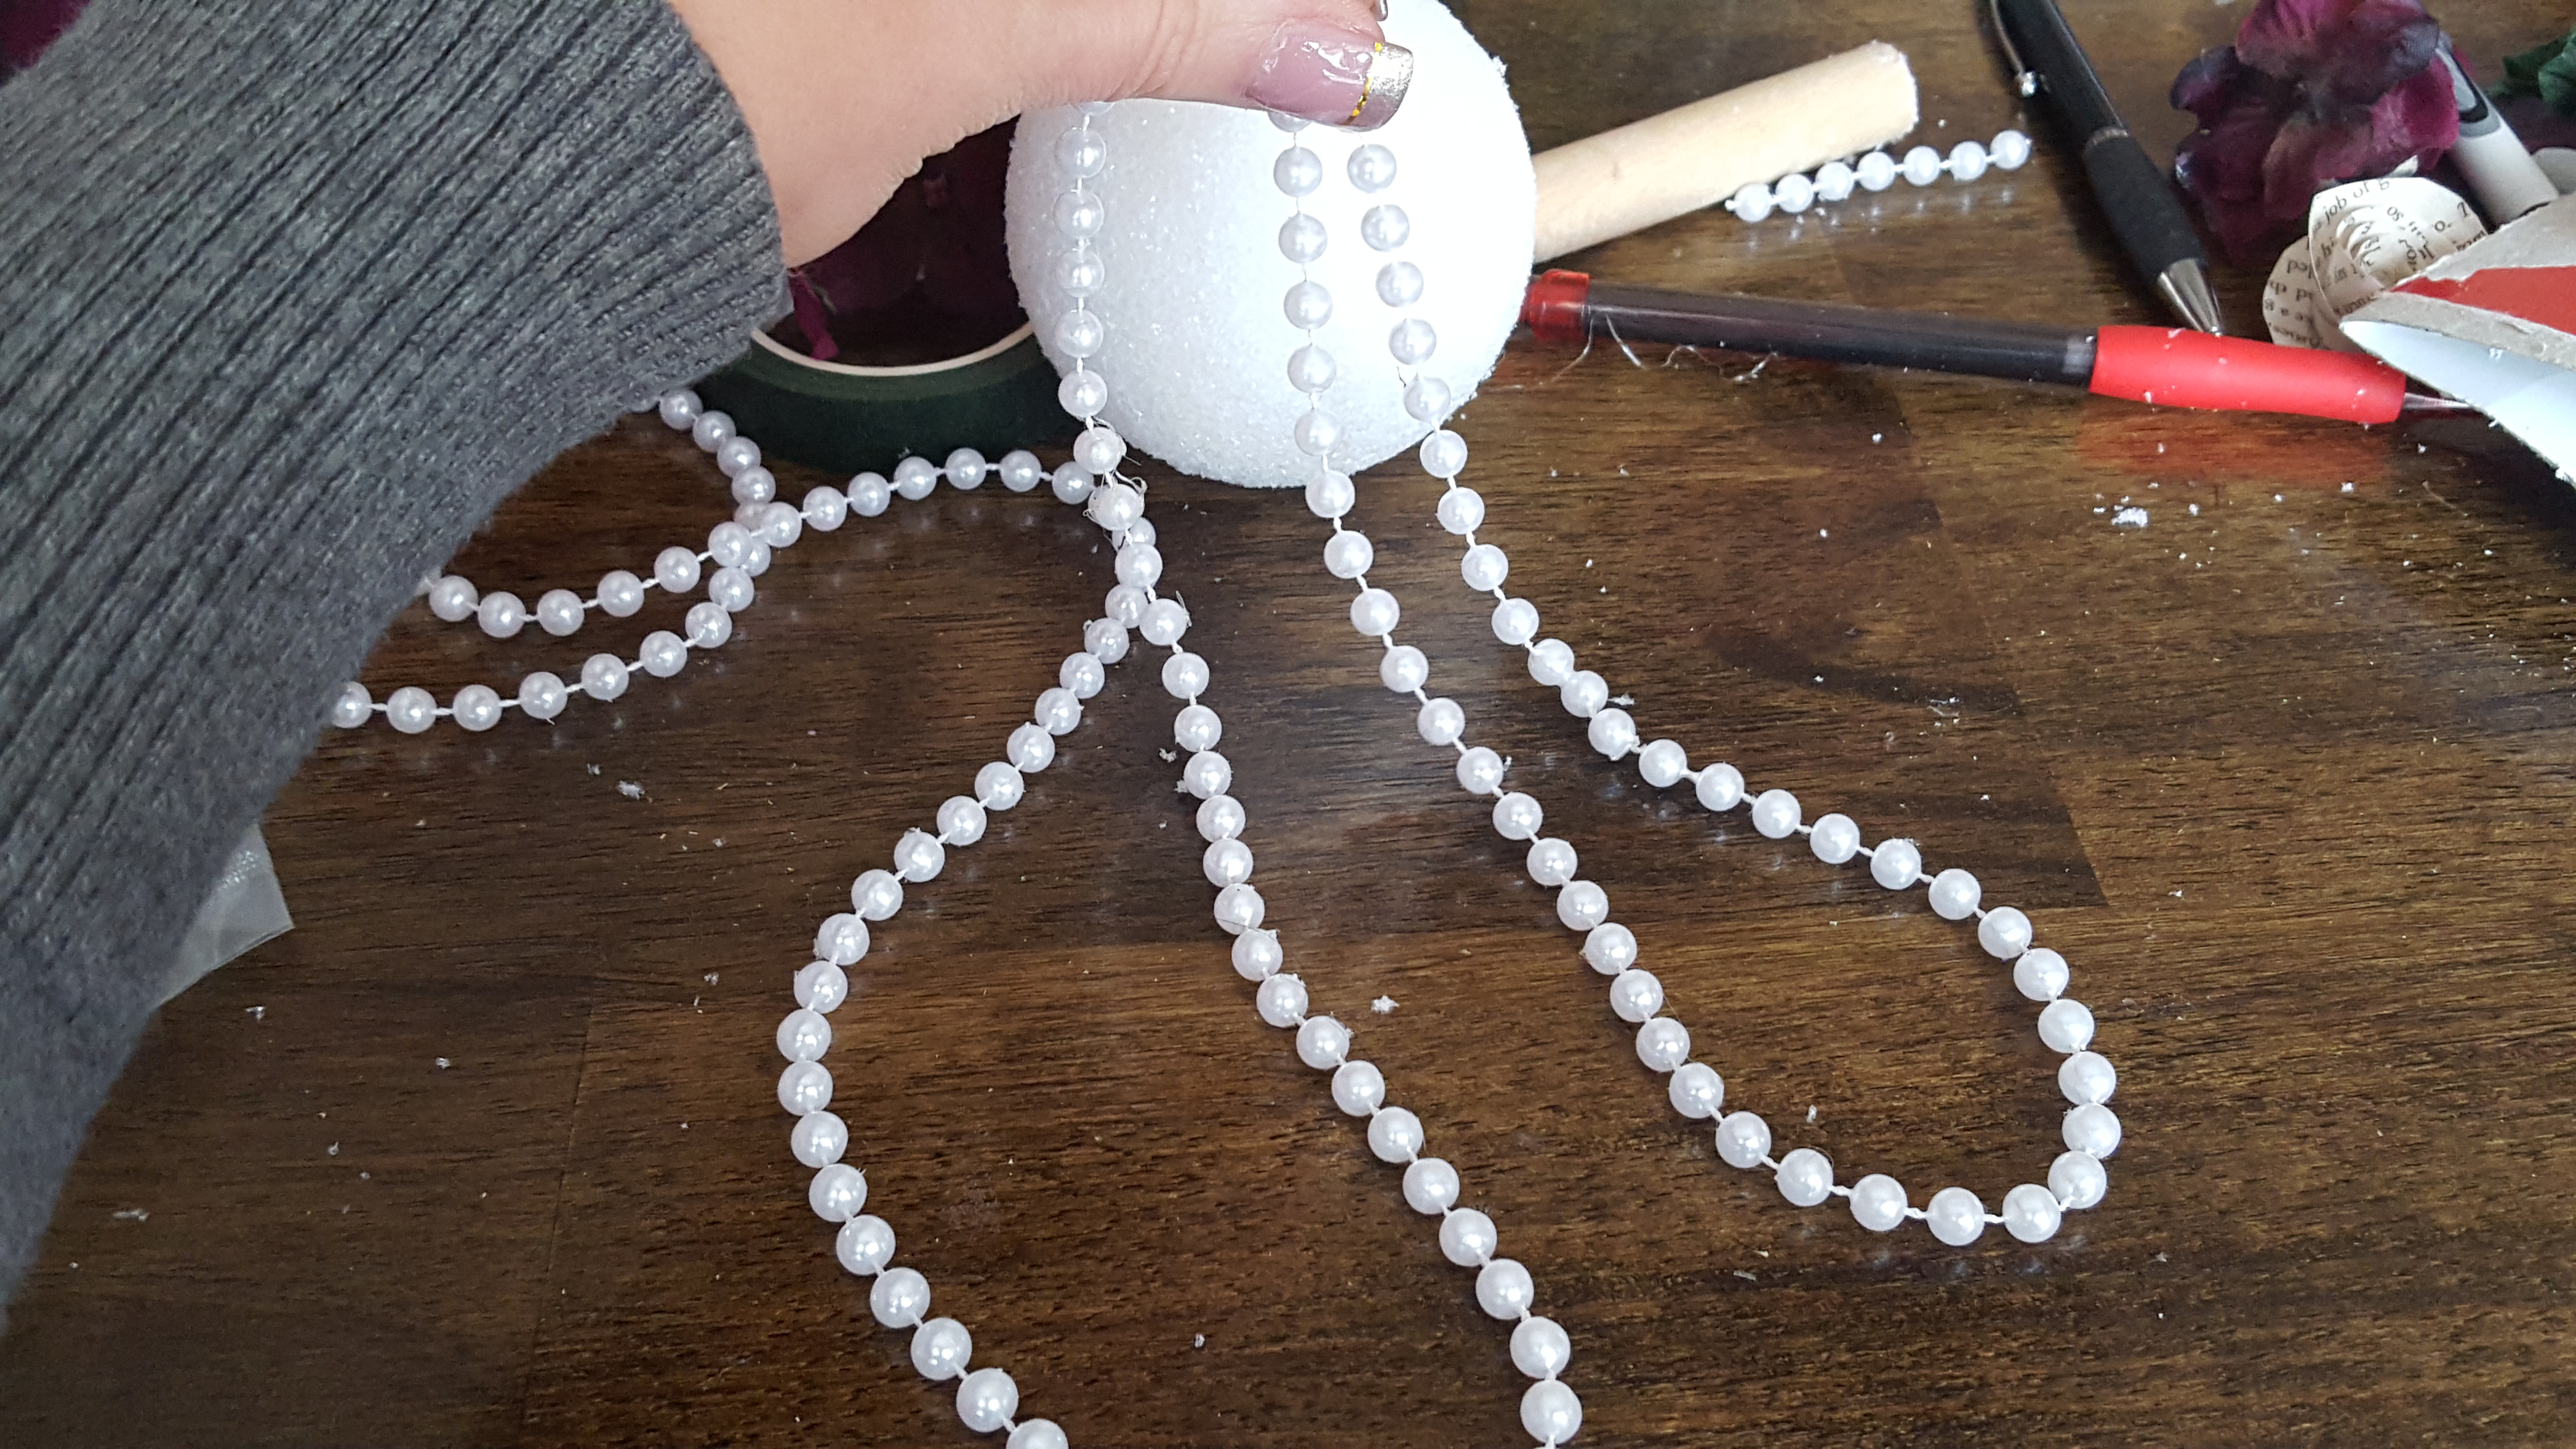
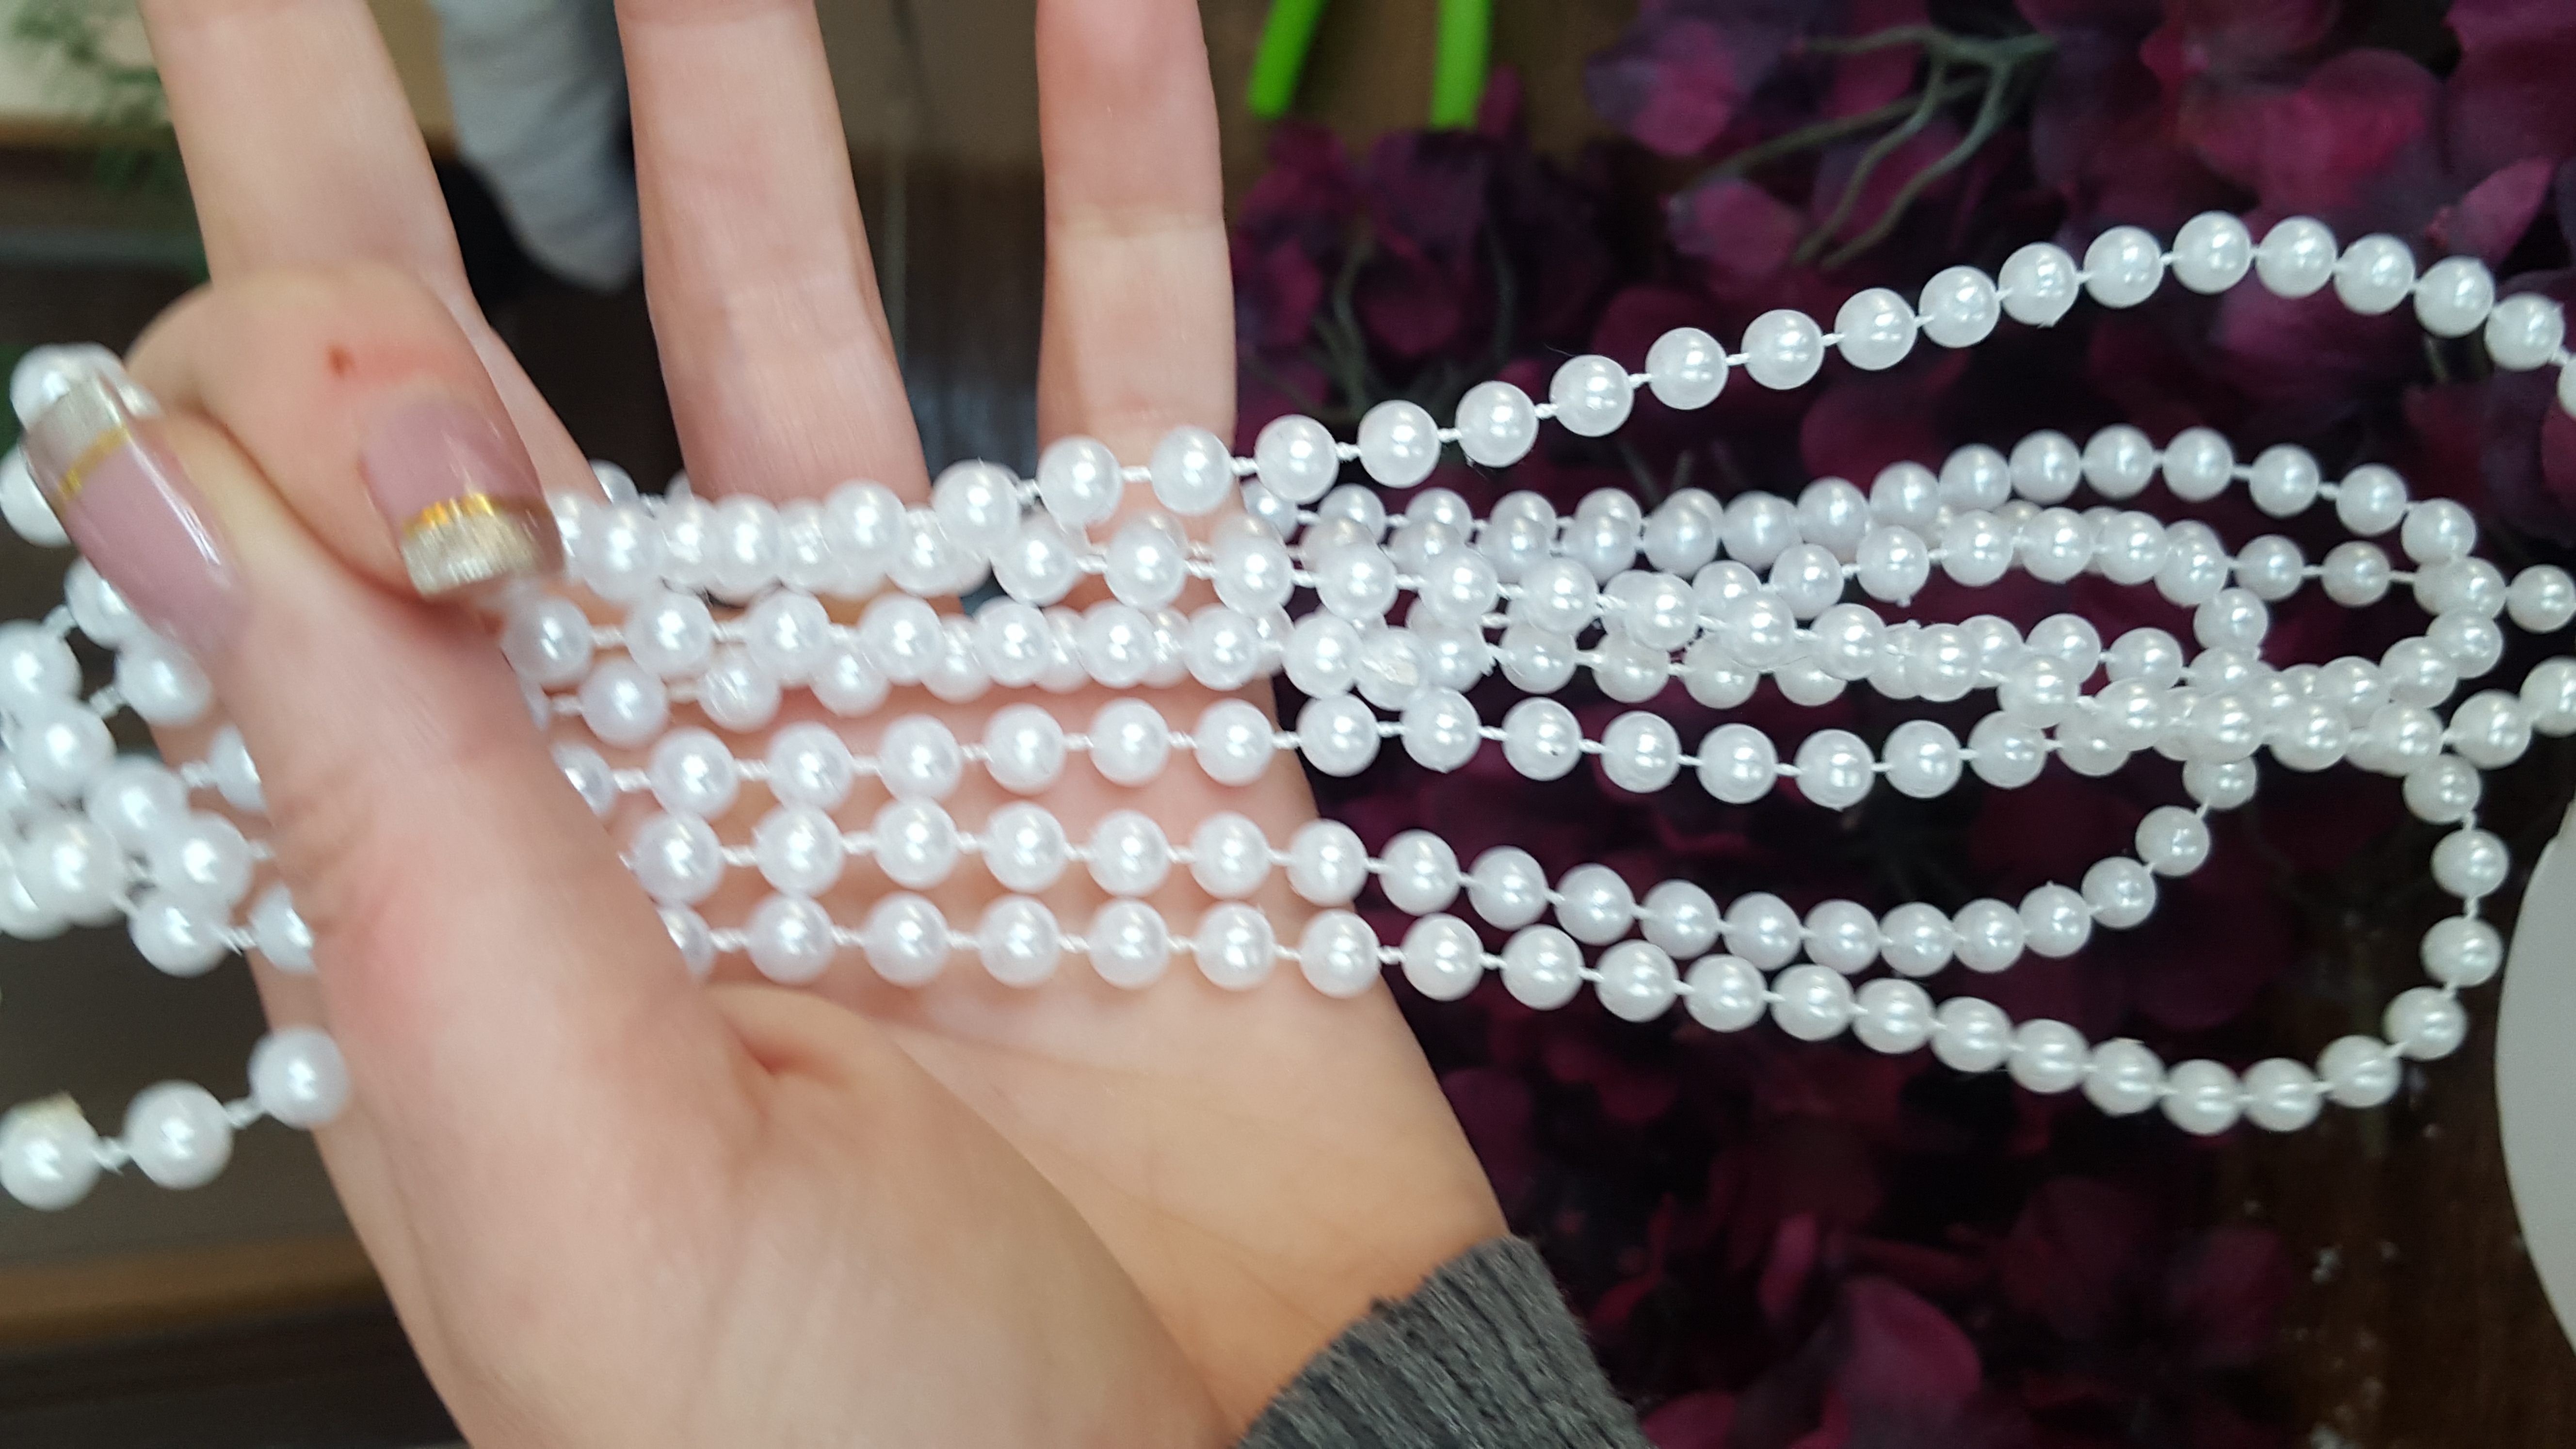
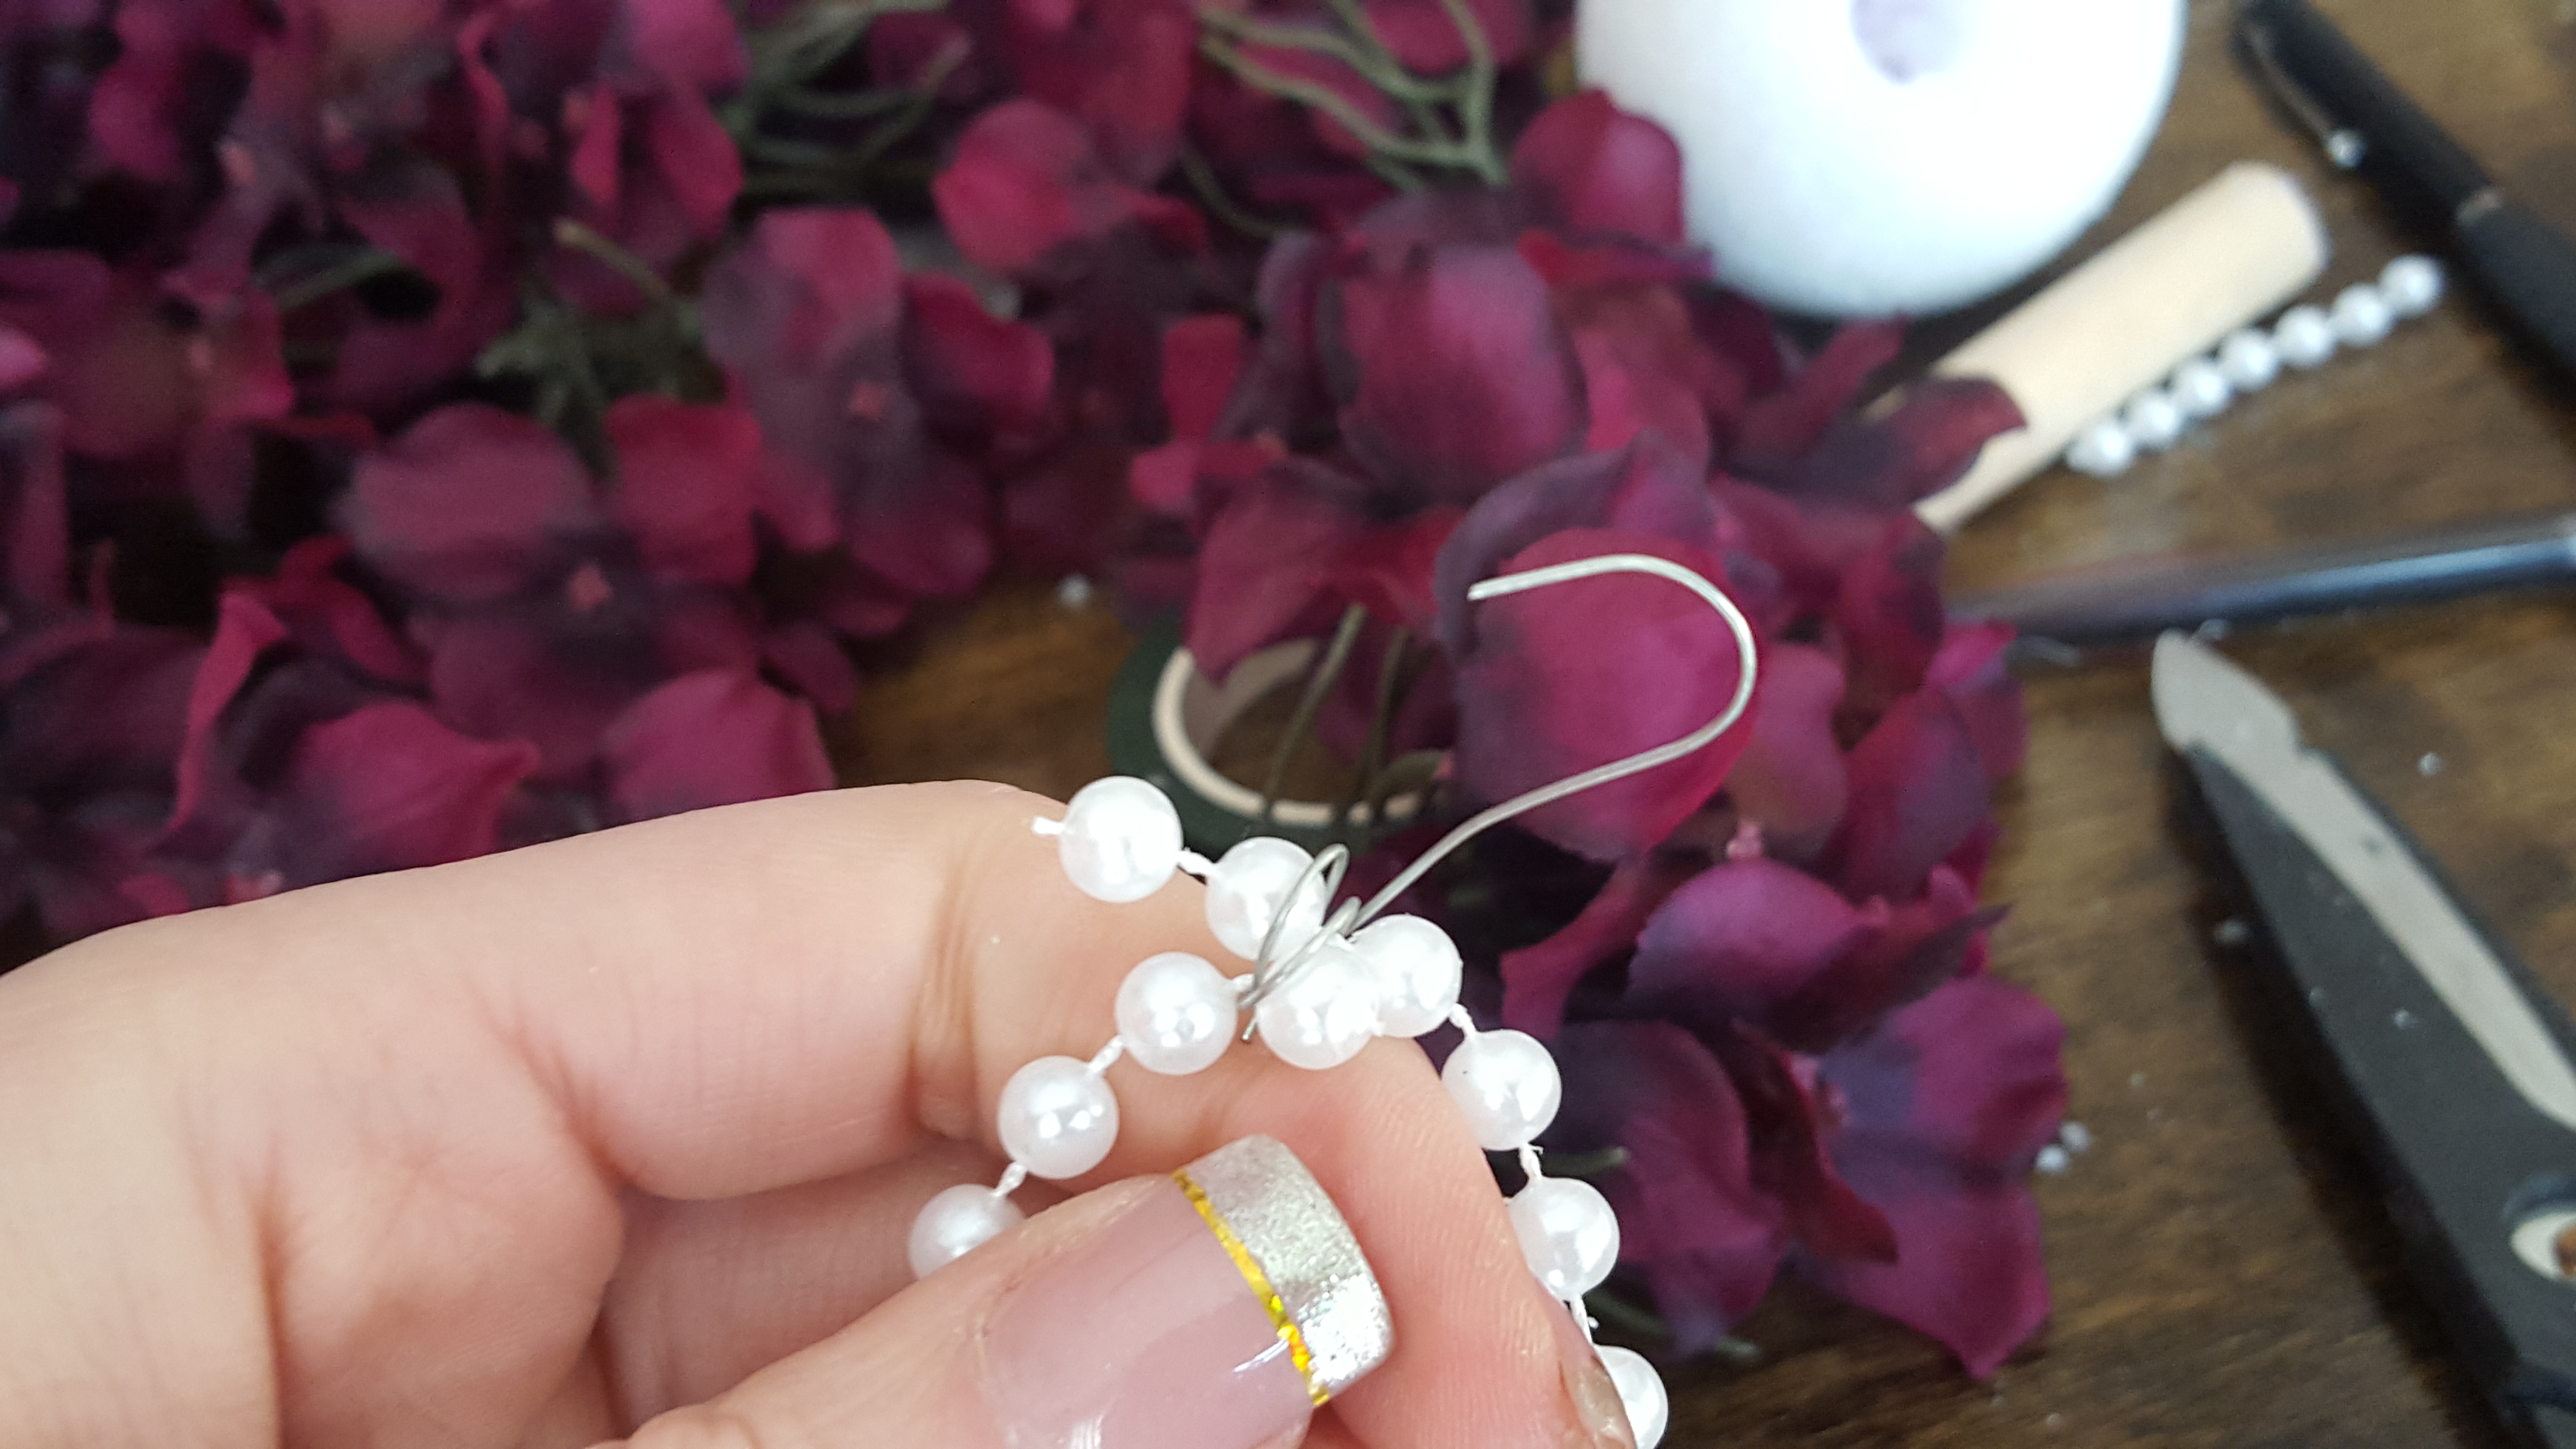
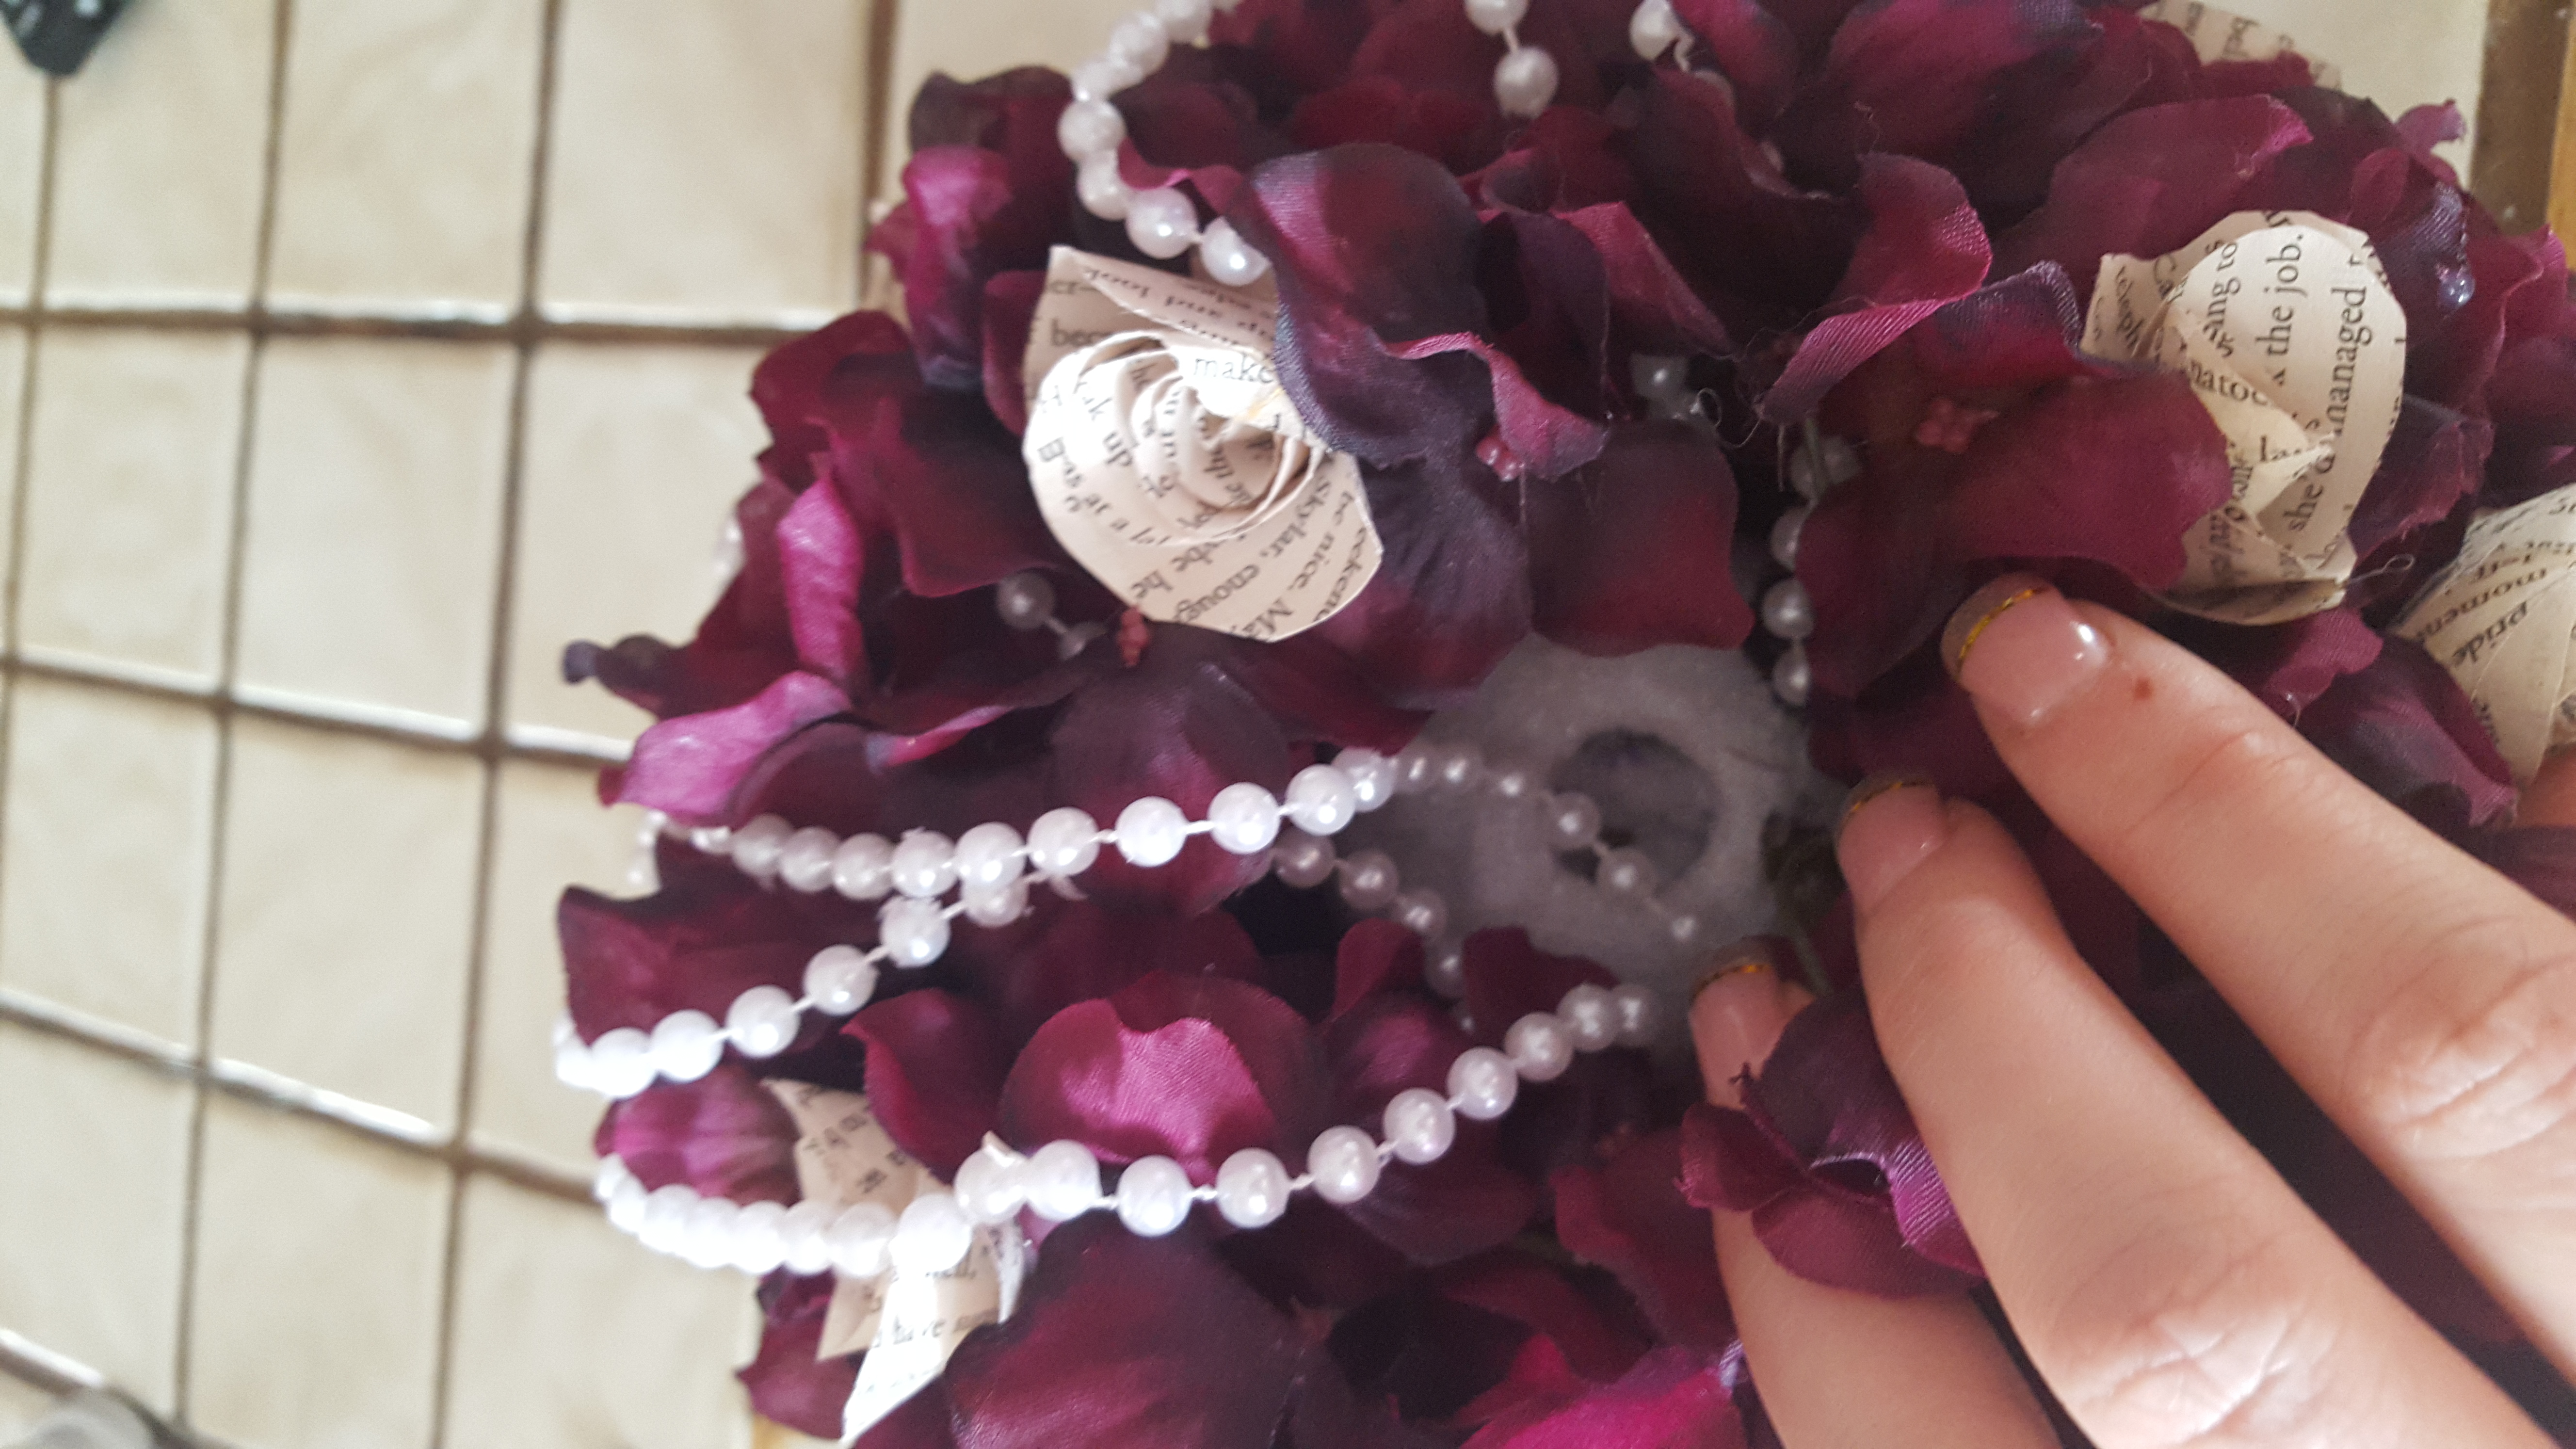
I then took the ornament hooks and wrapped them around the pearls and stuck them around the hole at the bottom of the ball. I used a square shape to get the pearls to droop correctly.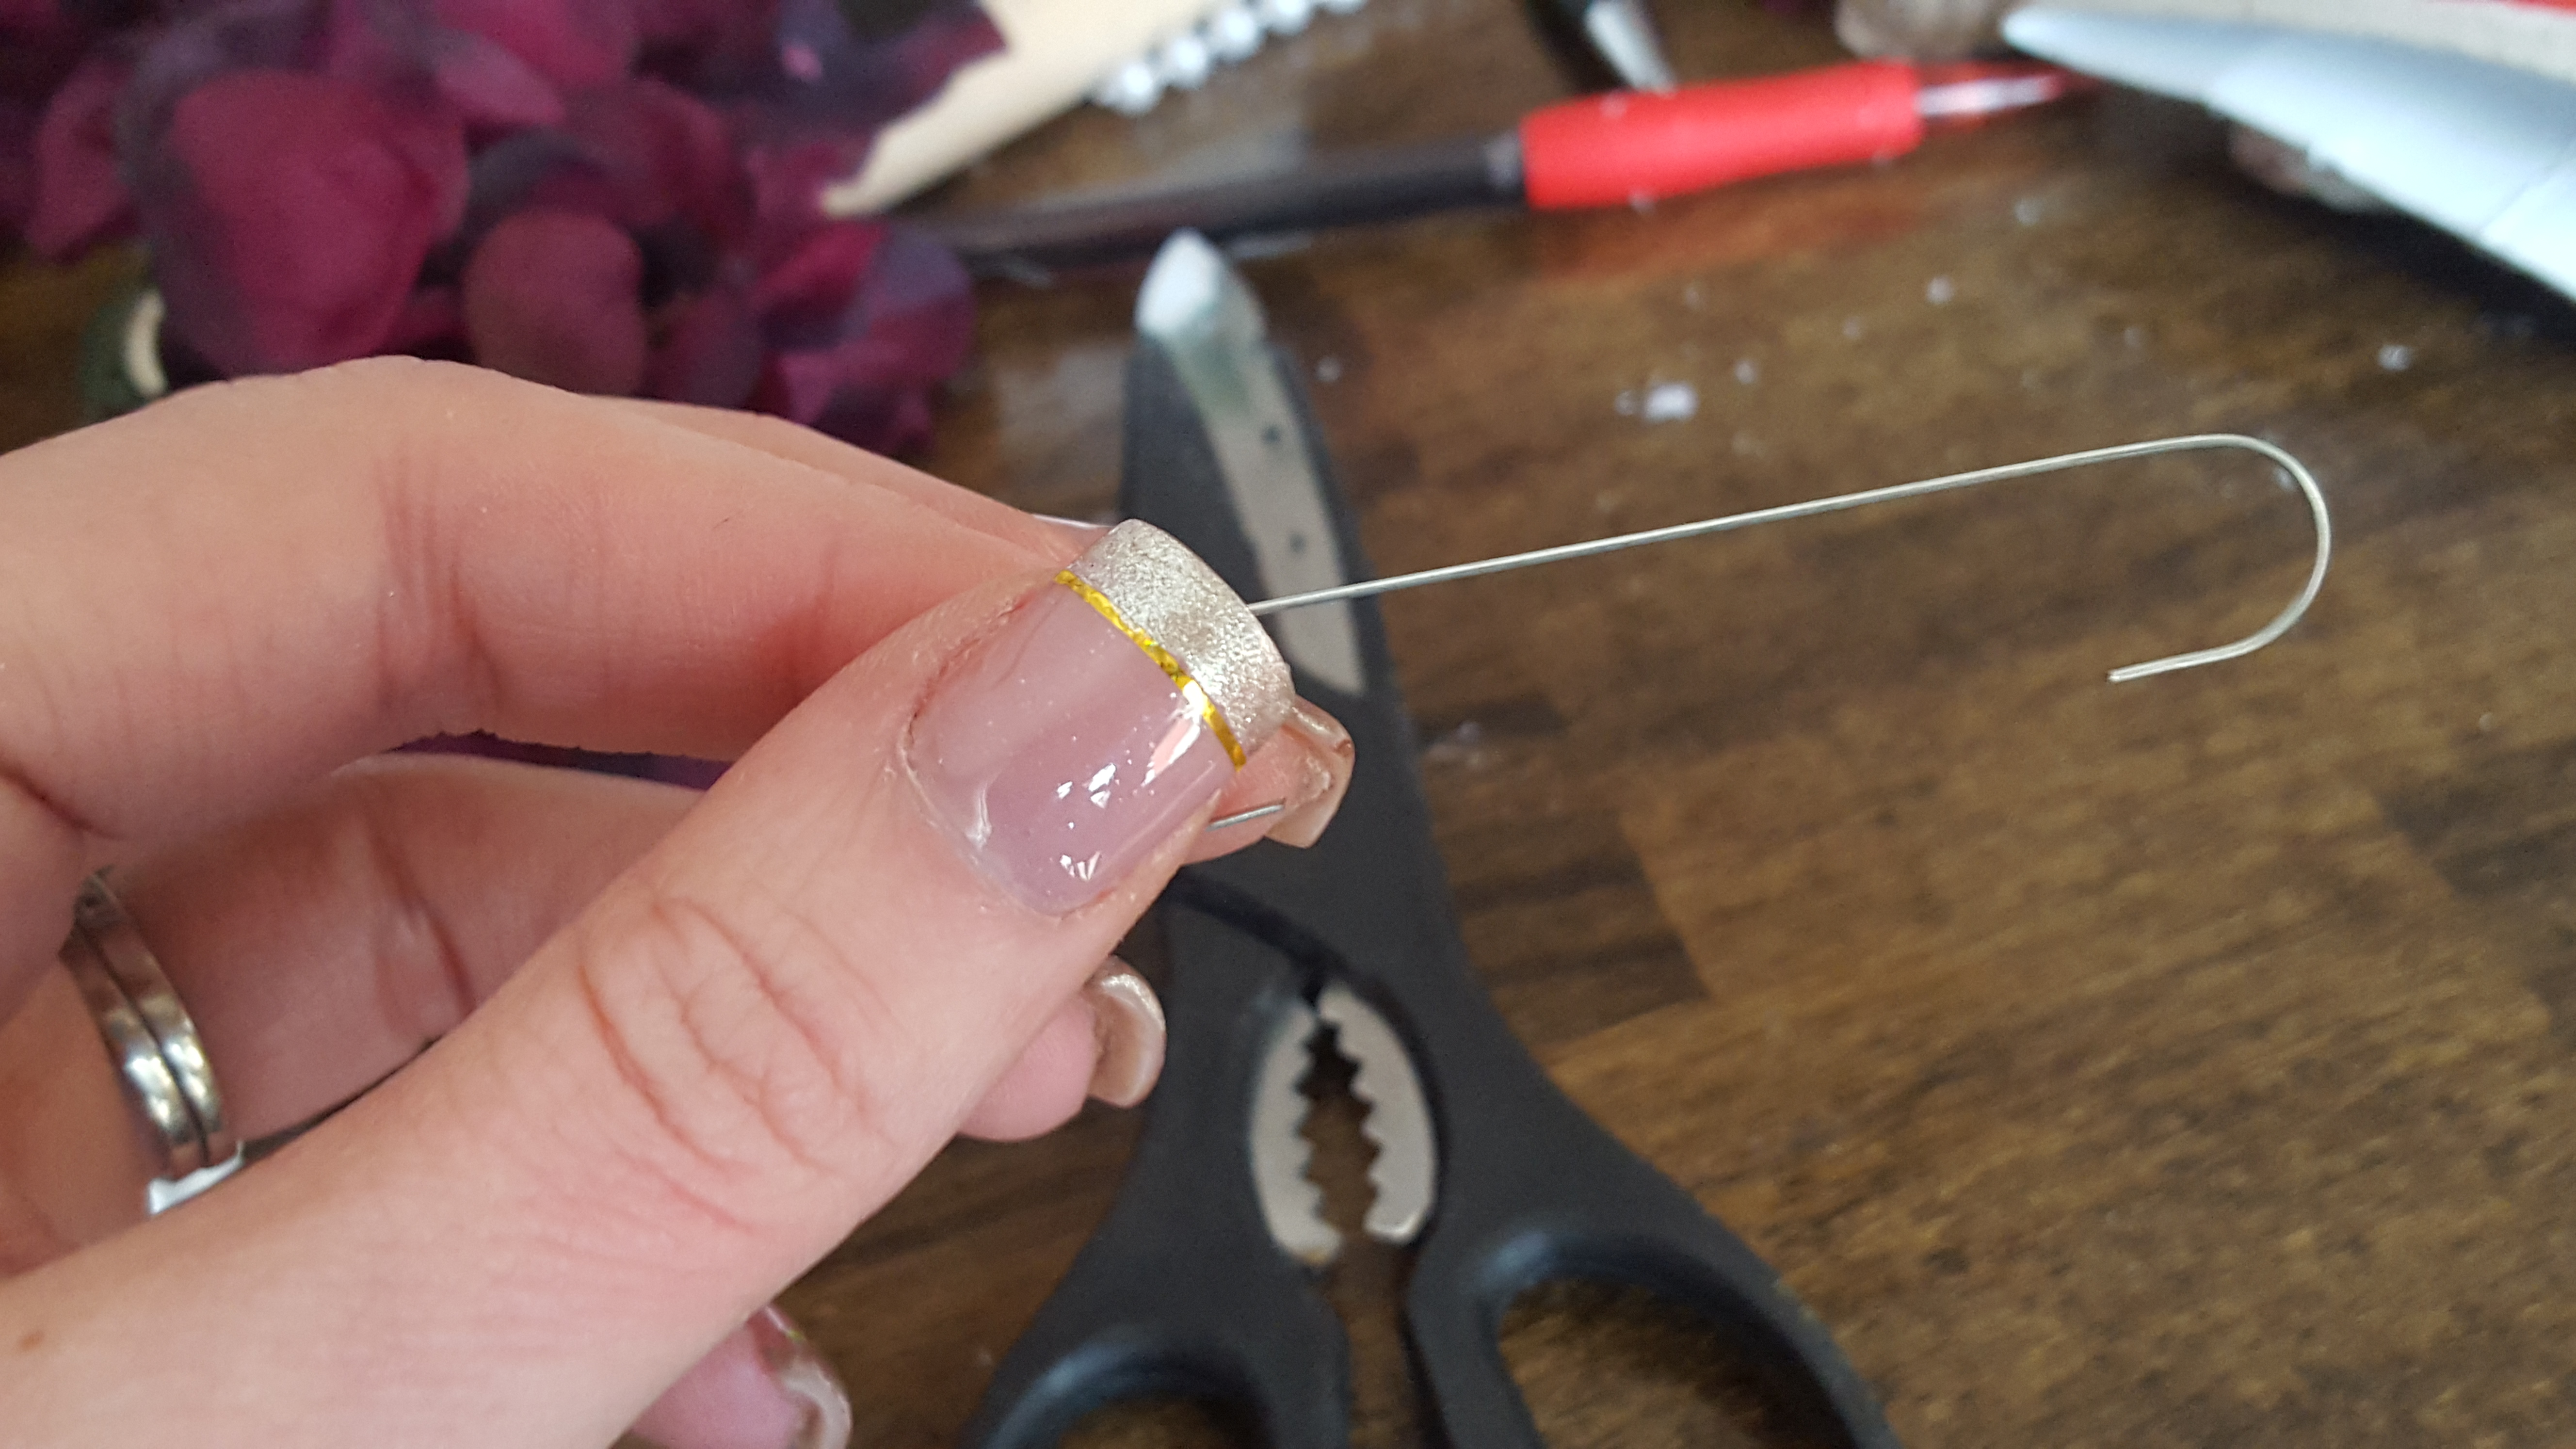
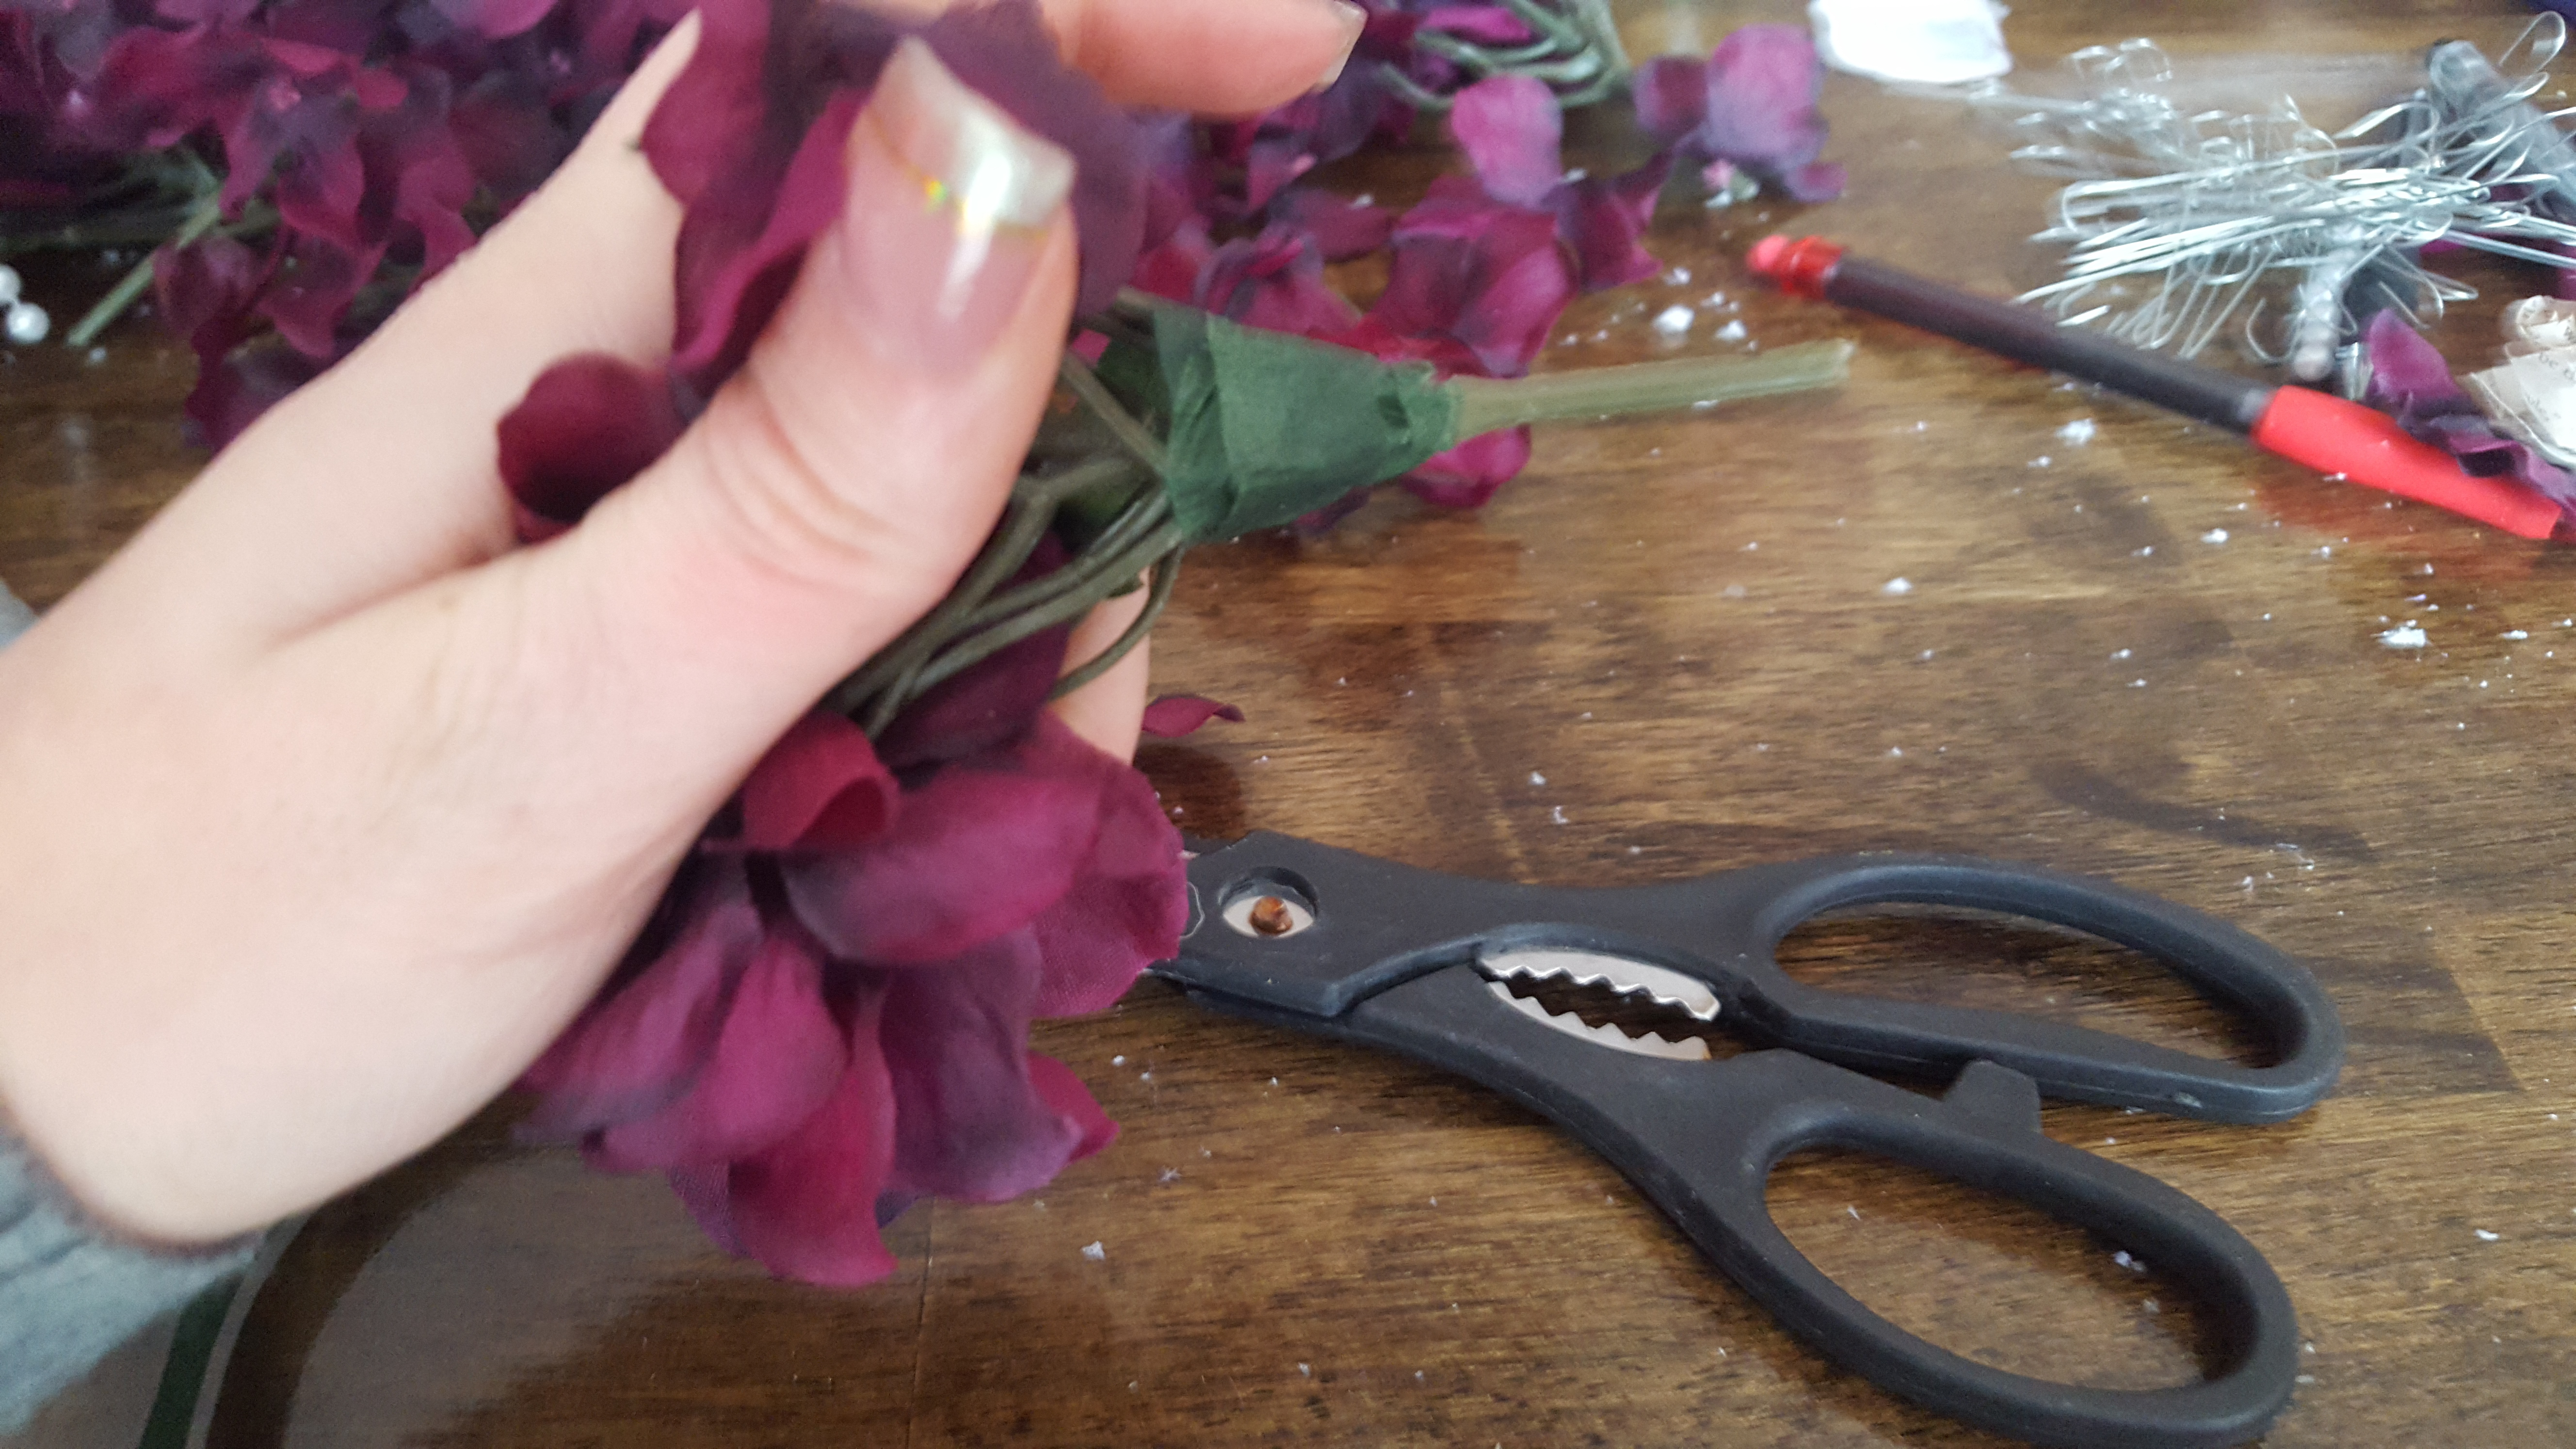
Then I began to create the pomander. I snipped off the bunched leaves of the hydrangeas. 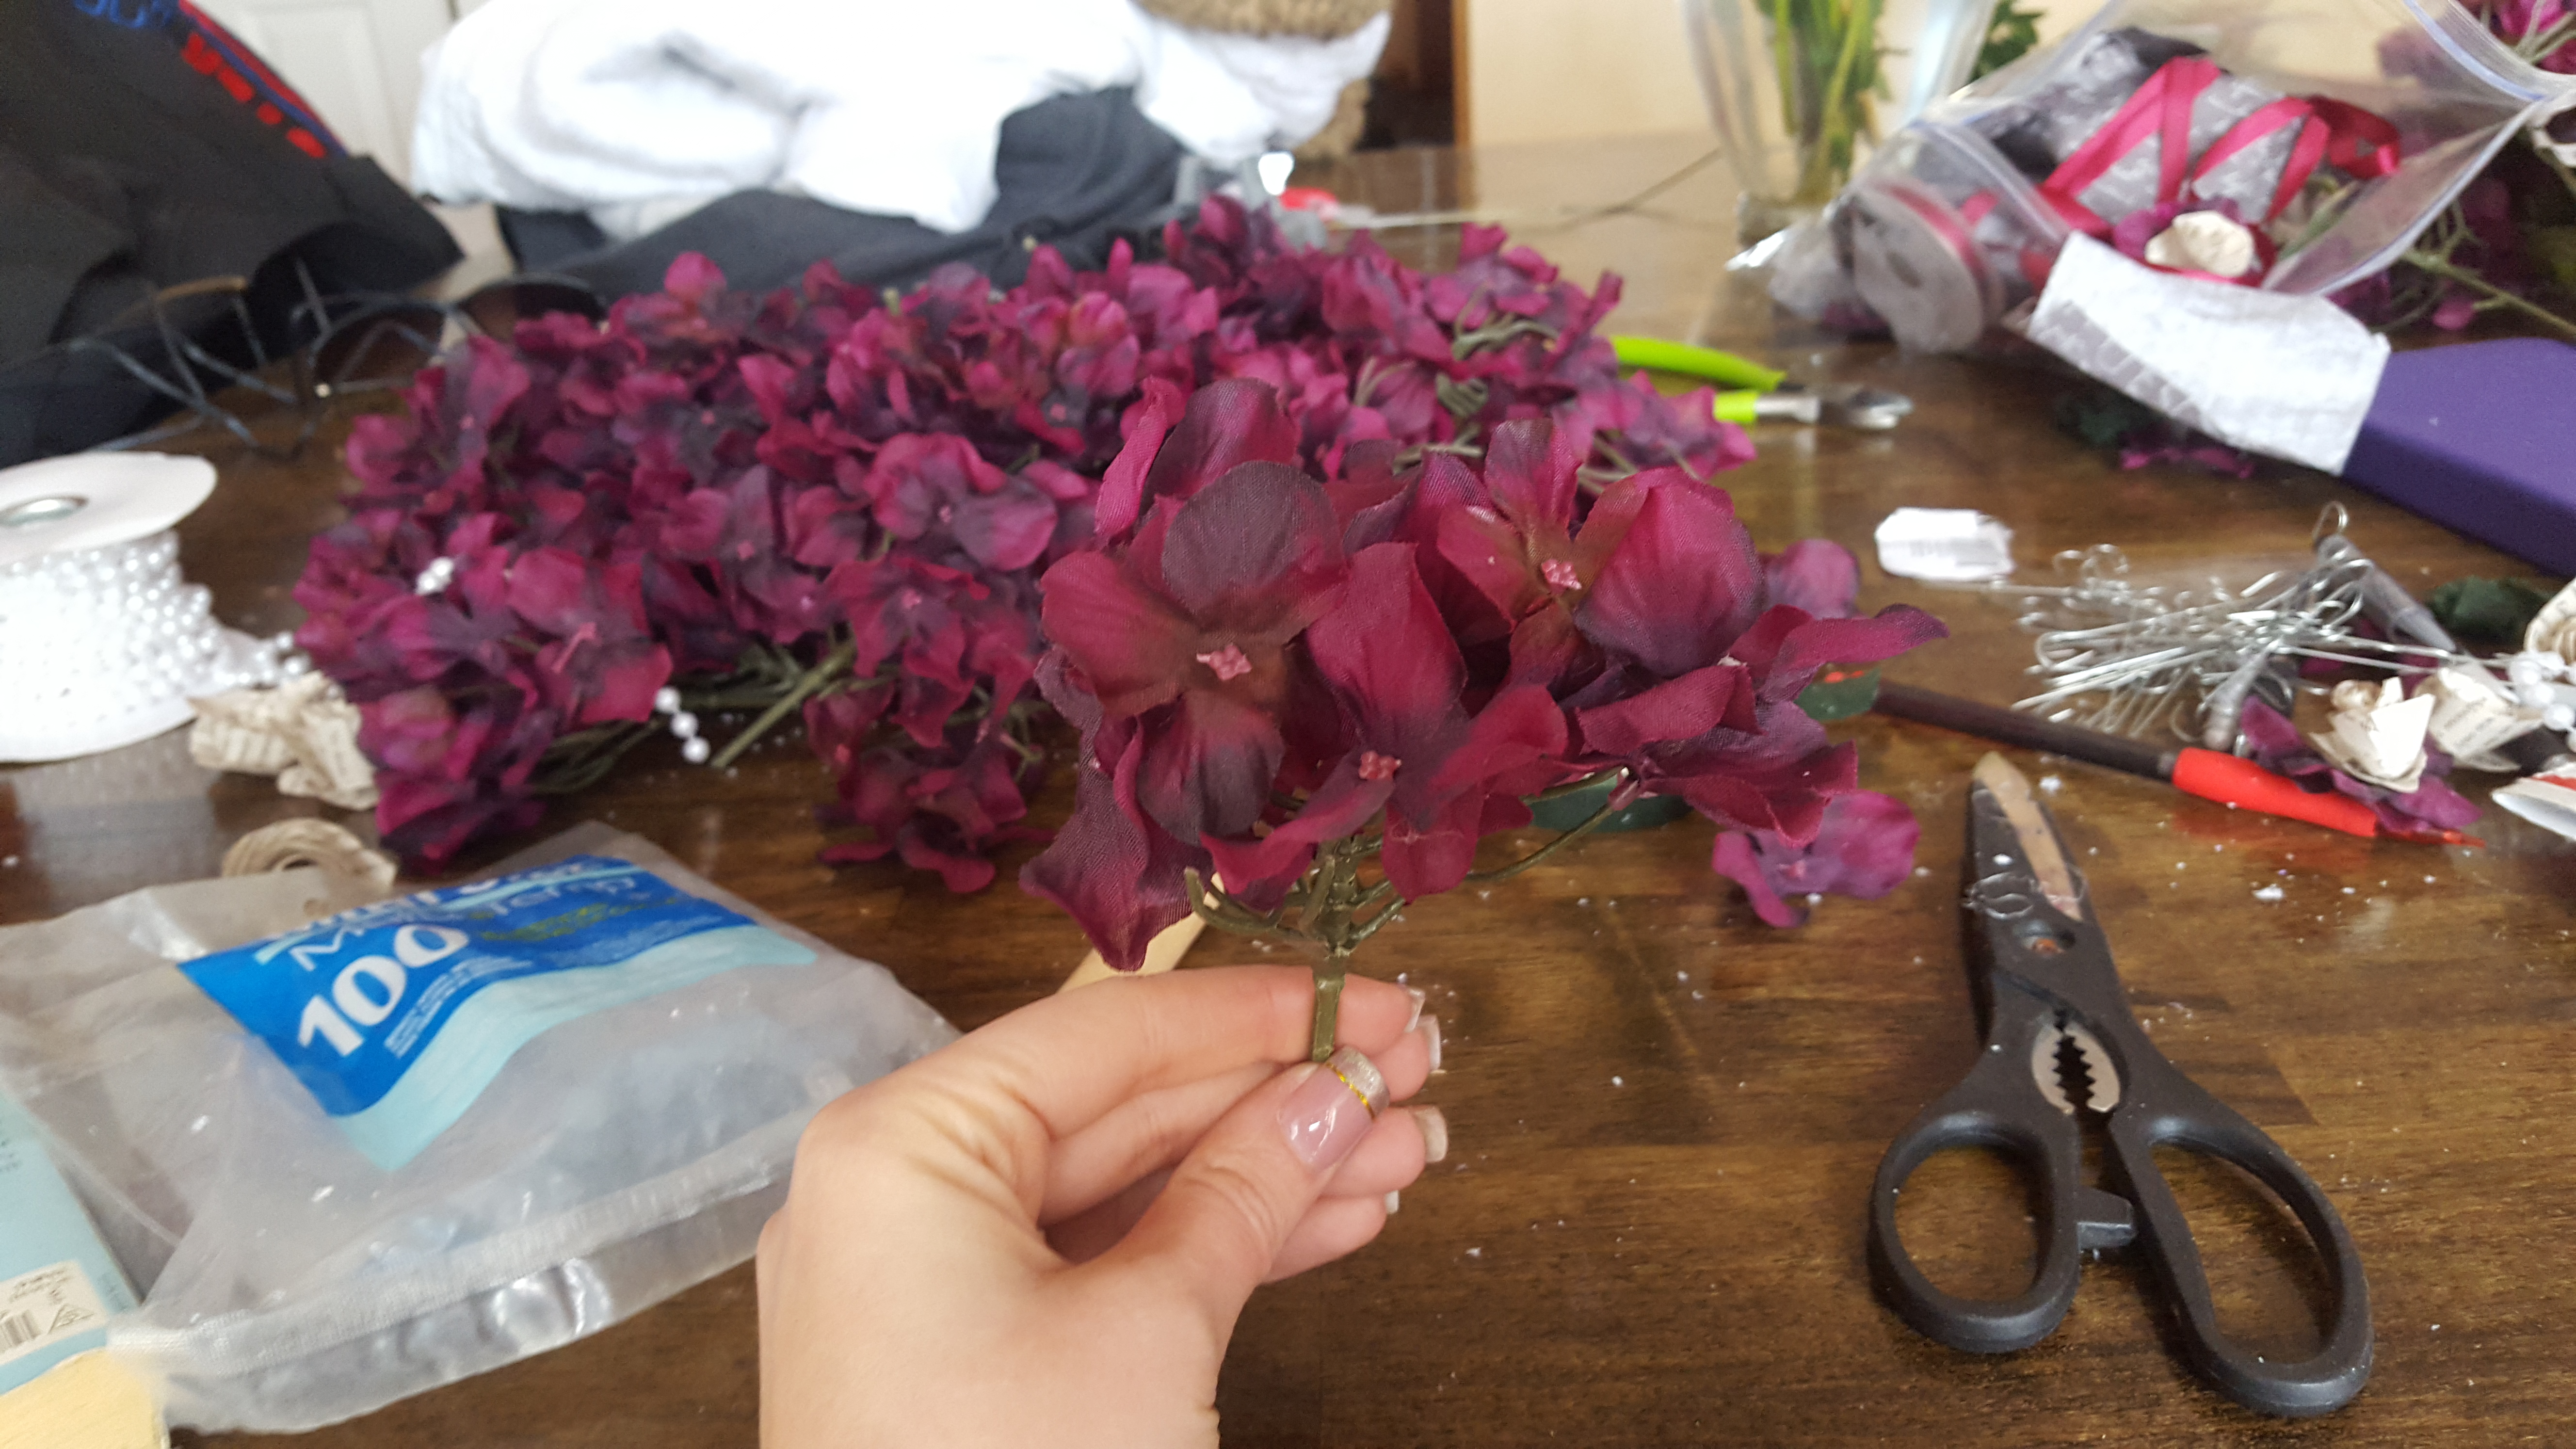
I wrapped them with the floral tape to make them tighter.
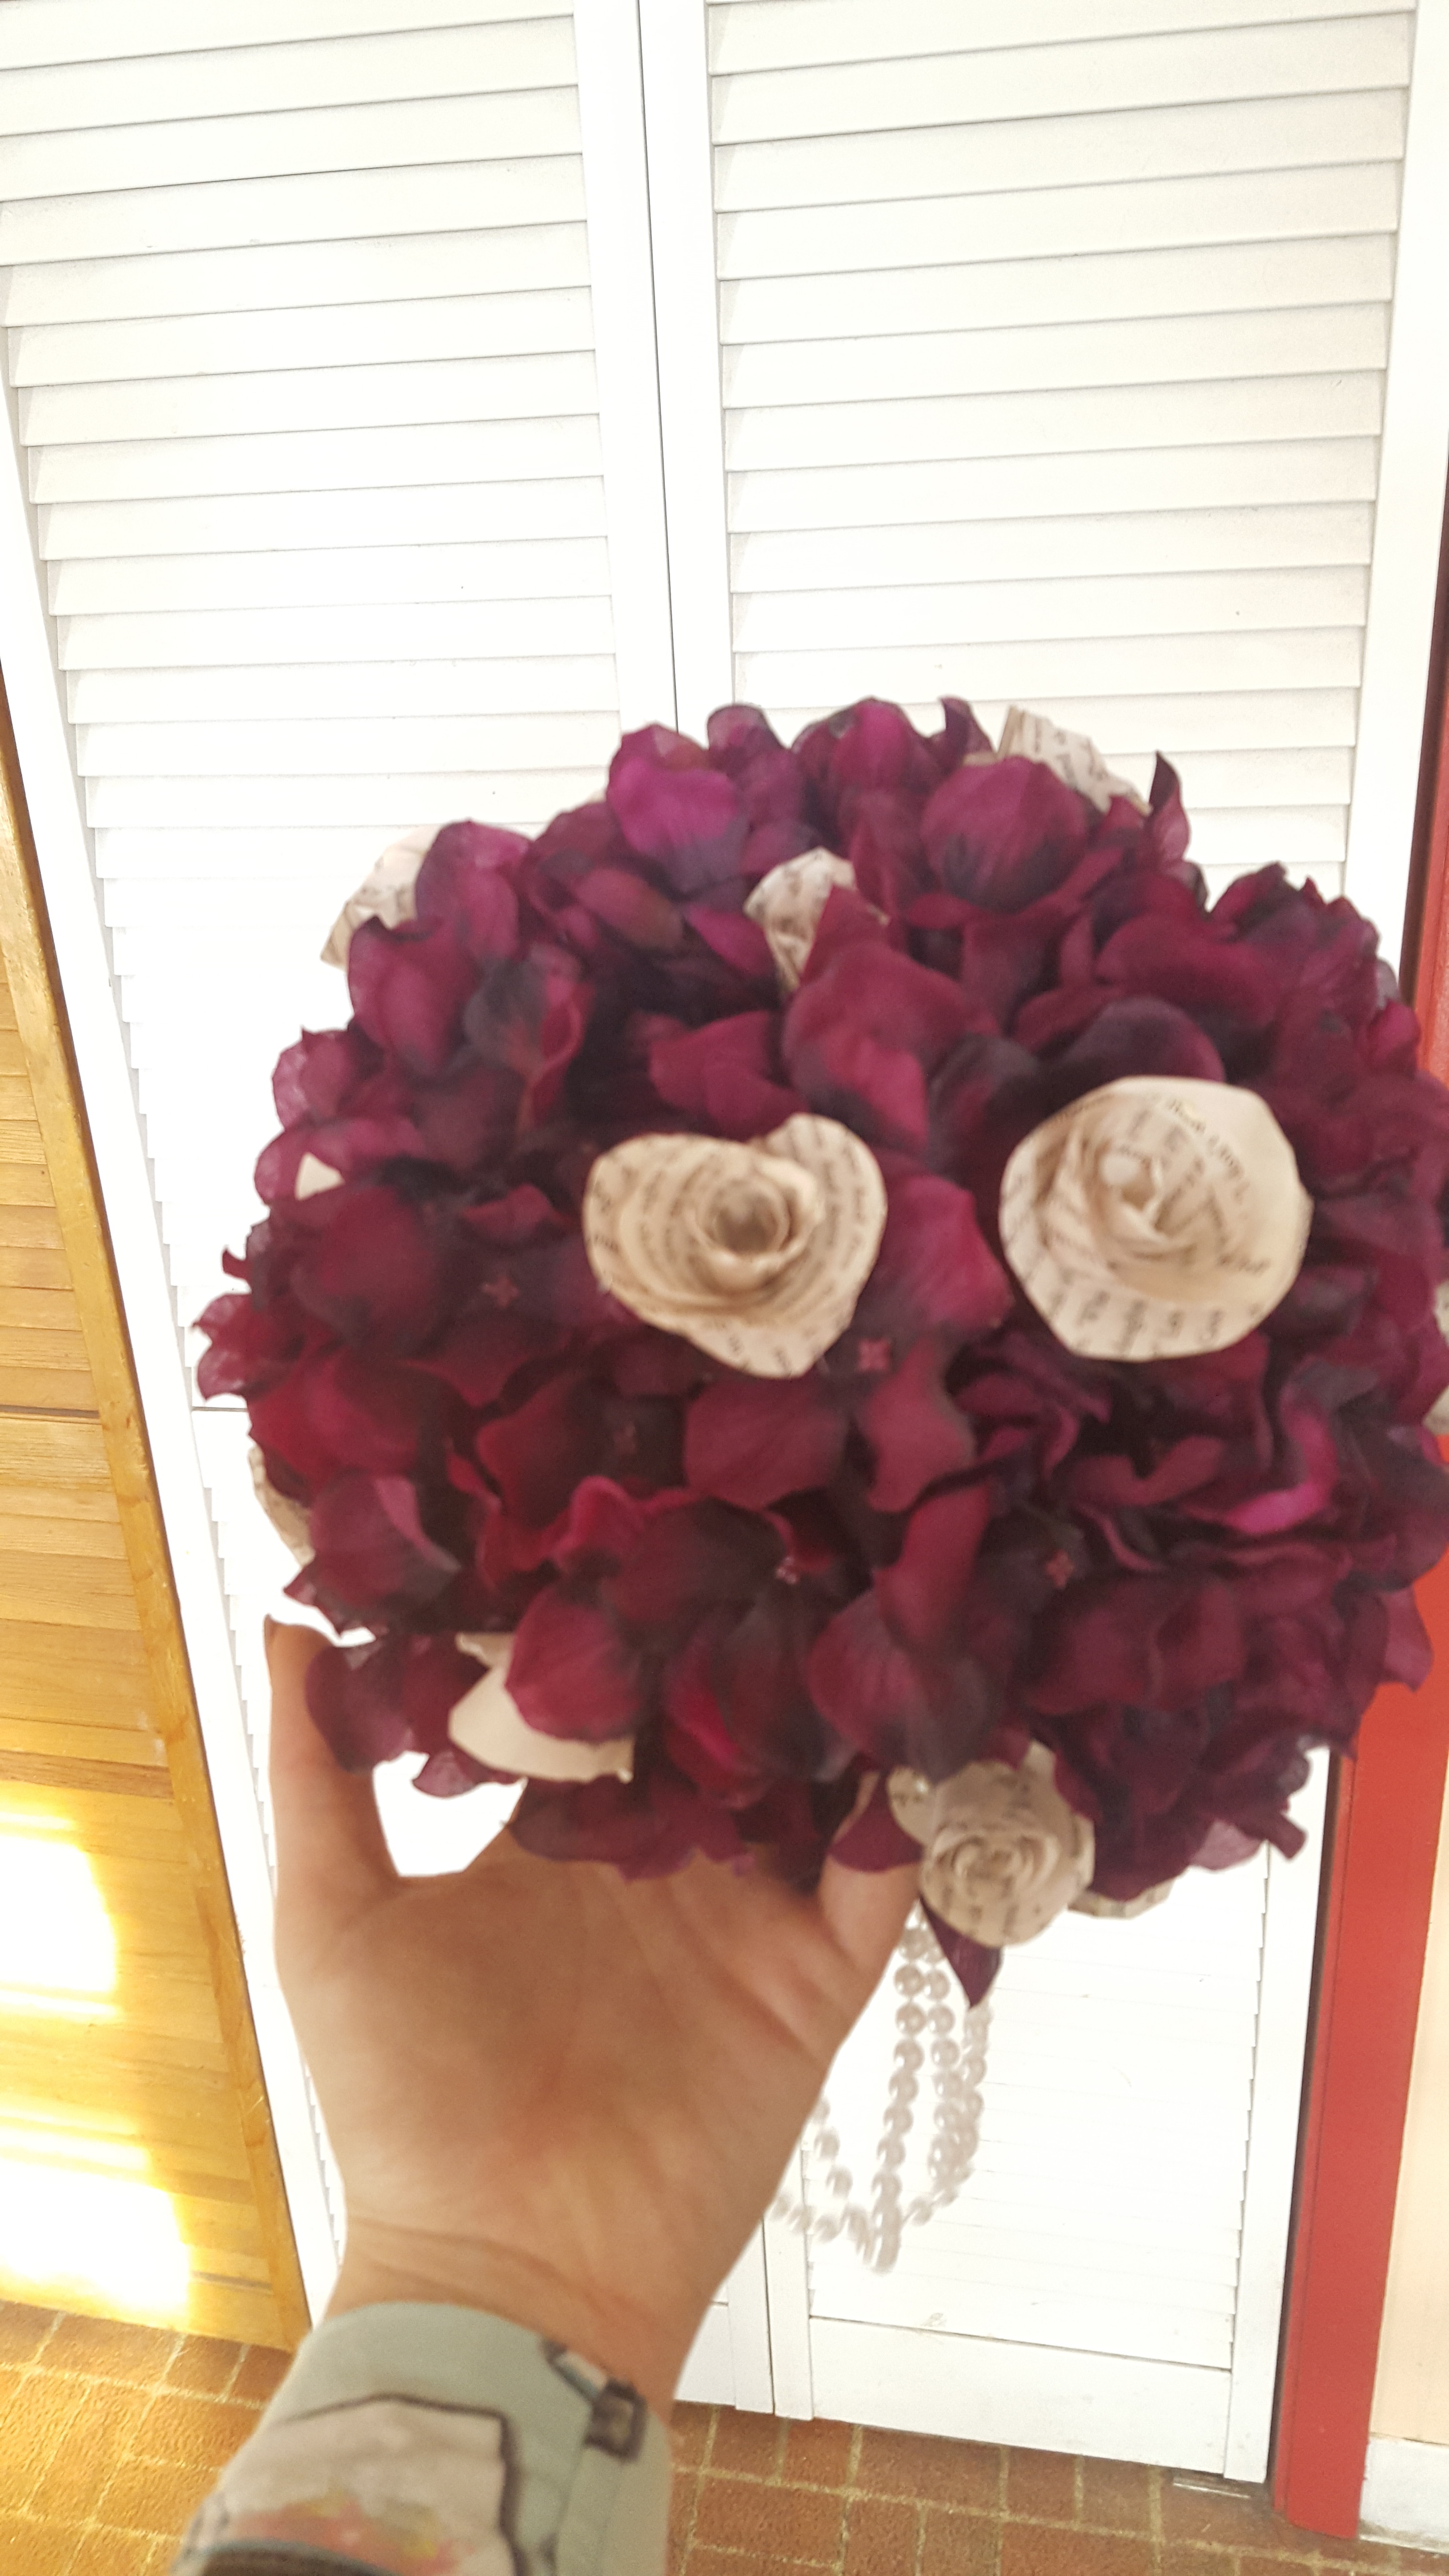
I took my book paper roses (I learned to make these on one of the many youtube tutorials) and glued them to the center of the bunch. It doesn’t have to be perfect, just wherever you think it looks best.
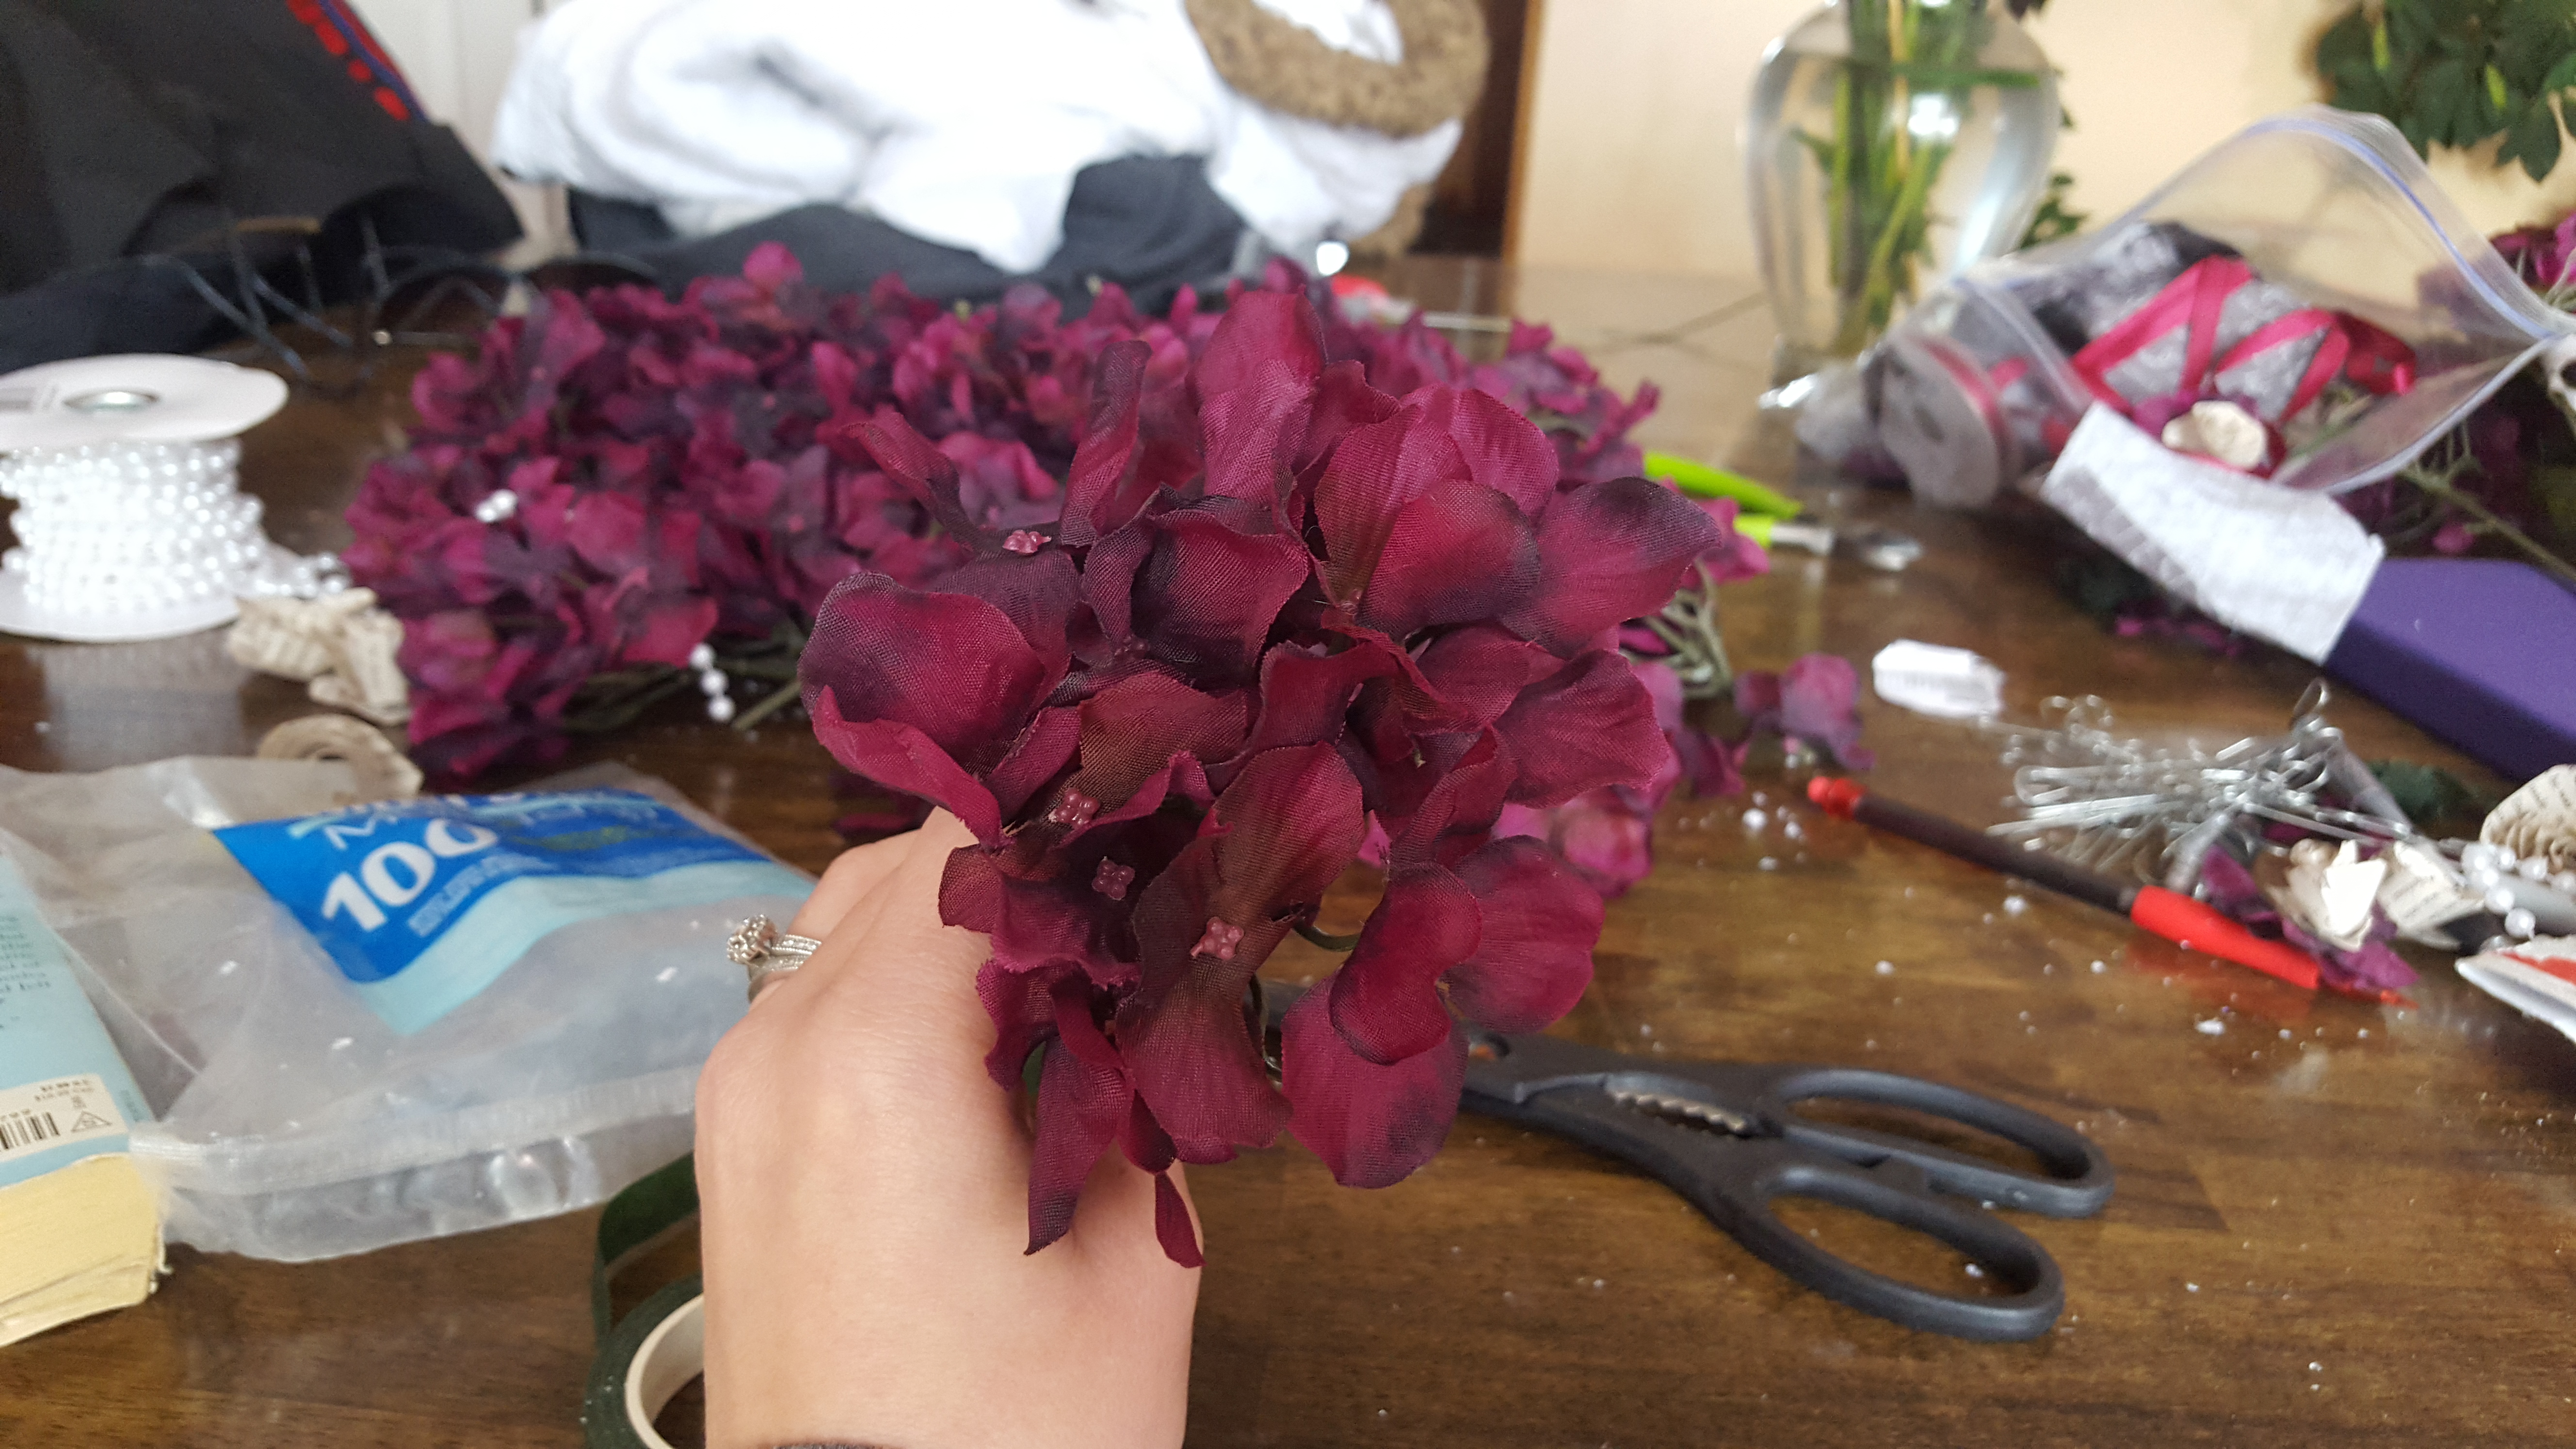
Then you just press the stems of the flower bunches into the ball until it’s tight.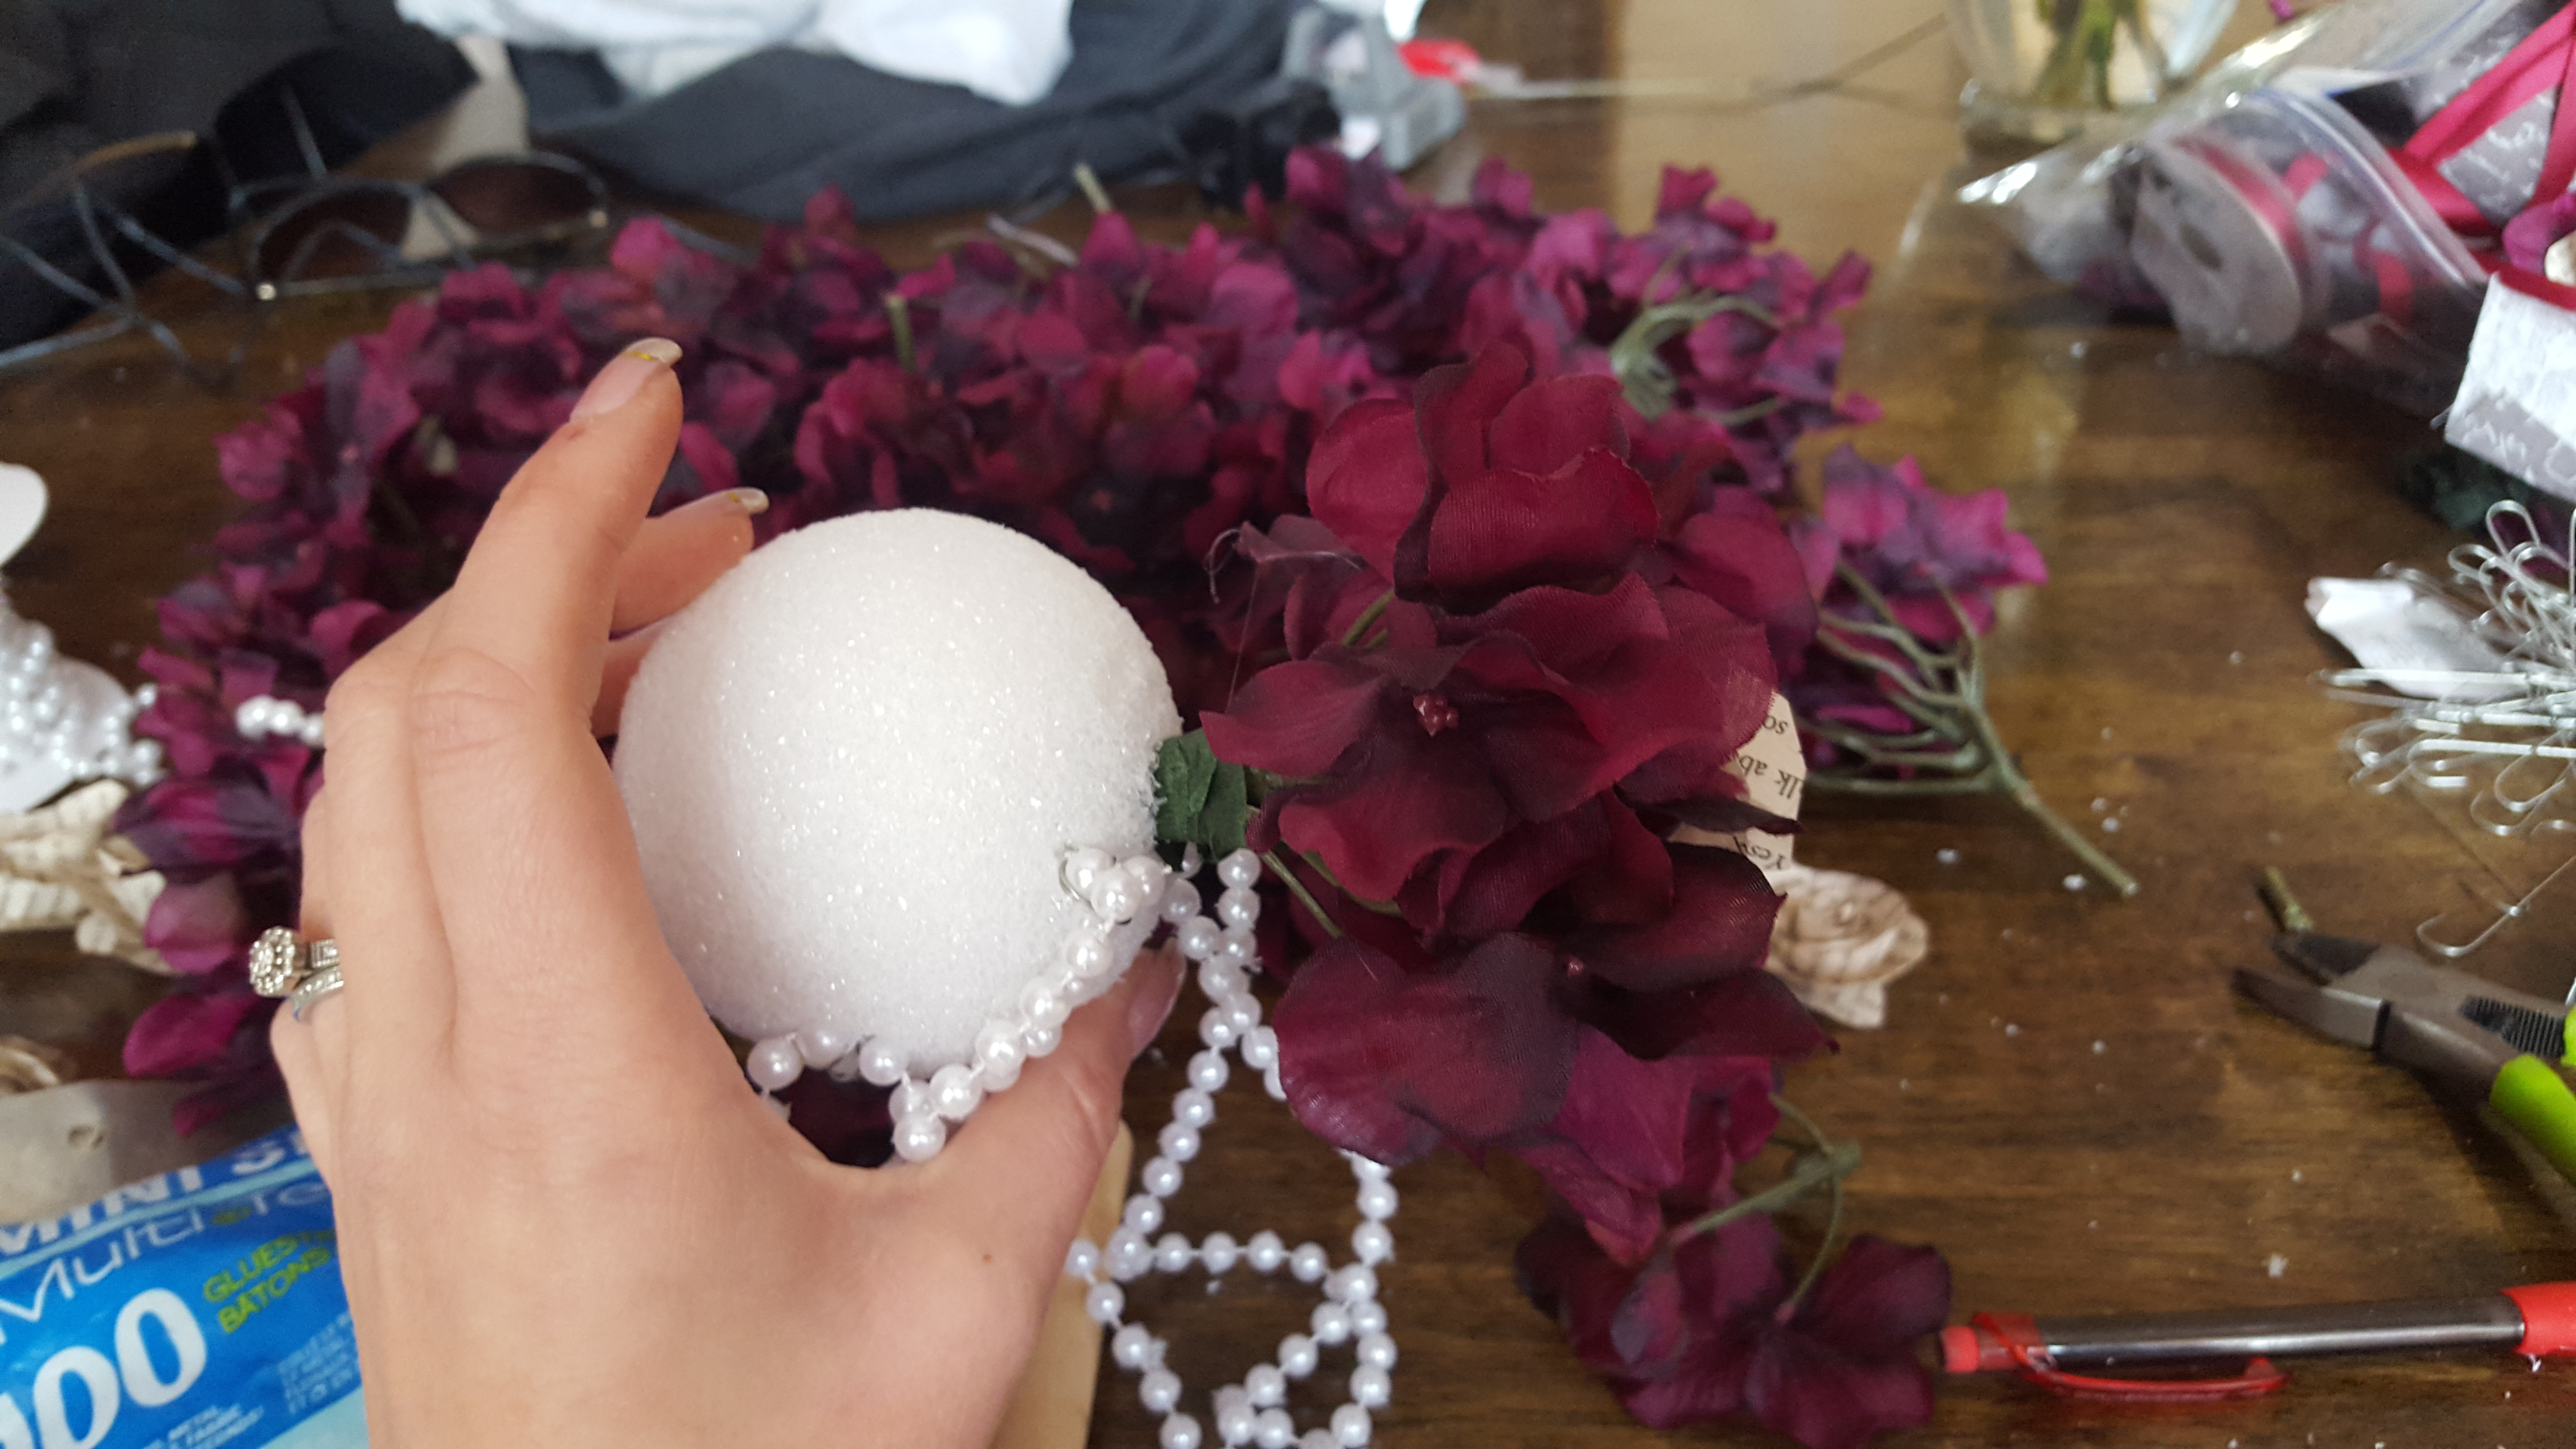
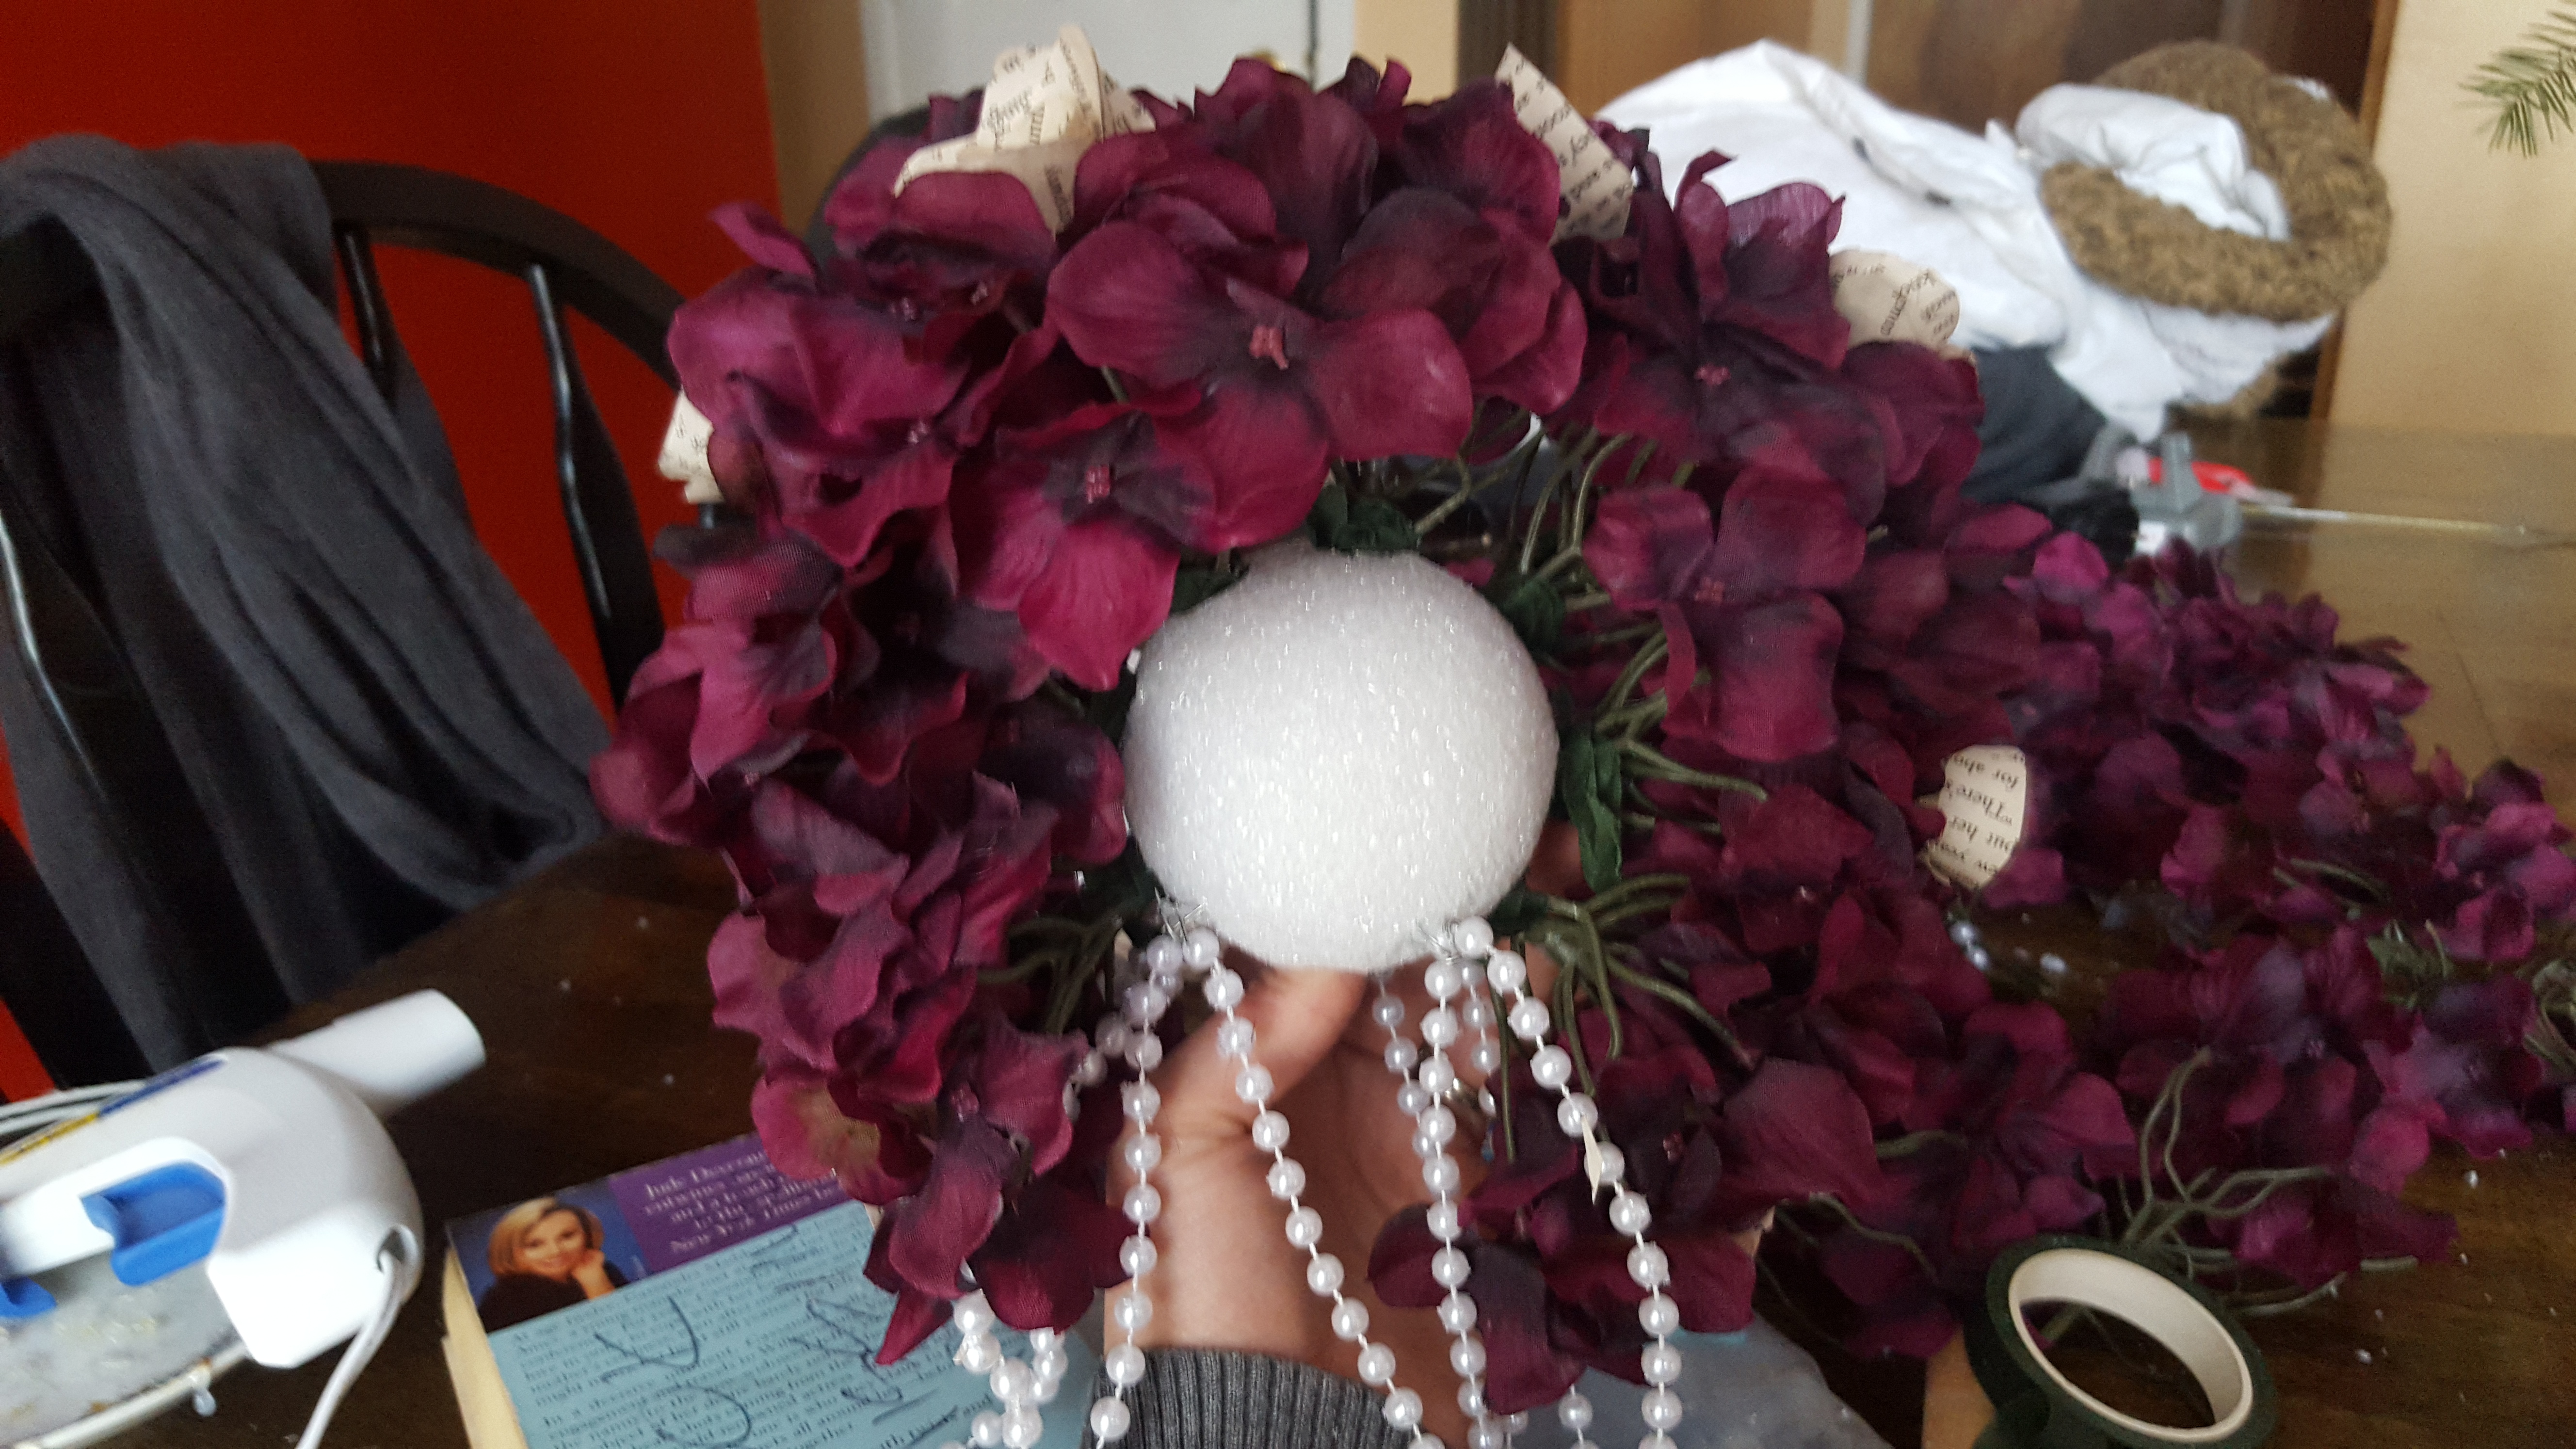
Fill in all around the ball, leaving the hole at the bottom exposed.
Take your candlestick holder and the dowel (which has been glued in already) and spray painted. Stick the dowel into the hole at the bottom of your ball….and VOILA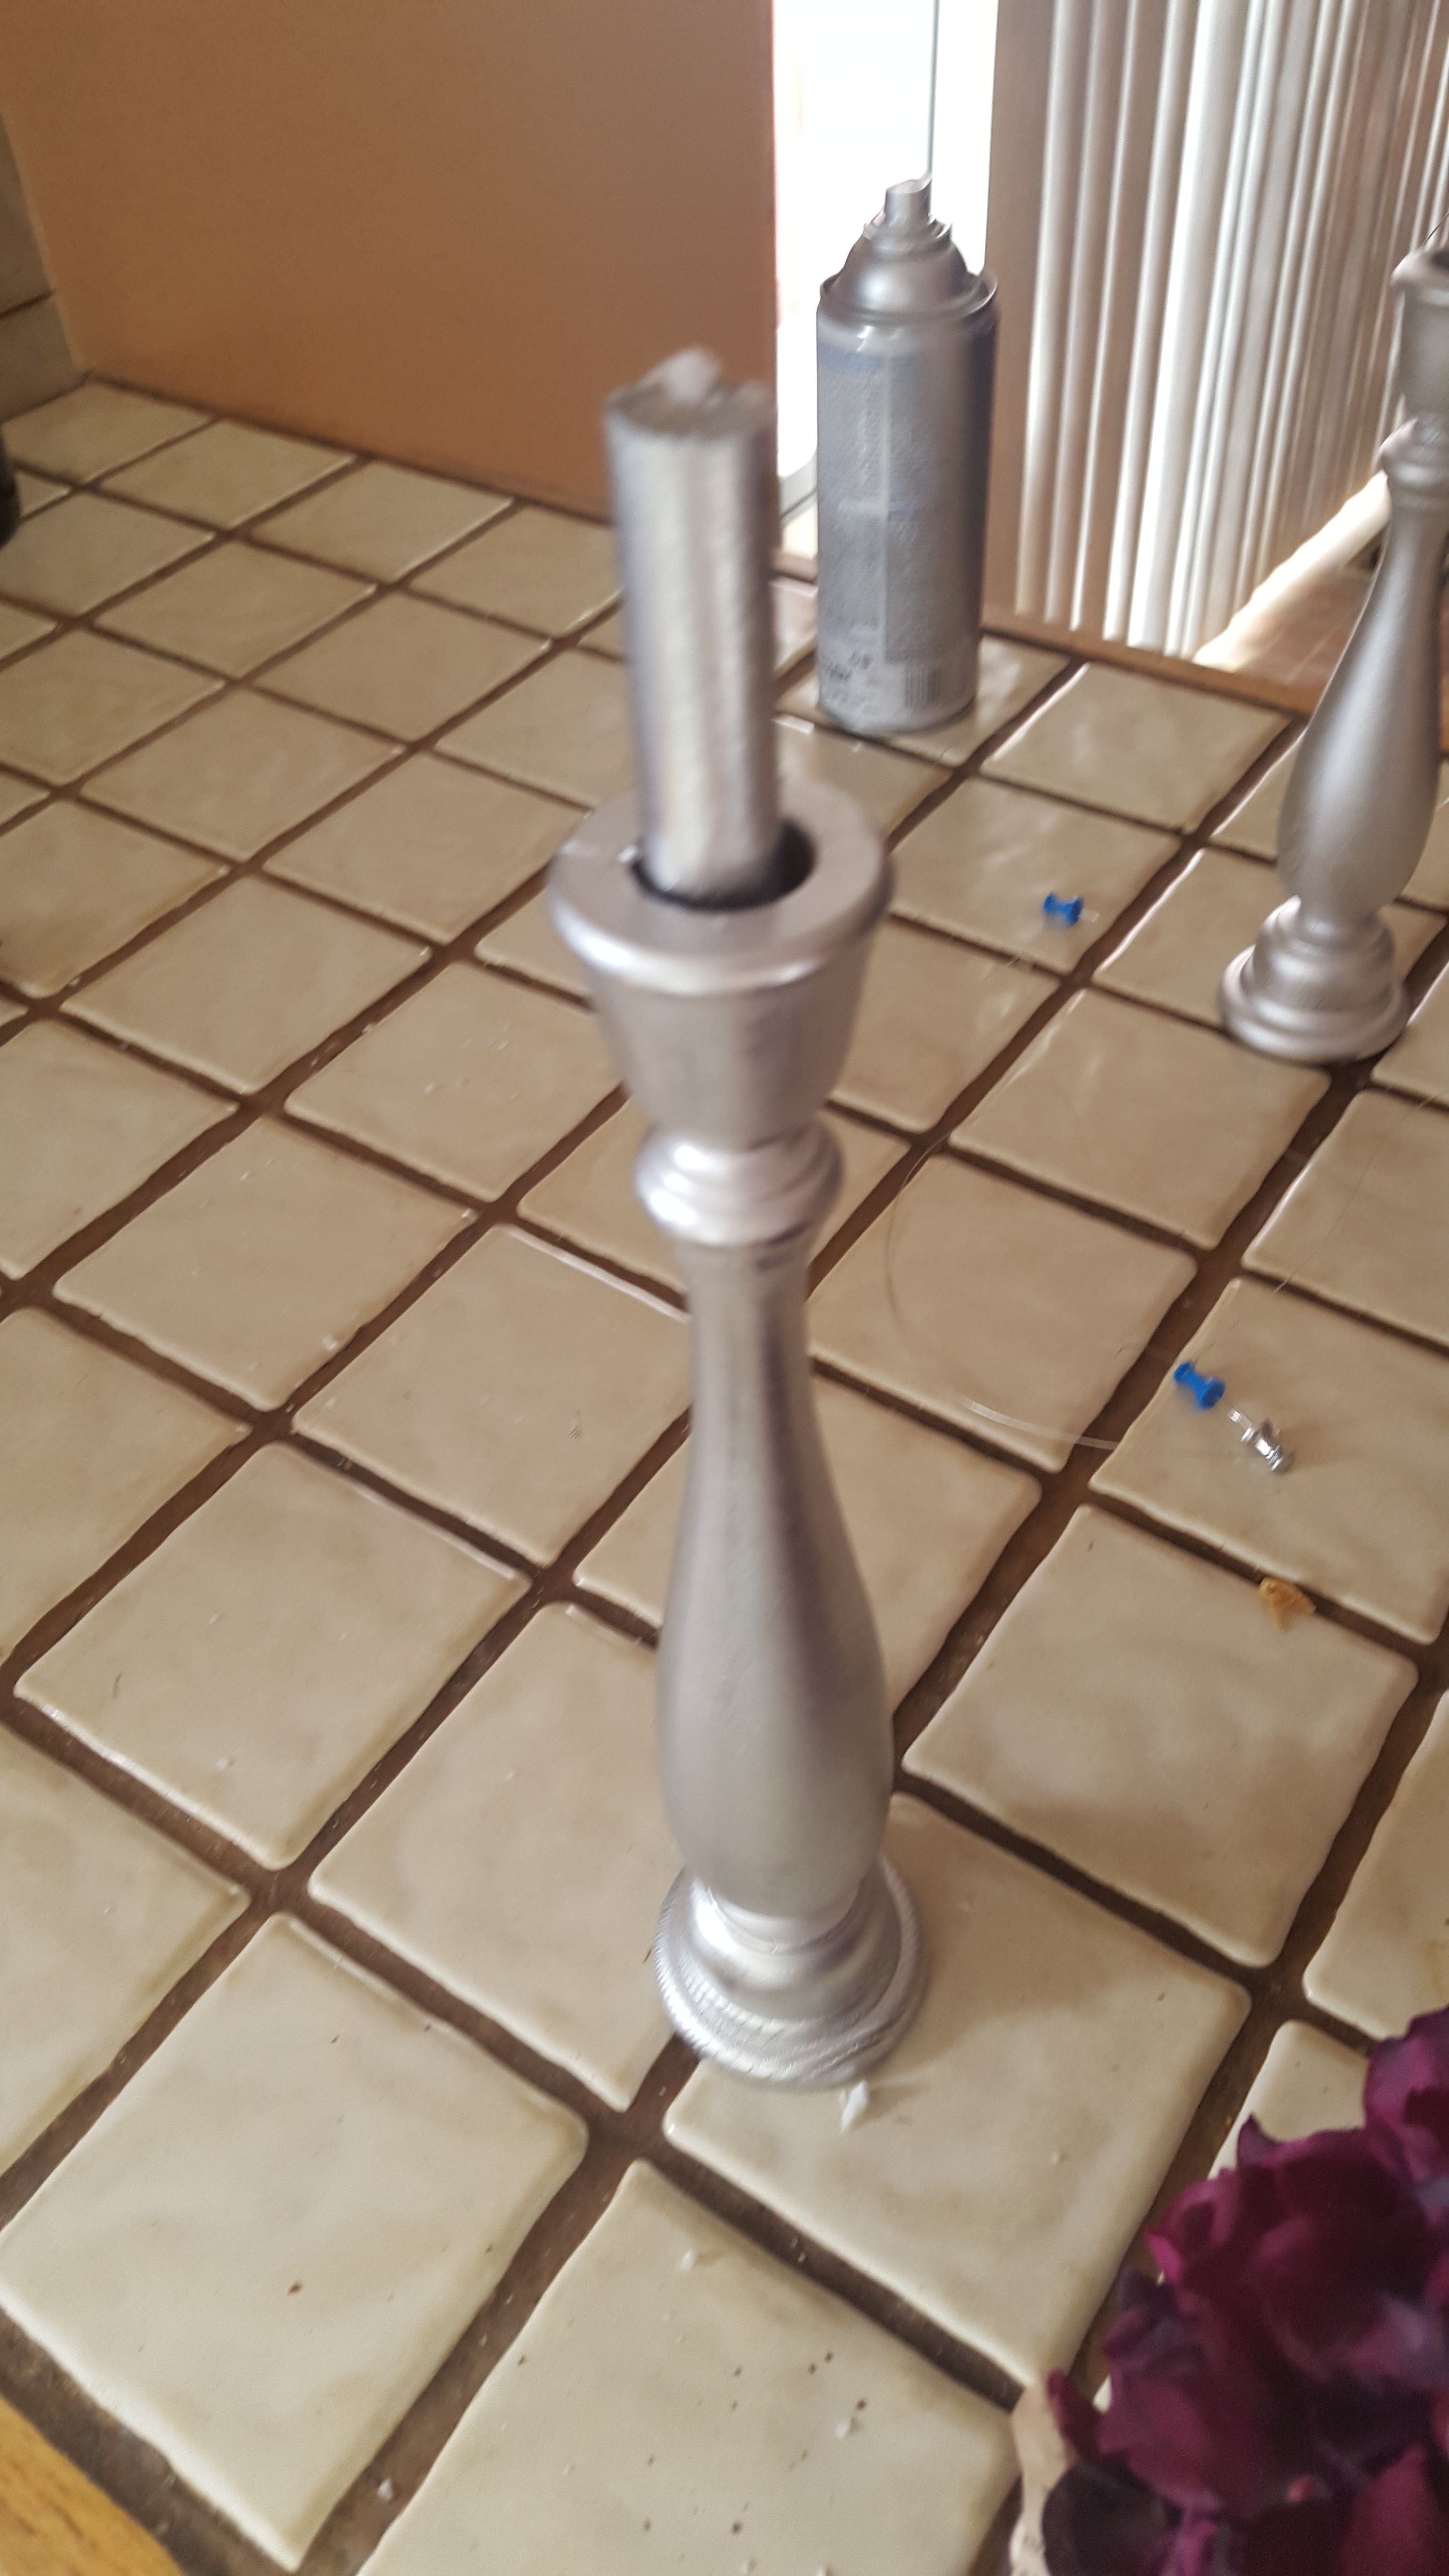
It took me about 3 hours to complete both of these. Very simple, easy and cost effective! They were absolutely beautiful on the expo table and many people took notice of the intricacy of the work done!
You can make these with any color flowers or type of flowers you could imagine! Even real ones (though the paper roses should be glued onto a fake flower insert as to not kill the real flower). There is so much play with this centerpiece and can be done in several different ways to fit the look your trying to achieve.
Creating the feel and look of your wedding is the most fun part. Don’t get discouraged if you find something you love and think you can’t afford it or can’t make it. You’d be surprised at what you can do!